Chicken Recipes
This is the page for all of my chicken recipes.
Often you hear the phrase "that tastes like chicken" to describe something that doesn't have that much flavor or a unique flavor. However on this blog, I make sure all of my chicken recipes are packed full of flavor from Sous Vide Creamy Chicken with Pepper Flakes or Ground Chicken Burgers.
🛒 Shopping Tips - You may find certain words on packages of chicken in the store that you don't know what that mean. I have some answers for you on these two questions - What does it mean when it says chicken contains carrageenan? Or what does it mean when it's air chilled chicken? Also if you have a Costco membership, make sure you check out our Costco Chicken Guide.
-
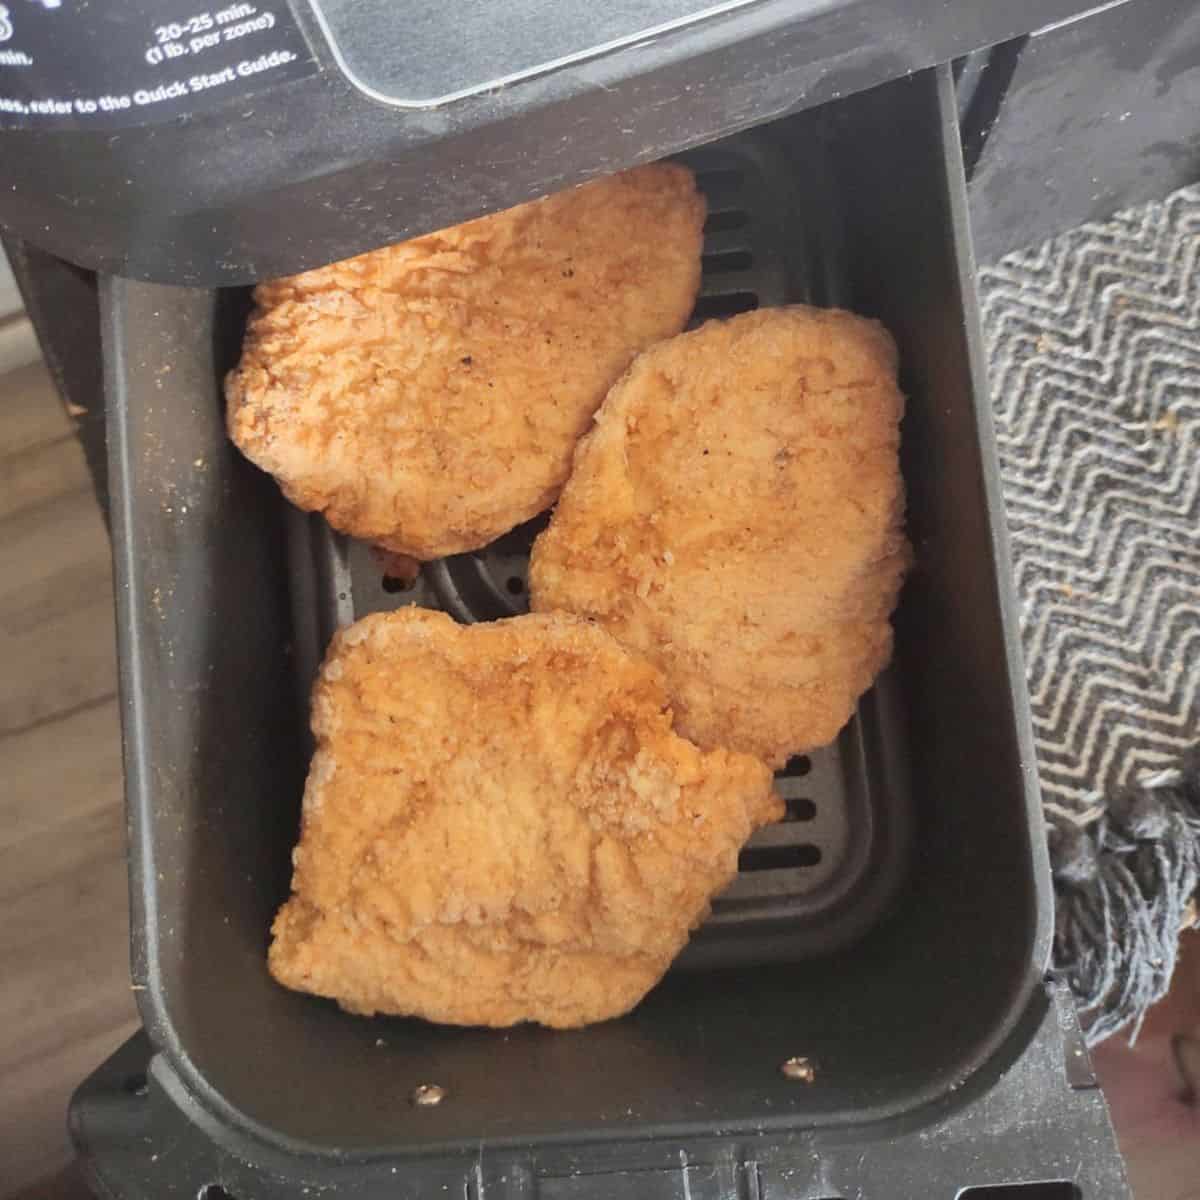
Air Fry ALDI Red Bag Kirkwood Chicken
-
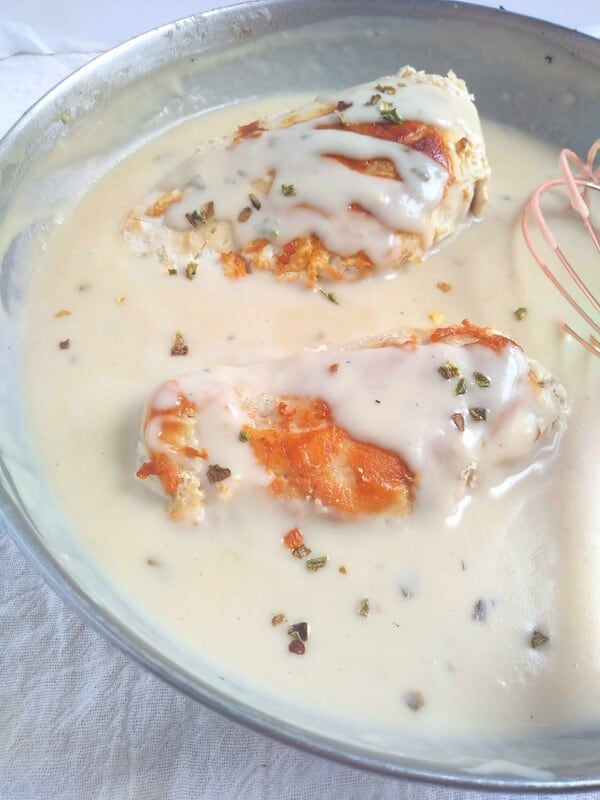
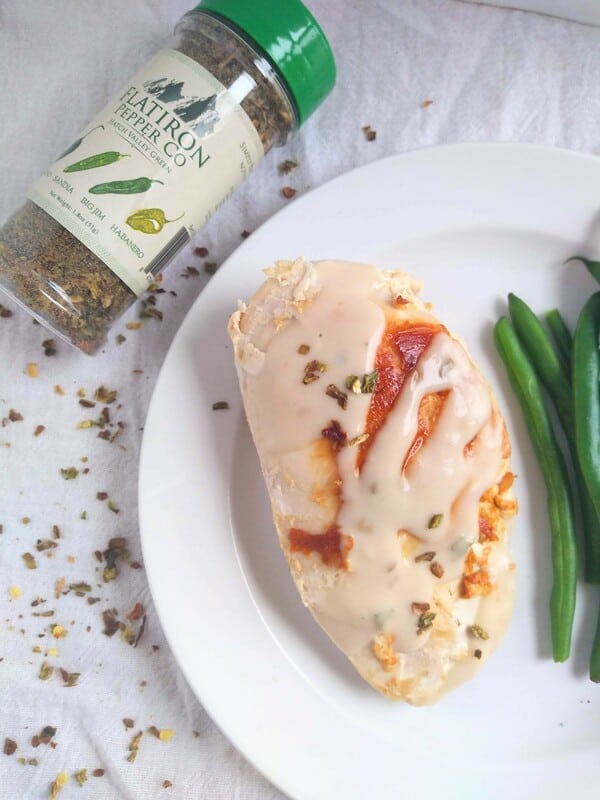
Sous Vide Chicken with Creamy Pepper Flake Sauce
-
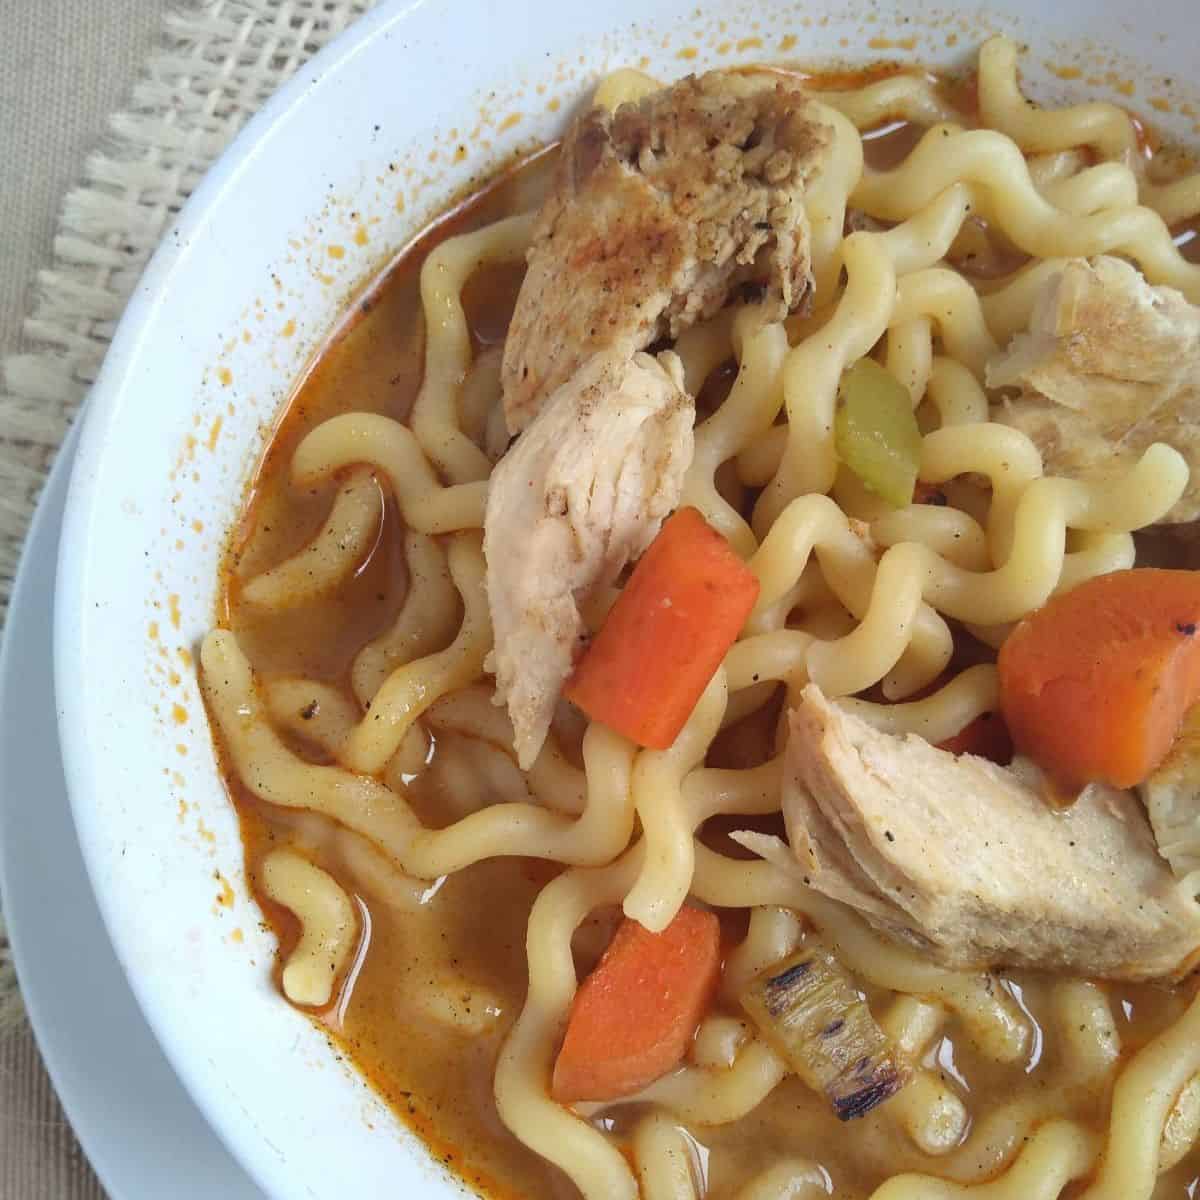
Single Serving Chicken Noodle Soup
-
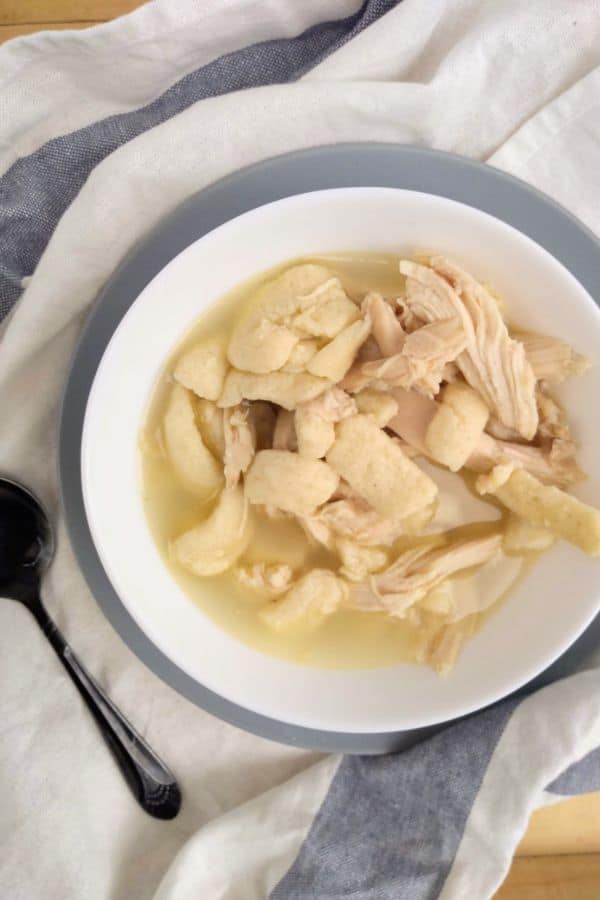
Alton Brown’s Chicken and Dropped Dumplings
-
Air Fryer Chicken Tacos
-
Air Fryer Ground Chicken Burgers
-
Can You Cook Ground Chicken in an Air Fryer?
-
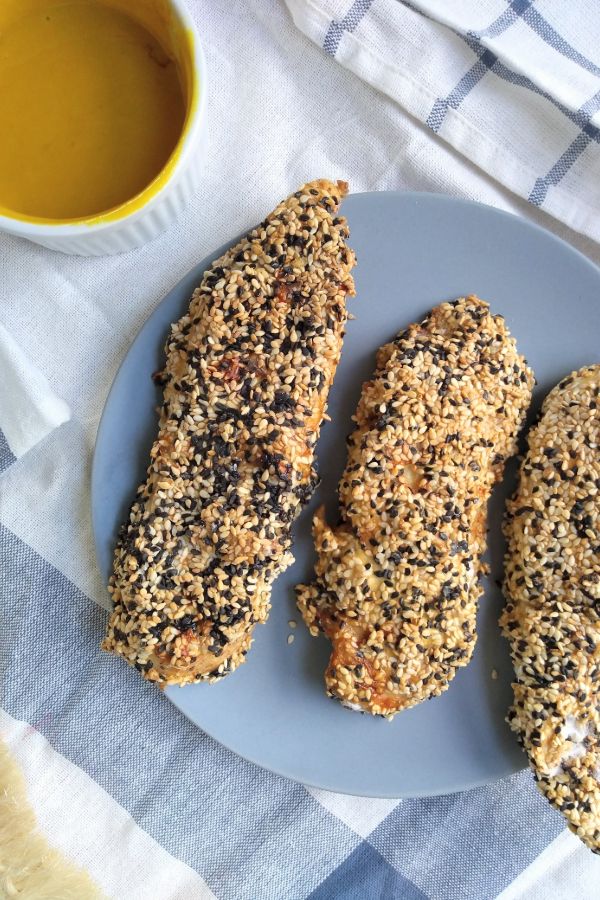
Sesame Encrusted Air Fryer Chicken
-
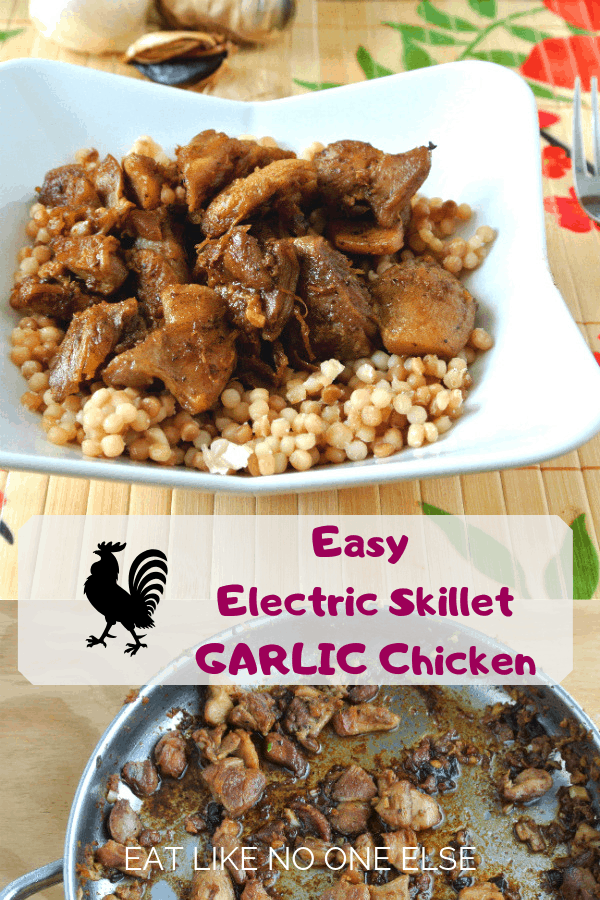
Easy Electric Skillet Chicken Thighs
-
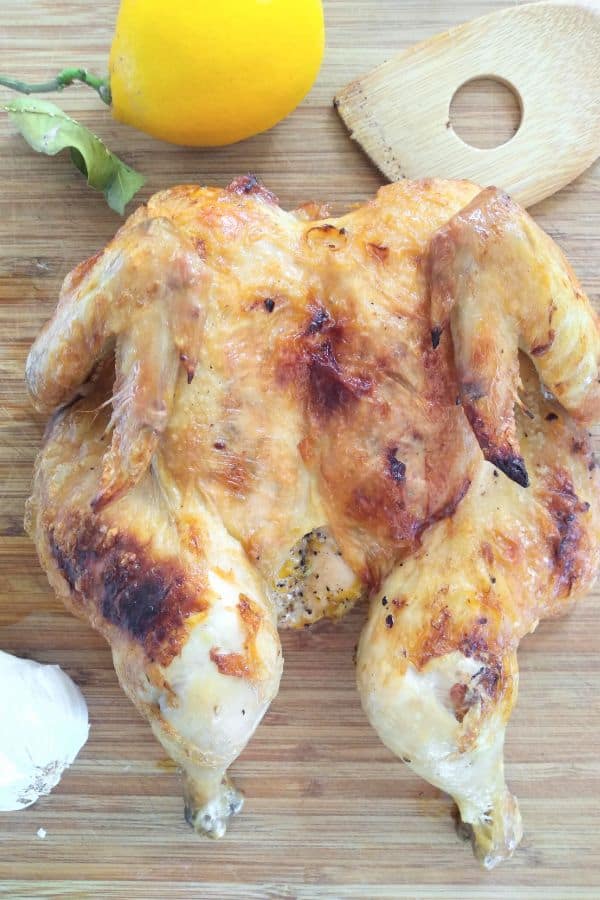
Alton Brown's Broiled, Butterflied Chicken
-
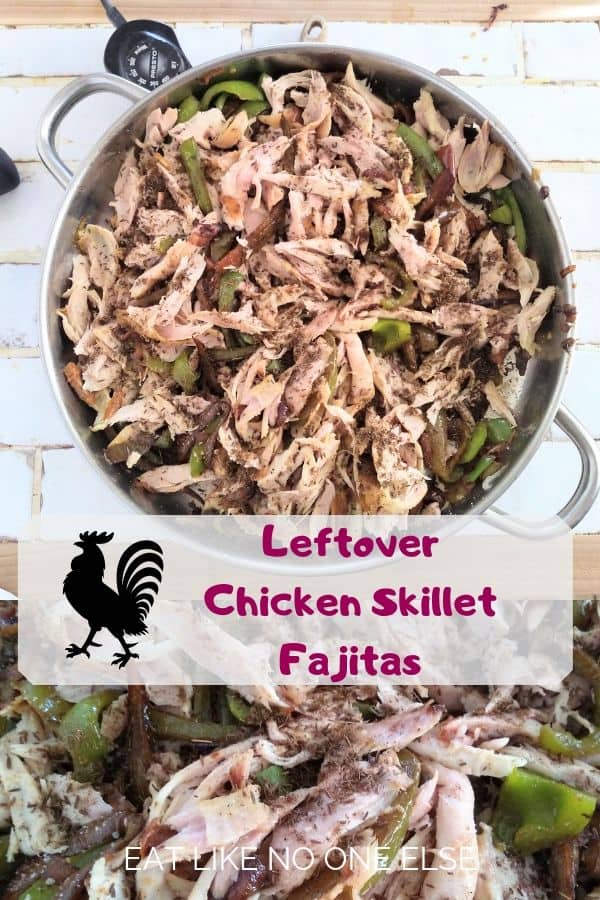
Leftover Electric Skillet Chicken Fajitas
-
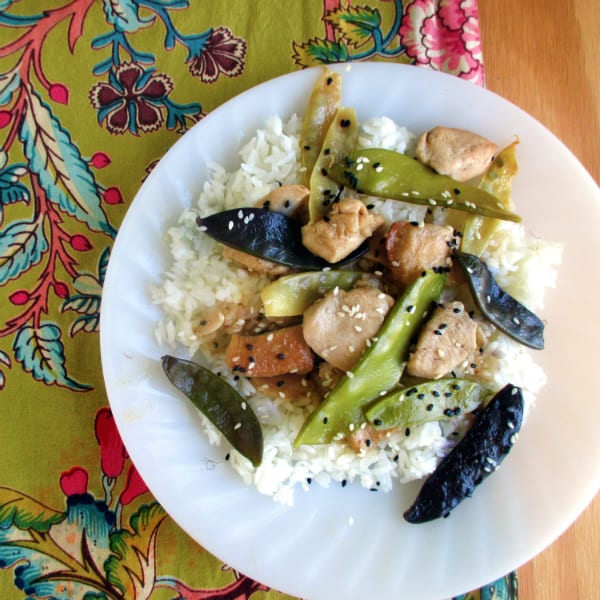
Homemade Chinese Chicken with Snow Peas