Beef
-
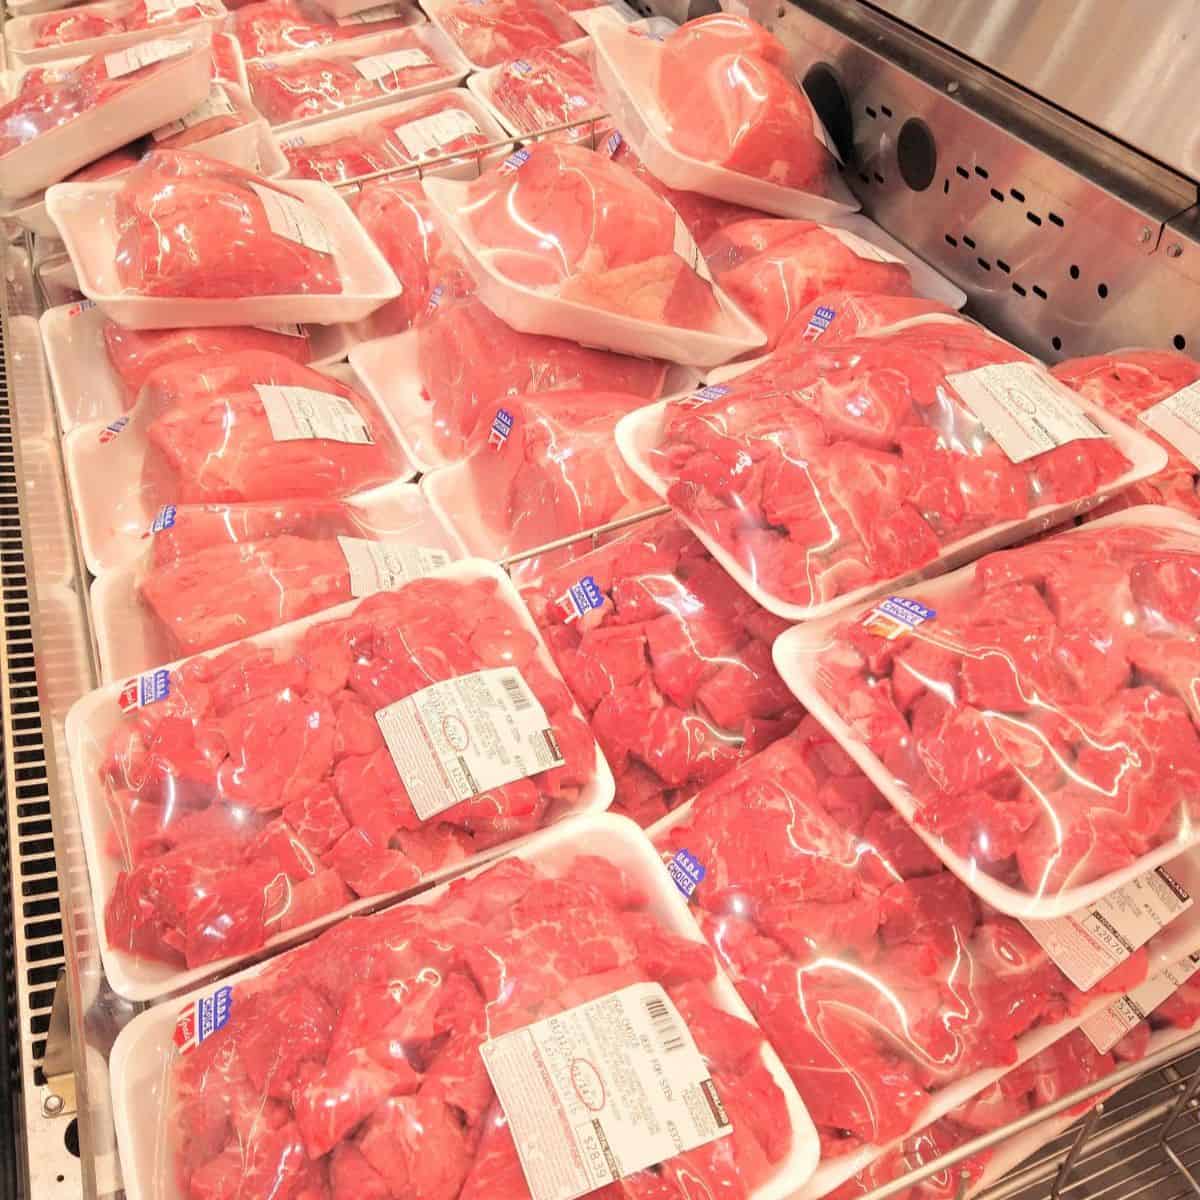
Current 2026 Costco Meat Prices on 39 Beef Cuts
-
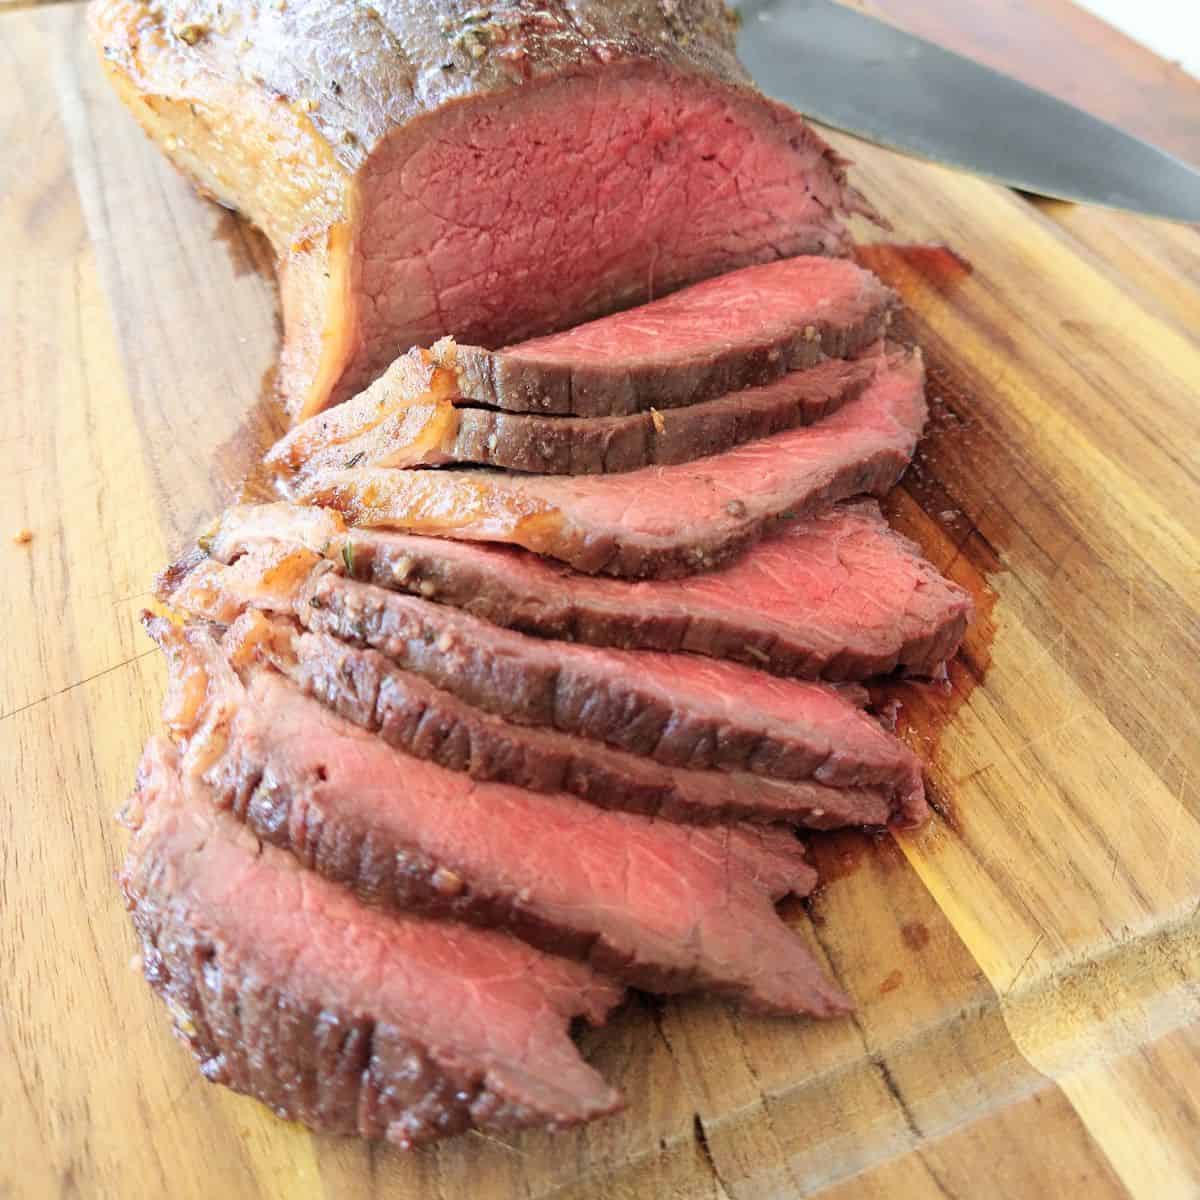
How to Cook a Tender Eye of Round Beef Roast
-
2 Methods for a Tender Chuck Eye Steak
-
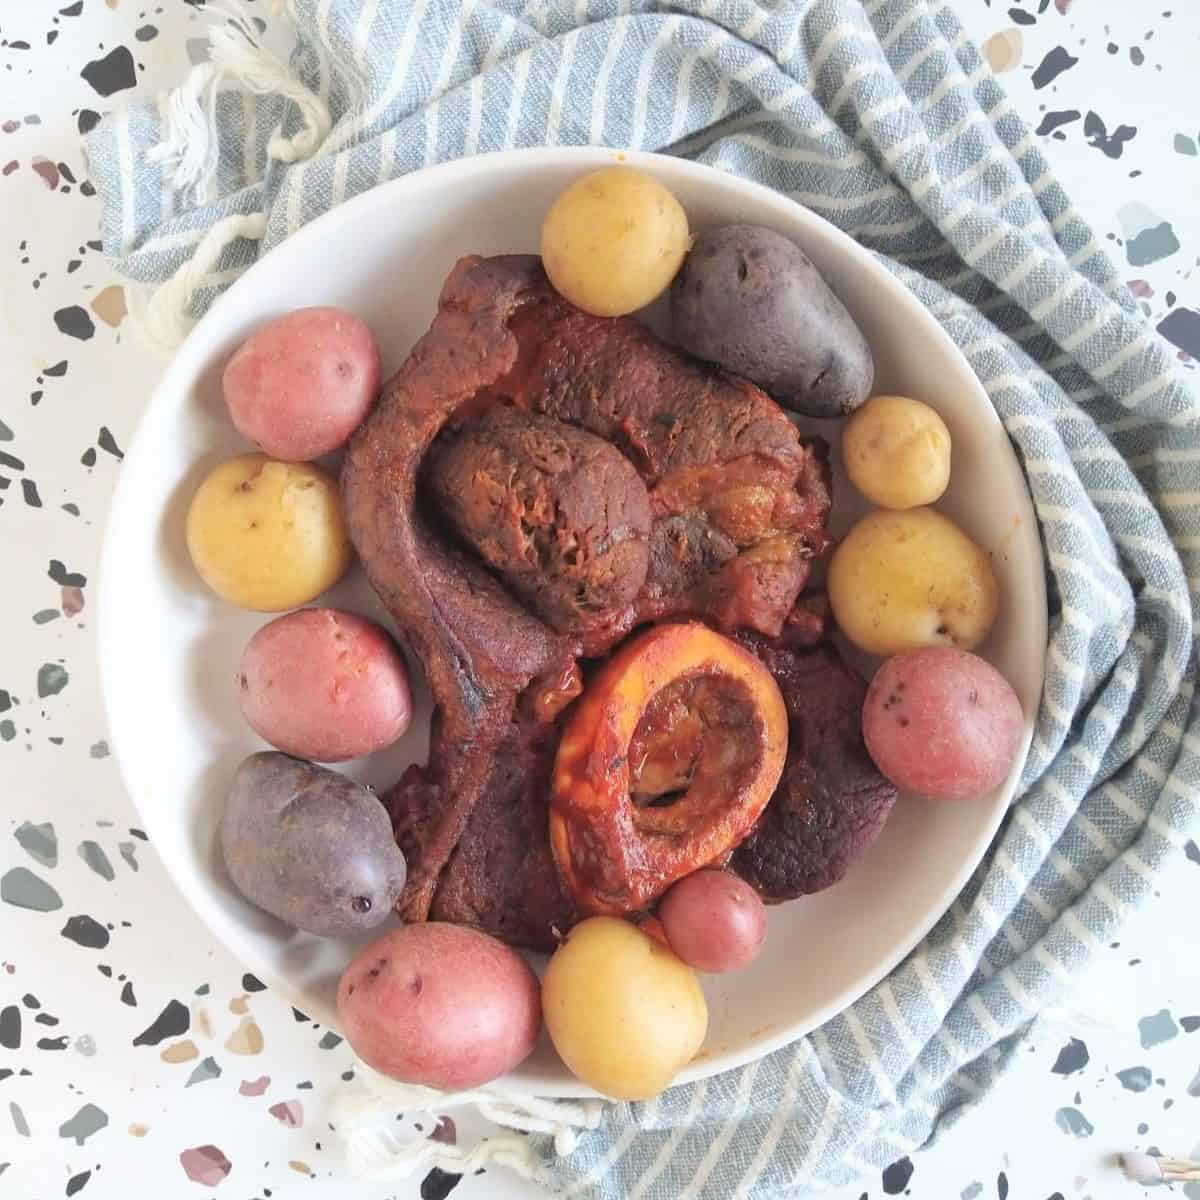
How to Cook a Chuck Arm Steak
-
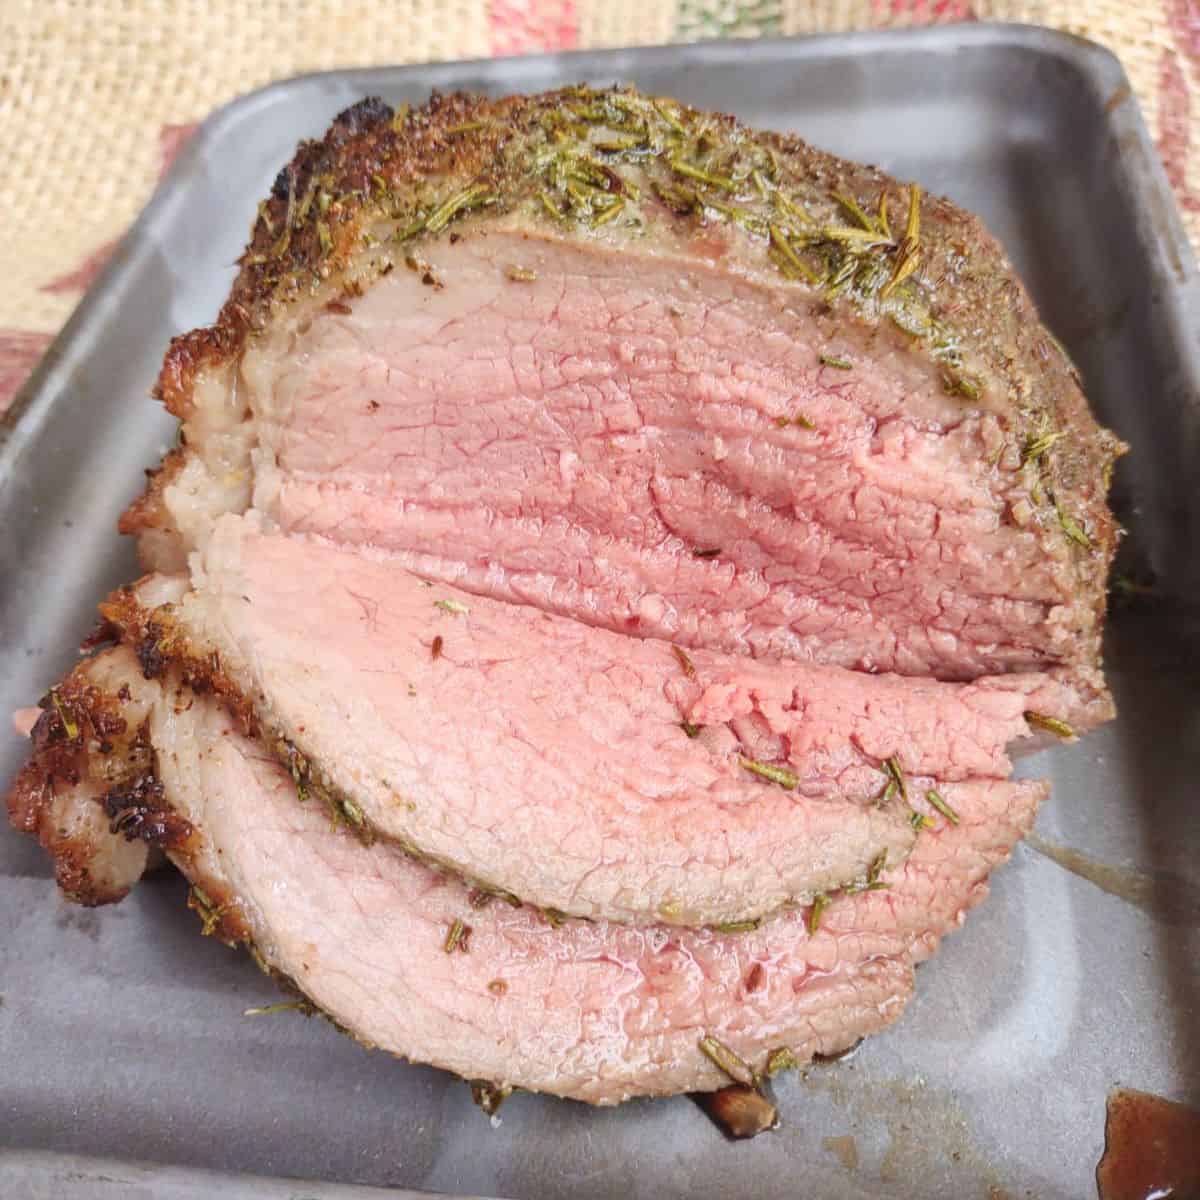
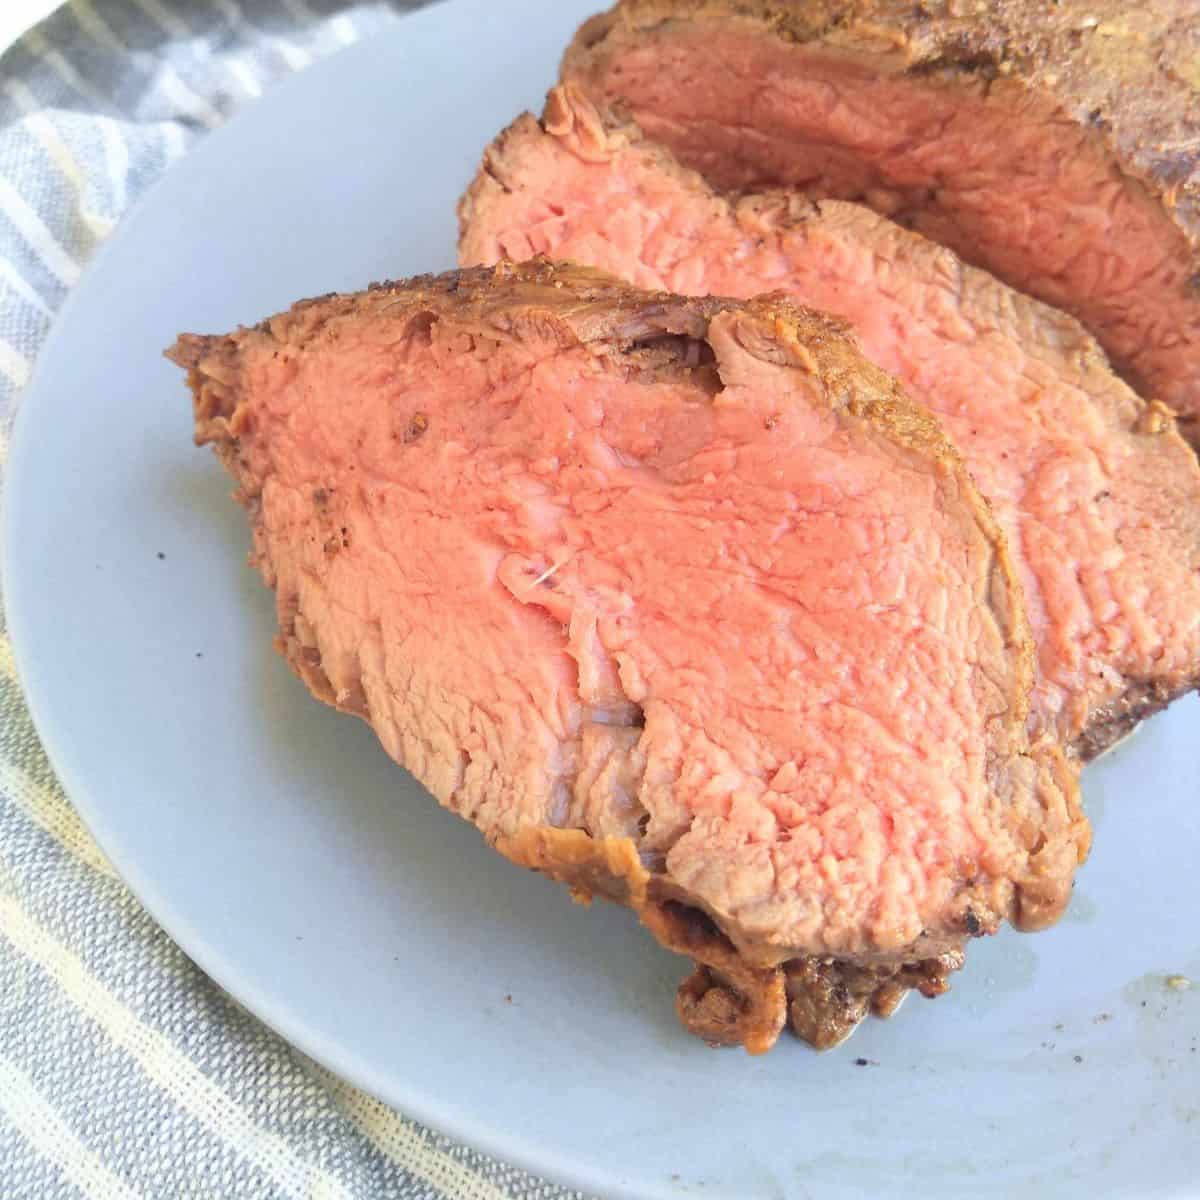
How to Cook a Tender & Flavorful Bottom Round Roast?
-
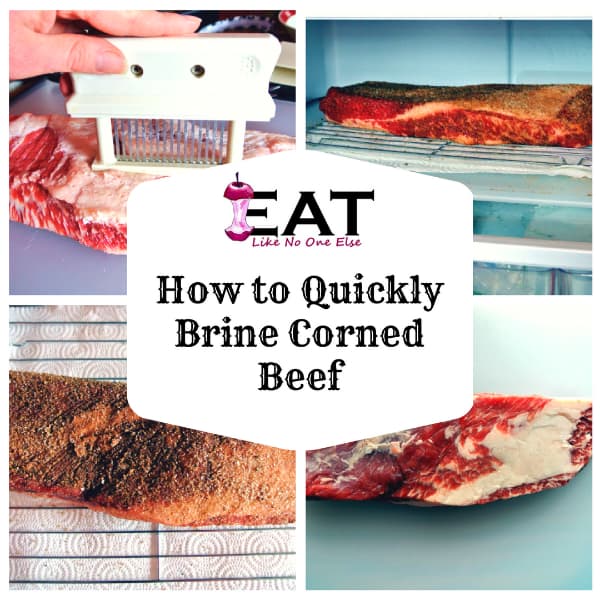
How to Quickly Brine Corned Beef
-
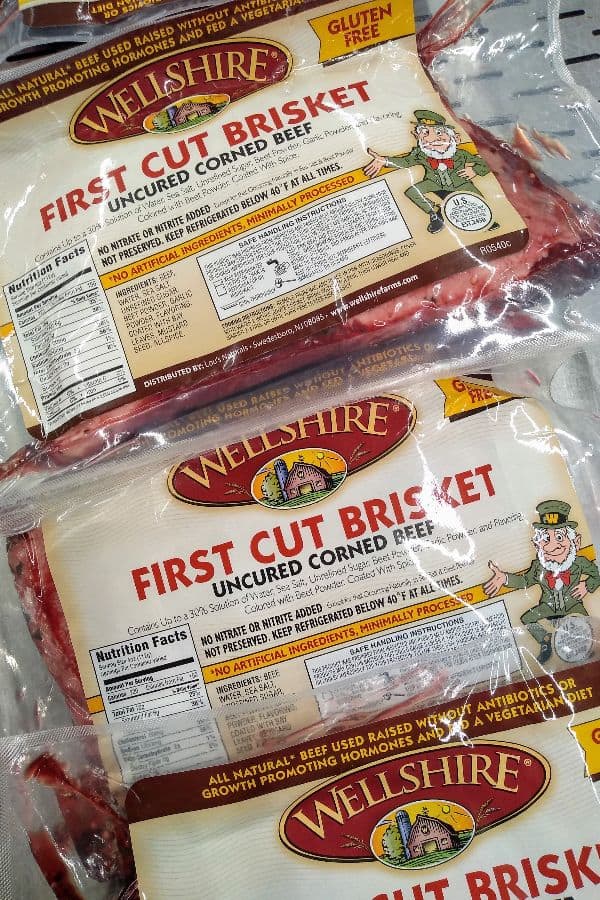
What Is & Where to Buy Uncured Corned Beef
-
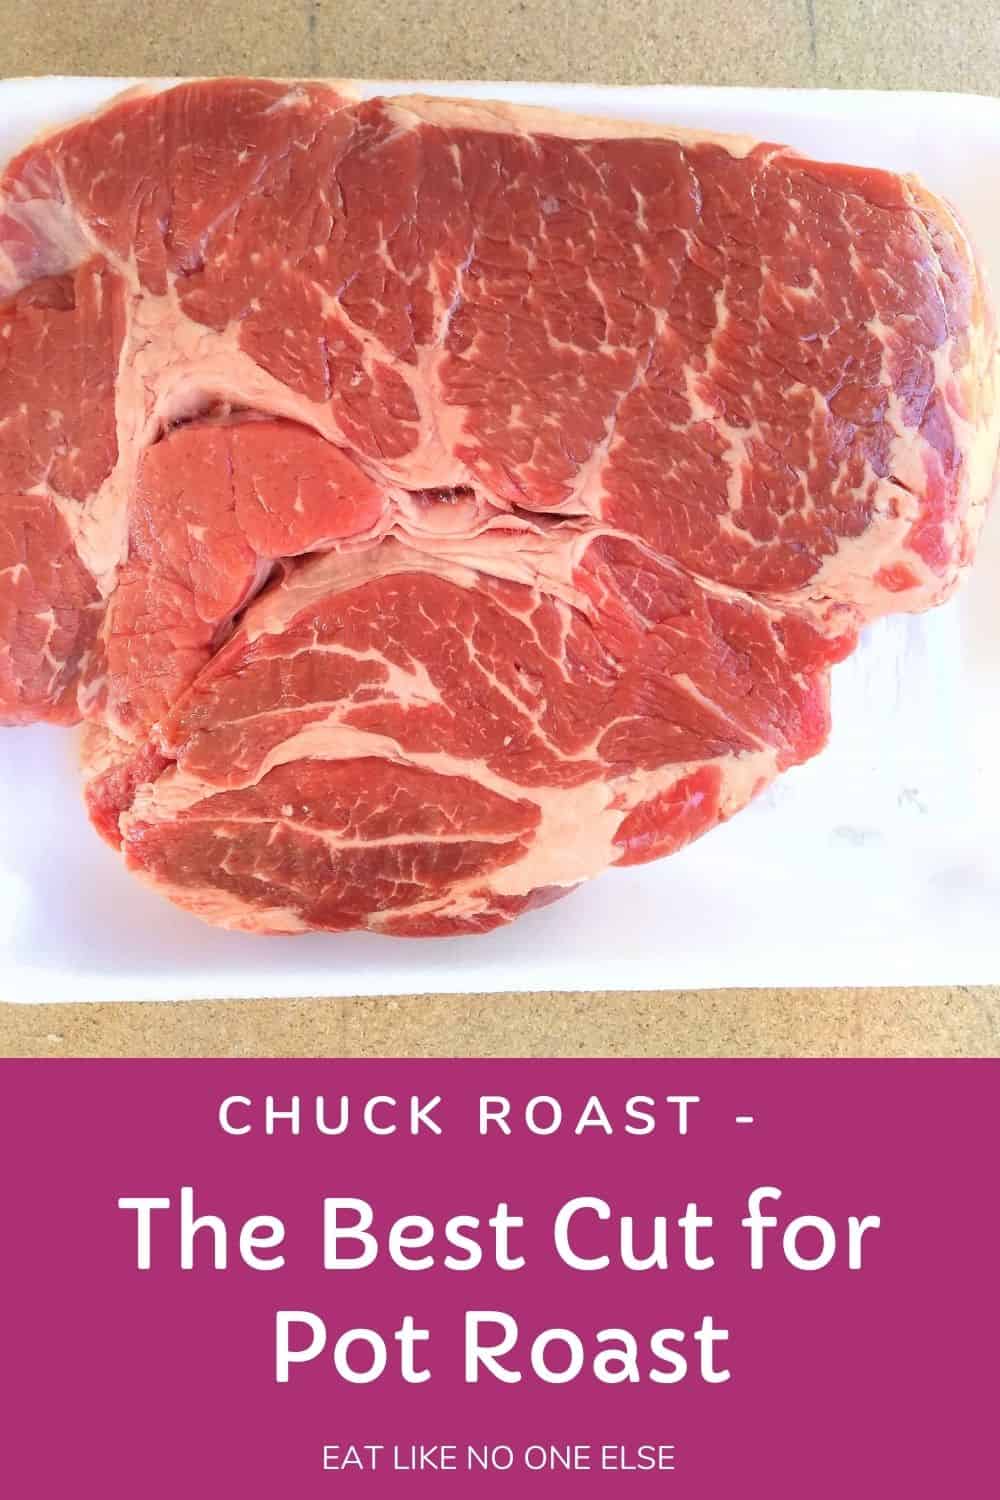
Chuck Roast - Best Cut for Pot Roast
-
Alton Brown’s Beef Tenderloin Roast – Step-by-Step with Photos
-
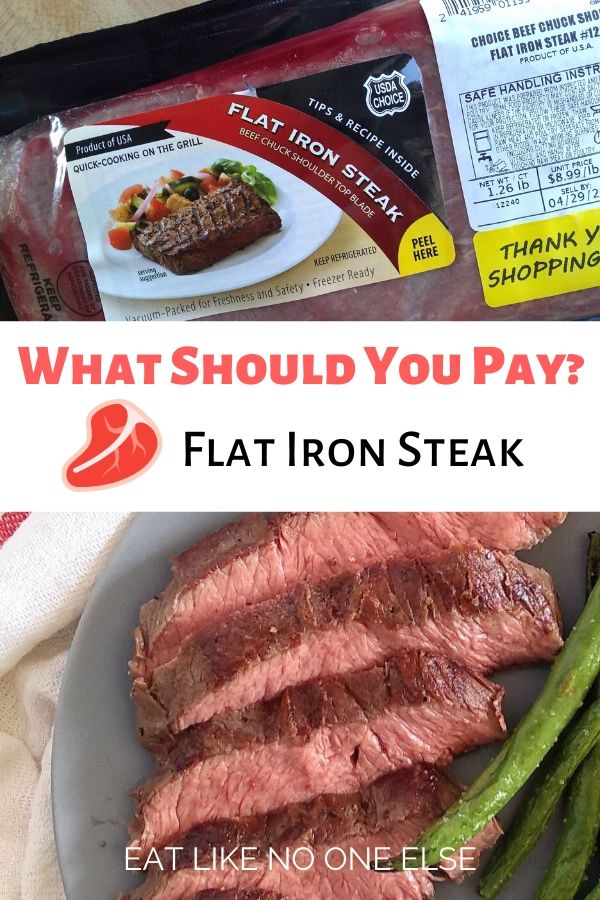
What is a Good Price for Flat Iron Steak?
-
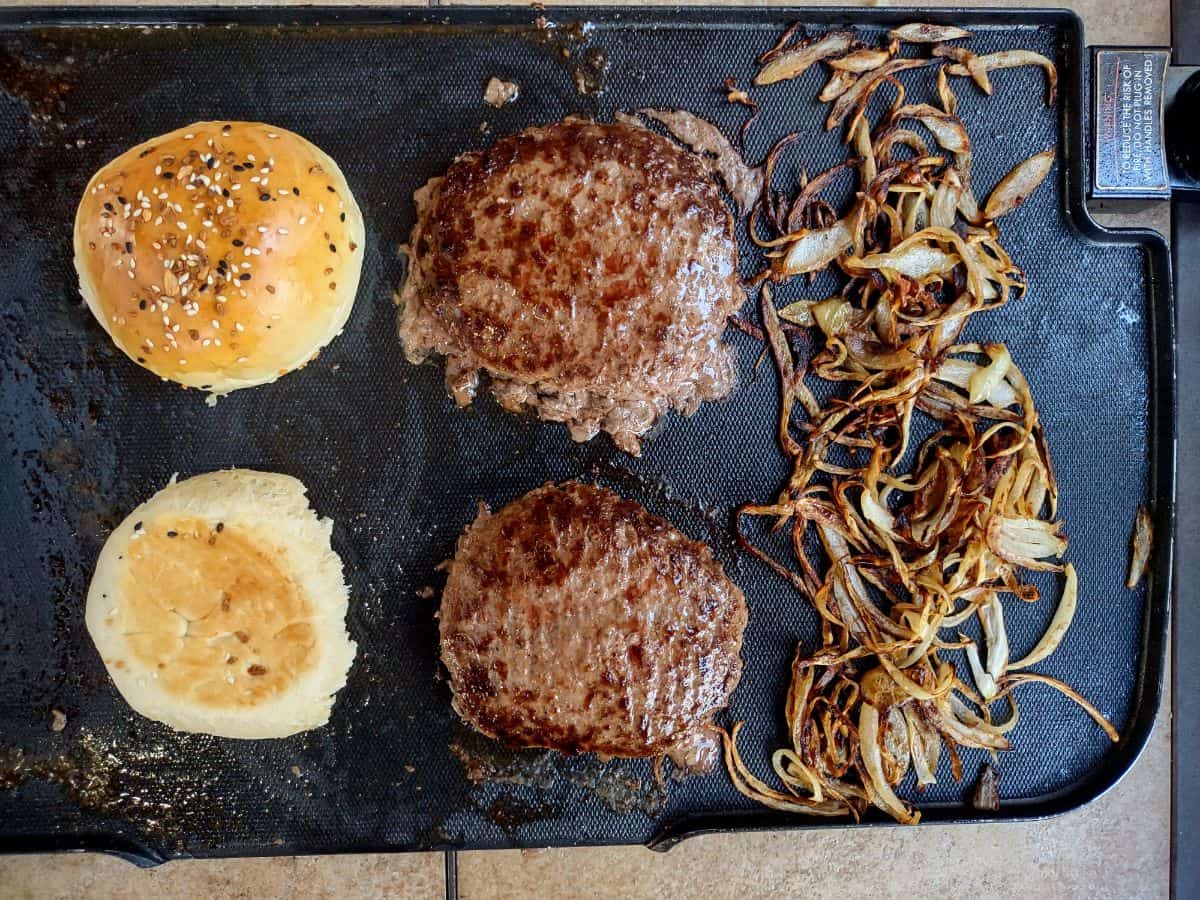
How to Cook Hamburgers on Electric Griddle at 350°F
-
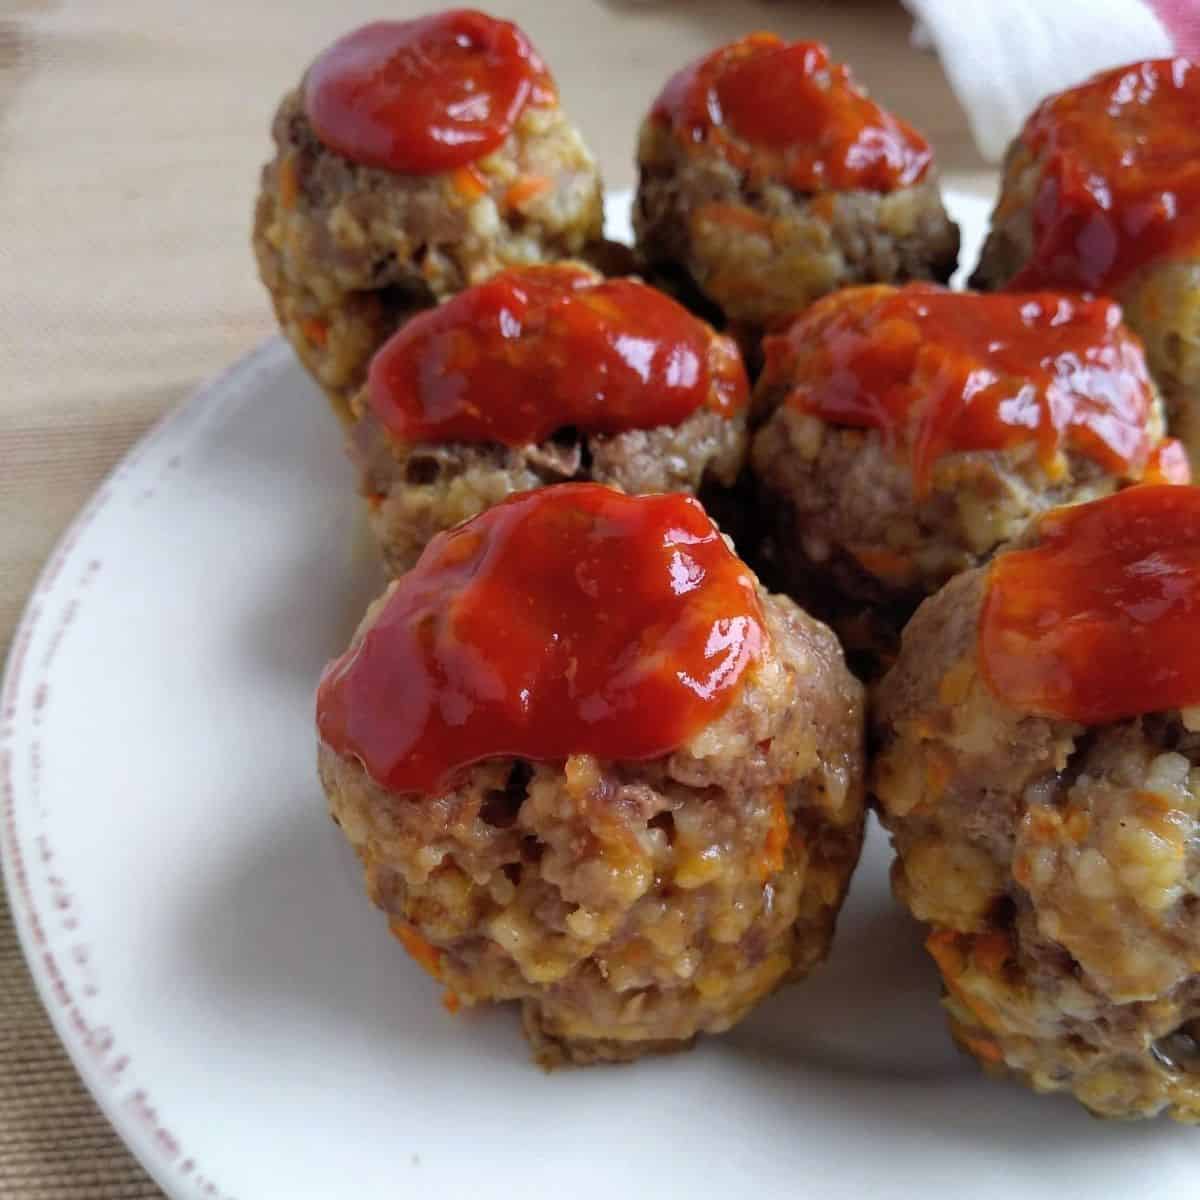
Instant Pot Meatloaf Bites [Egg Bite Molds]
-
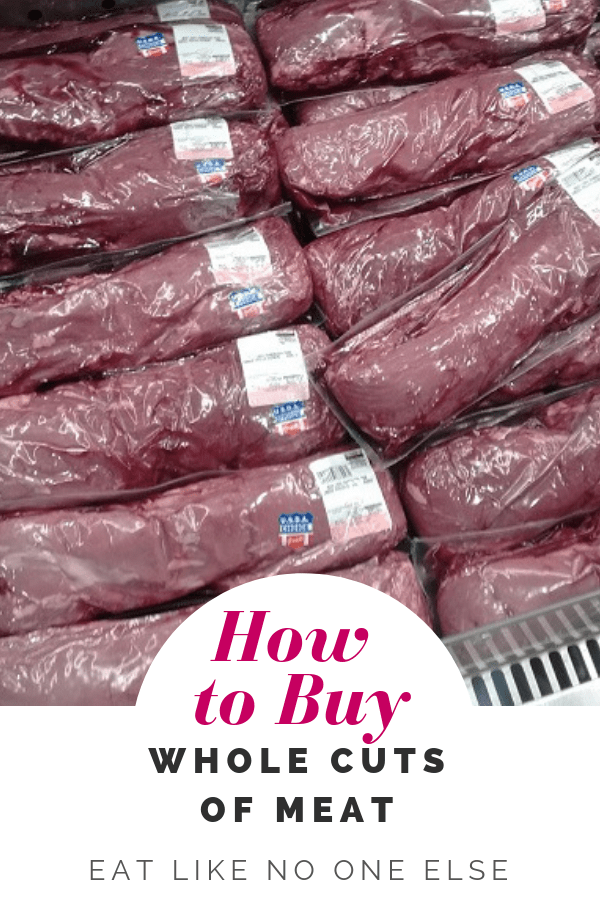
Buying Whole Cuts of Meat
-
Mustard Sauce for Corned Beef & Cabbage [with Boxty Cakes]
-
How to Cook Top Sirloin Filet Steaks
-
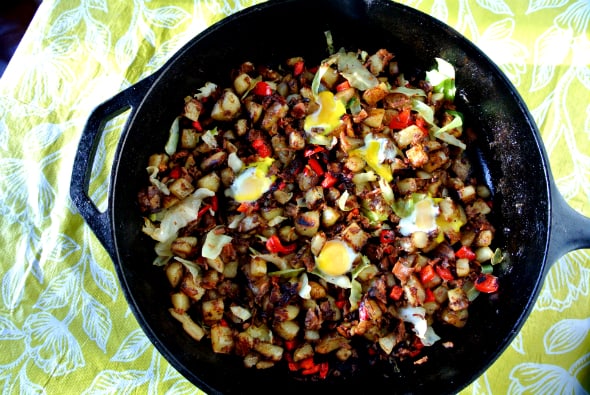
How to Make Leftover Corned Beef Hash
-
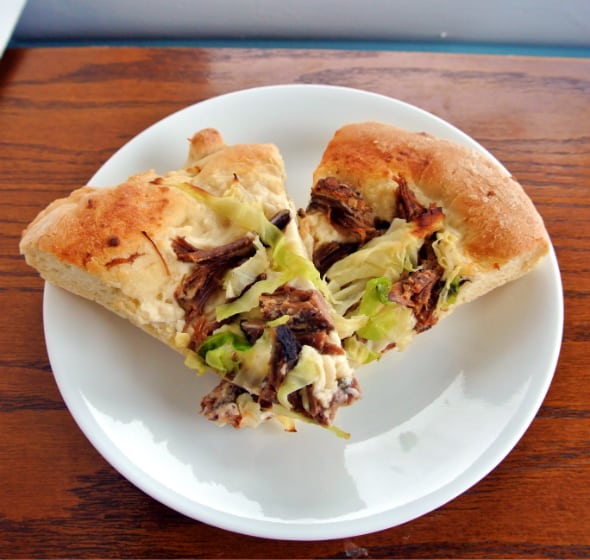
Corned Beef & Cabbage Pizza
-
Moroccan Inspired Pot Roast with Couscous and Chickpeas
-
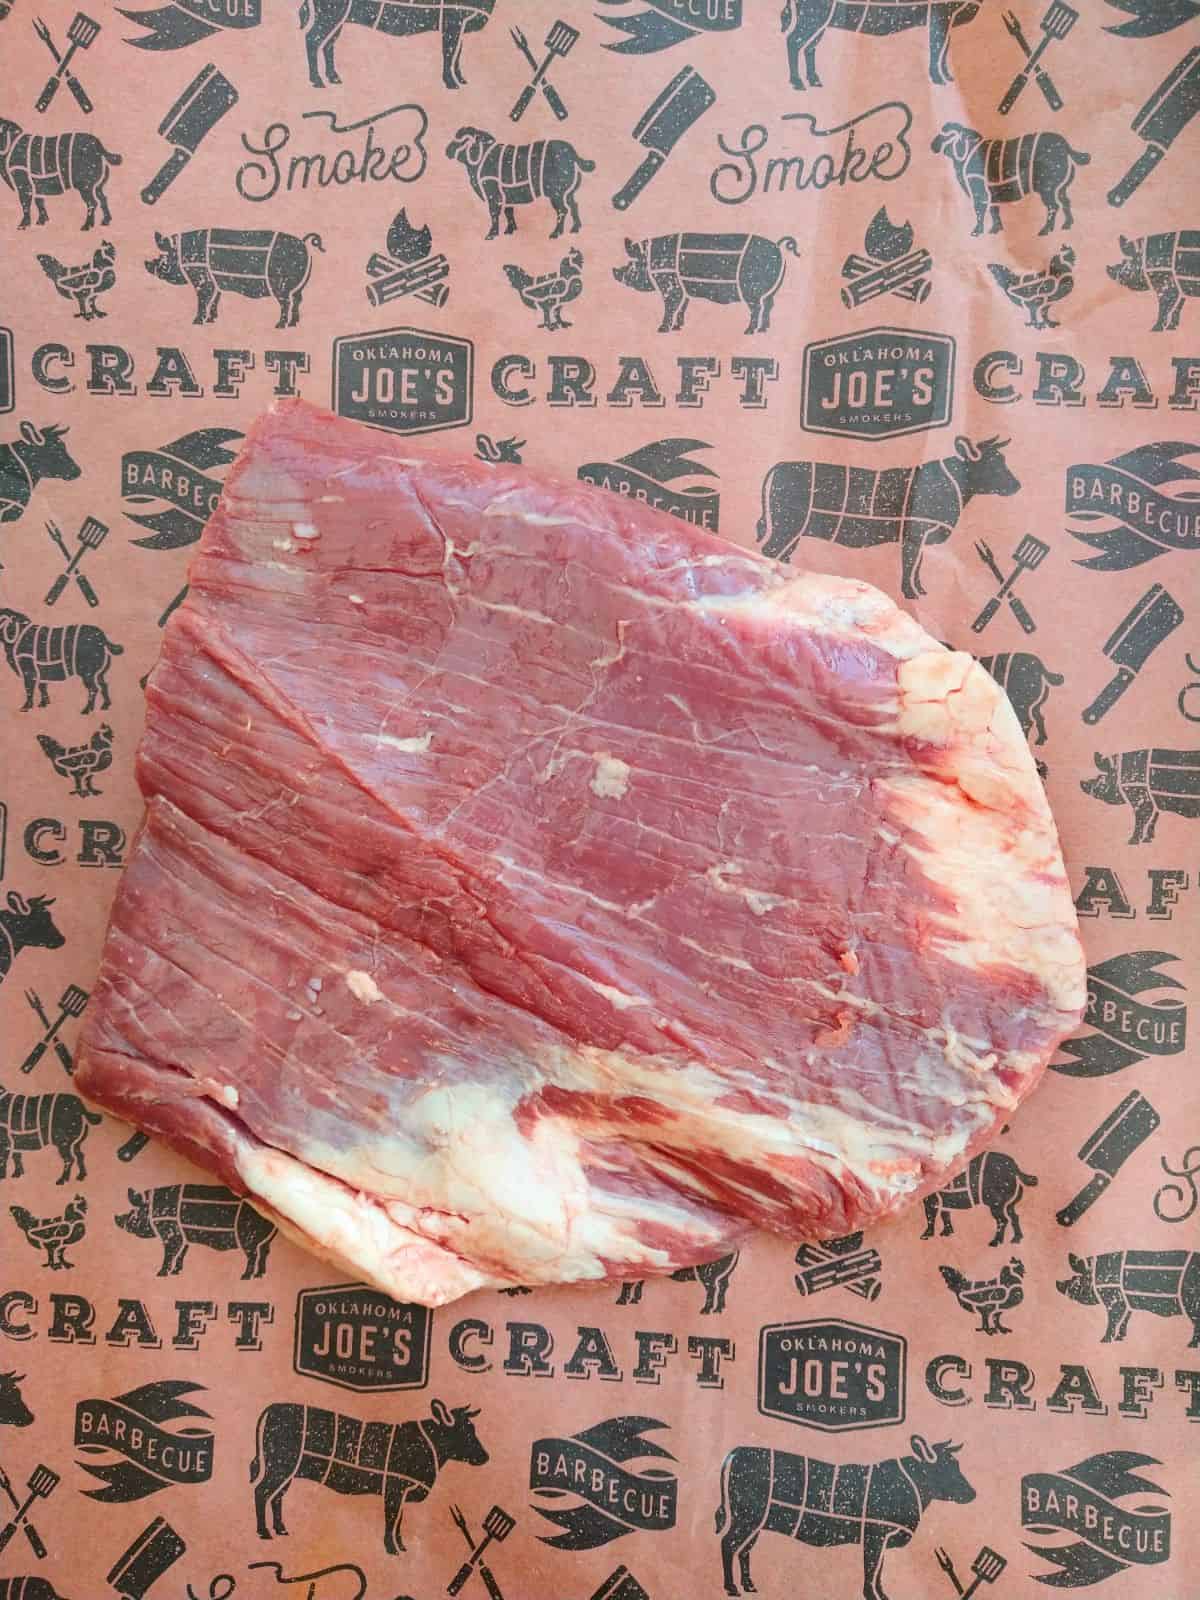
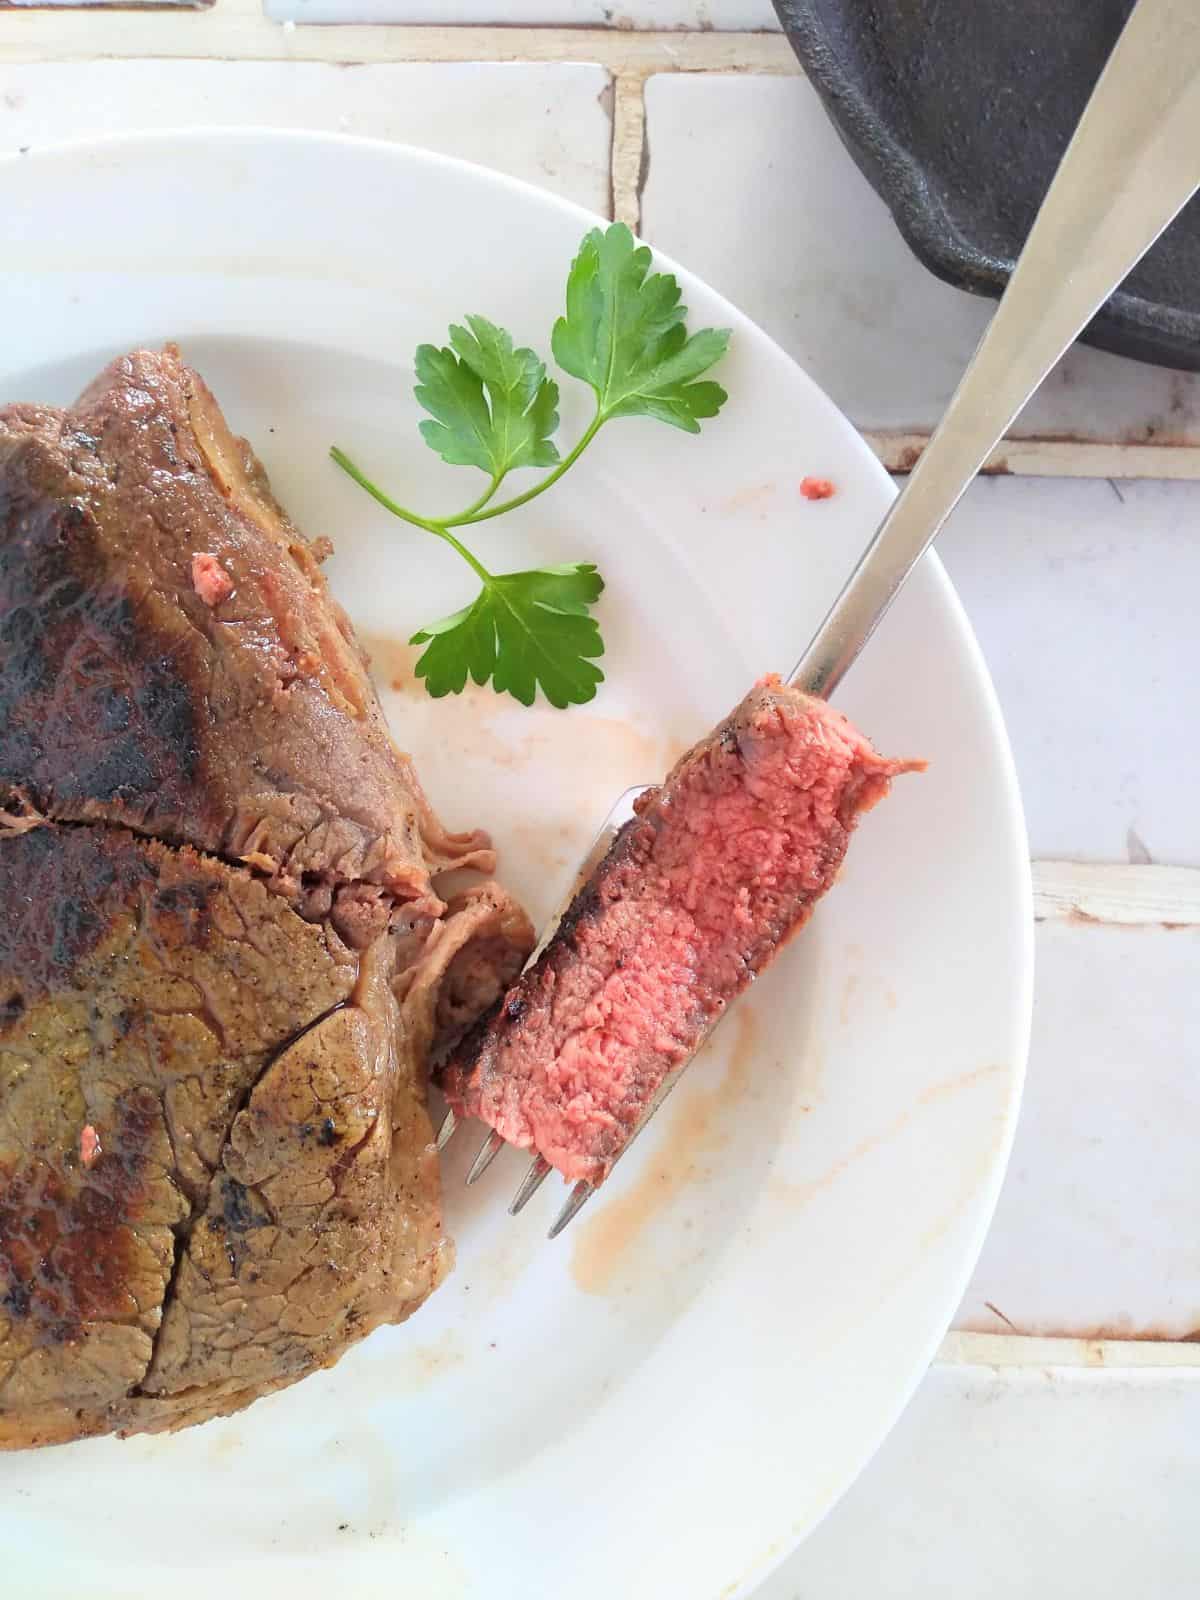
What to Do with Flank Steak?
-
What Cut Is a Ranch Steak? + How to Cook It
-
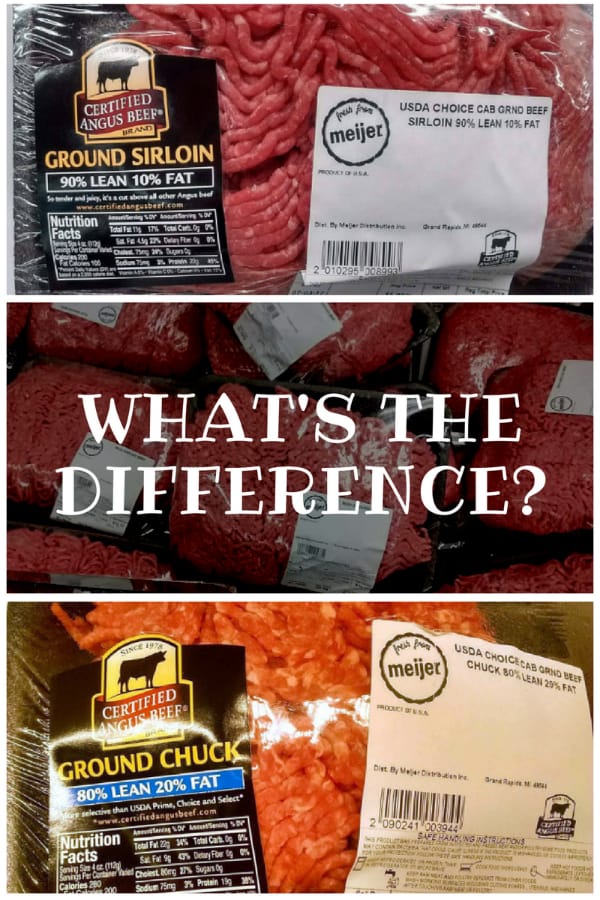
Difference Between Types of Ground Beef
-
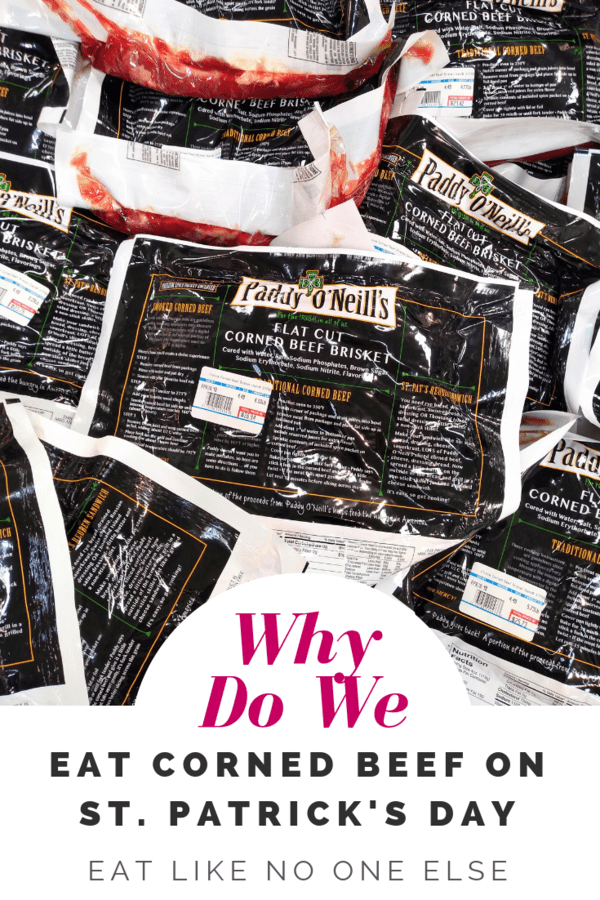
Why Do We Eat Corned Beef on St. Patrick's Day?
-
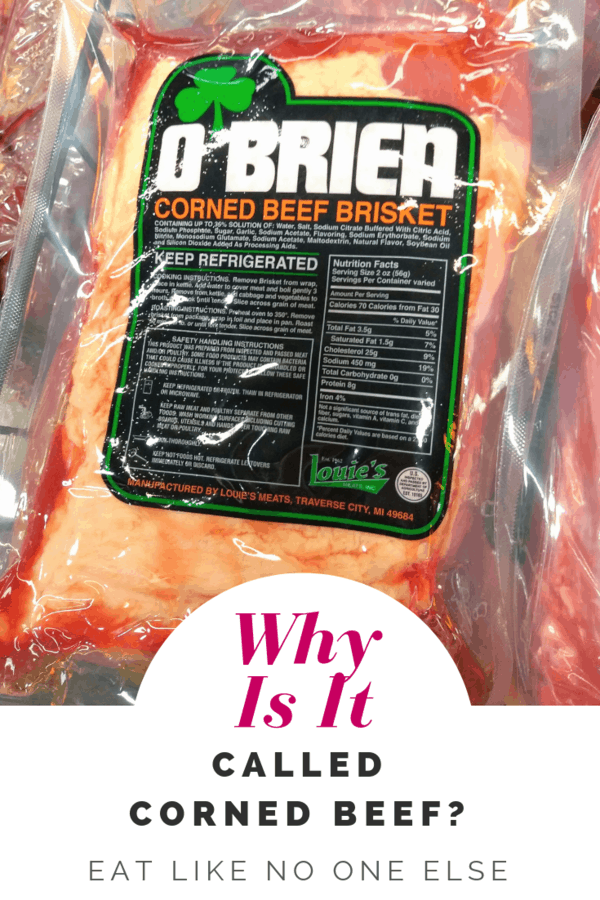
Why Is It Called "Corned" Beef?
-
How to Cook a Charcoal Steak
-
Beef & Barley Stew with Carrots & Fresh Dill
-
What is a Petite Steak?
-
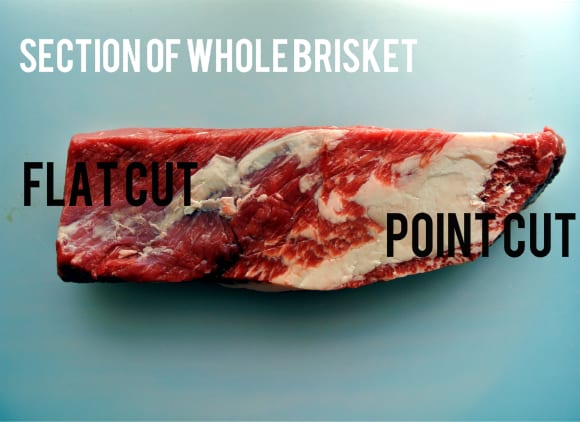
Point Cut vs Flat Cut Corned Beef Brisket
-
Beef Tenderloin Steaks
-
How to Cook a Eye of Round Steak