Skip to primary navigation
Skip to main content
Skip to primary sidebar
🏠 Home
ℹ️ About
How to Eat Like No One Else
🎄 Christmas
Christmas Breakfast
Christmas Cookies
Shopping for Christmas Dinner
🎁 Shop for Gifts
✍️ Sign Up for Virtual Events
🚫 Reduce Food Waste
🔨 Work With Us
📝 Privacy Policy
Search
menu icon
ℹ️ About Us
🧂 Upgrade Your Salt
🍎 Apples Reviews
🔨 Work With Us
🚫 Reduce Food Waste
📝 Privacy Policy
Instagram
subscribe
search icon
Search
ℹ️ About Us
🧂 Upgrade Your Salt
🍎 Apples Reviews
🔨 Work With Us
🚫 Reduce Food Waste
📝 Privacy Policy
Instagram
×
Cast Iron
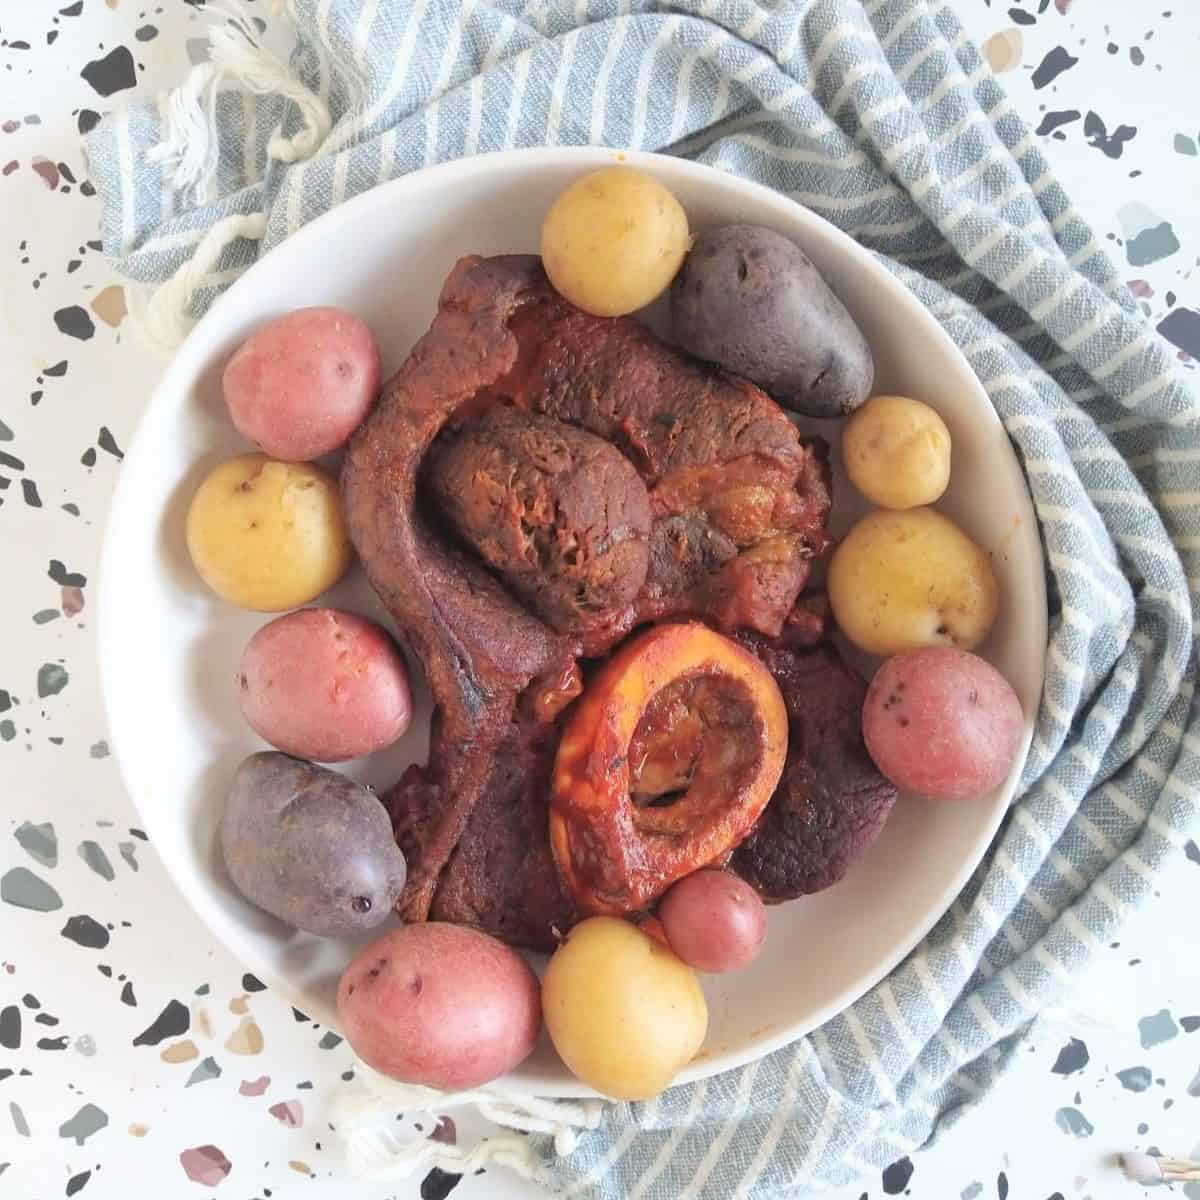
How to Cook a Chuck Arm Steak
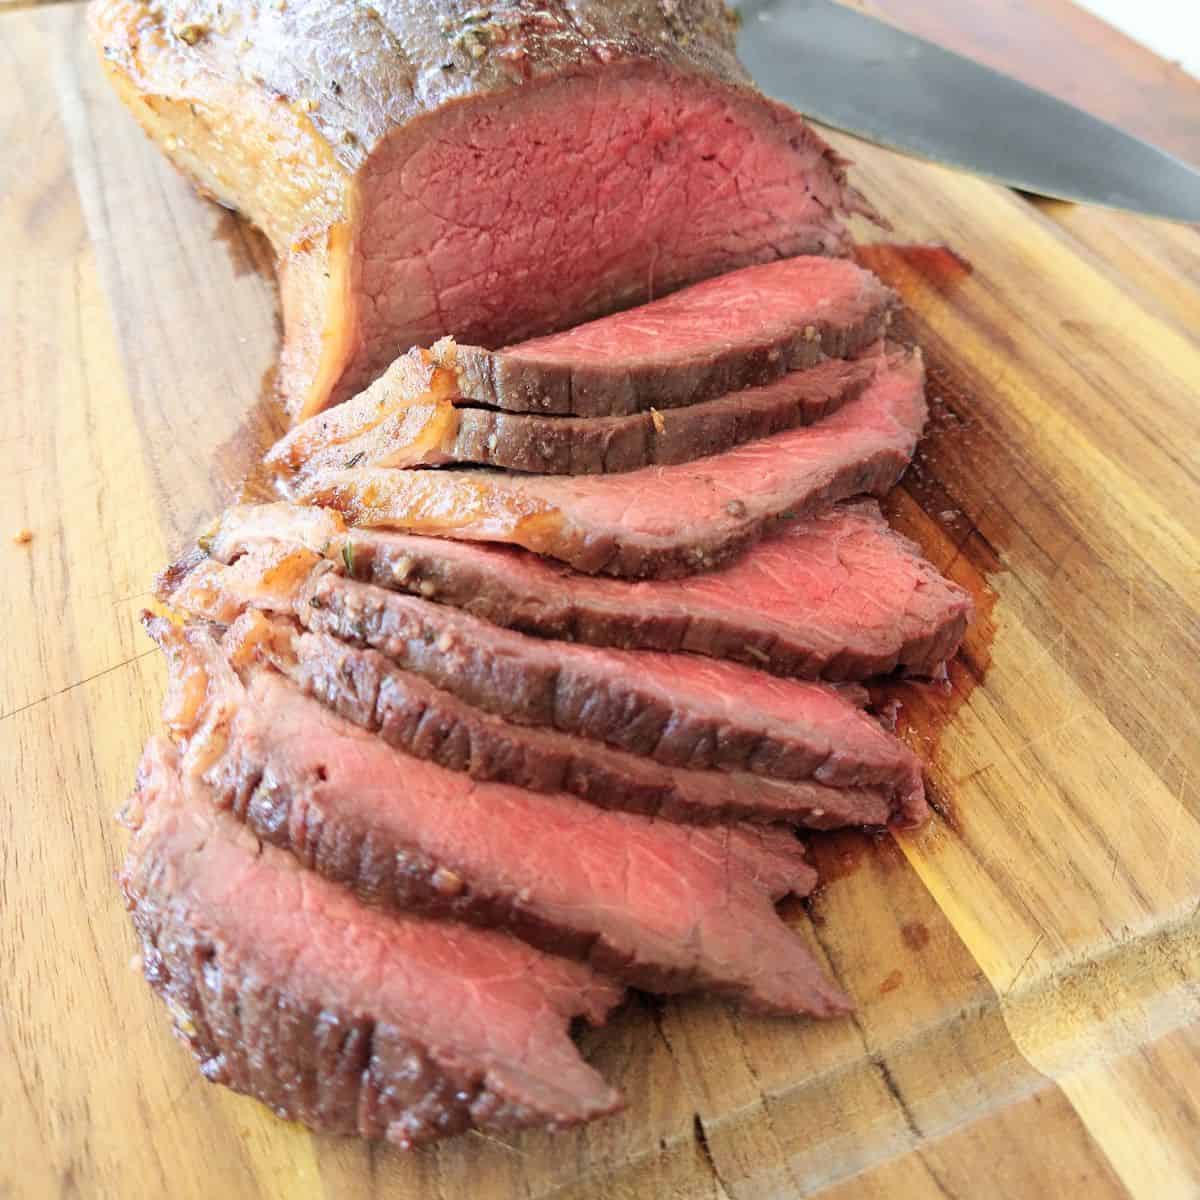
How to Cook a Tender & Flavorful Bottom Round Roast?
Better than Campbell's Bean with Bacon Soup
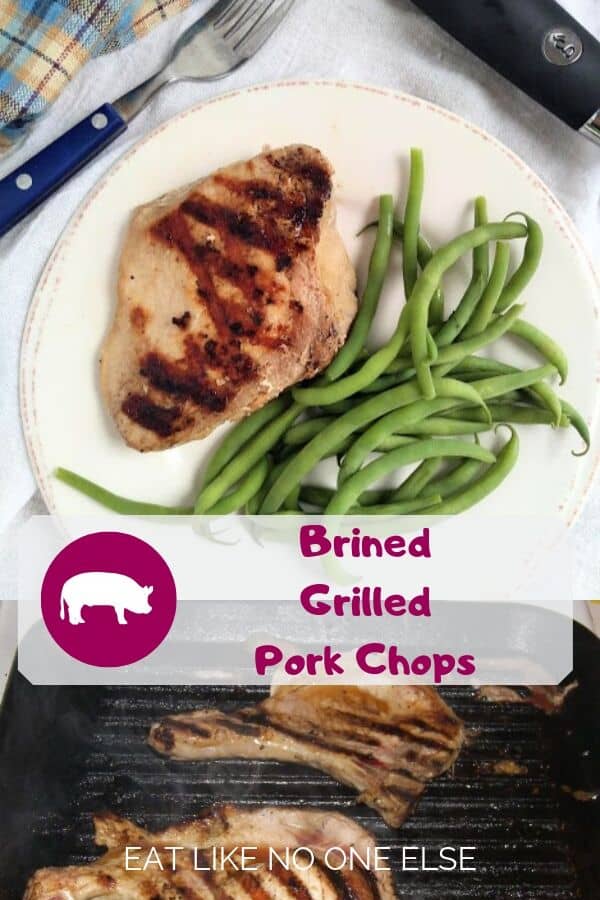
Grilled Brined Pork Chops
Alton Brown's Individual Chicken Pot Pie with Puff Pastry
Cast Iron Cookware from Lodge
How to Cook a Eye of Round Steak