Skip to primary navigation
Skip to main content
Skip to primary sidebar
🏠 Home
ℹ️ About
How to Eat Like No One Else
🎄 Christmas
Christmas Breakfast
Christmas Cookies
Shopping for Christmas Dinner
🎁 Shop for Gifts
✍️ Sign Up for Virtual Events
🚫 Reduce Food Waste
🔨 Work With Us
📝 Privacy Policy
Search
menu icon
ℹ️ About Us
🧂 Upgrade Your Salt
🍎 Apples Reviews
🔨 Work With Us
🚫 Reduce Food Waste
📝 Privacy Policy
Instagram
subscribe
search icon
Search
ℹ️ About Us
🧂 Upgrade Your Salt
🍎 Apples Reviews
🔨 Work With Us
🚫 Reduce Food Waste
📝 Privacy Policy
Instagram
×
Probe Therometer
Should You Use the Pop-Up Timer in Your Turkey?
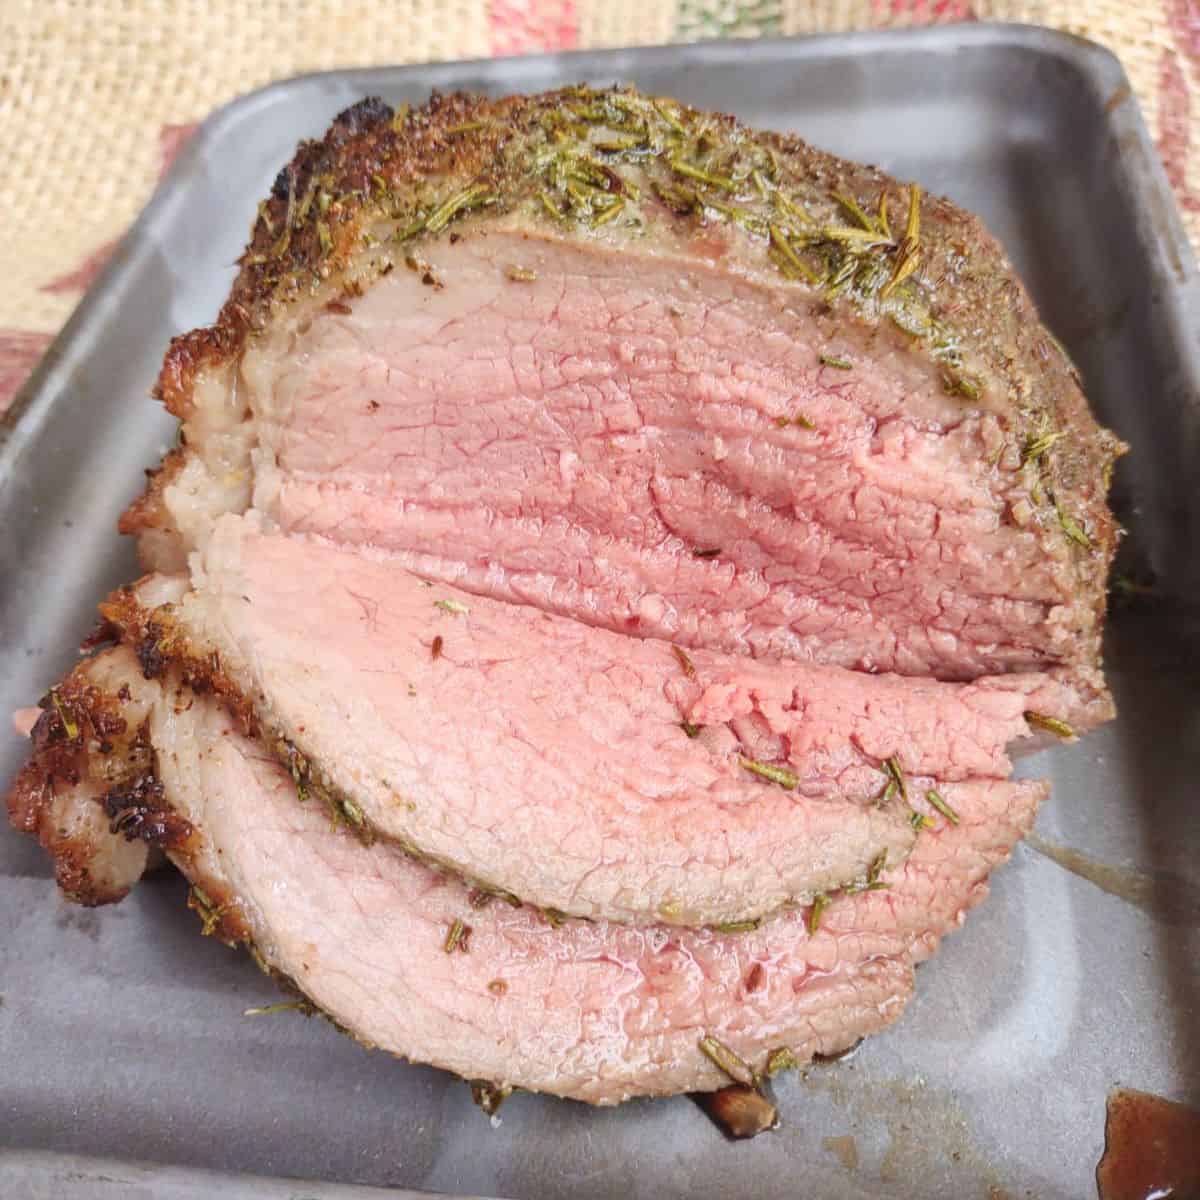
How to Cook a Tender Eye of Round Beef Roast
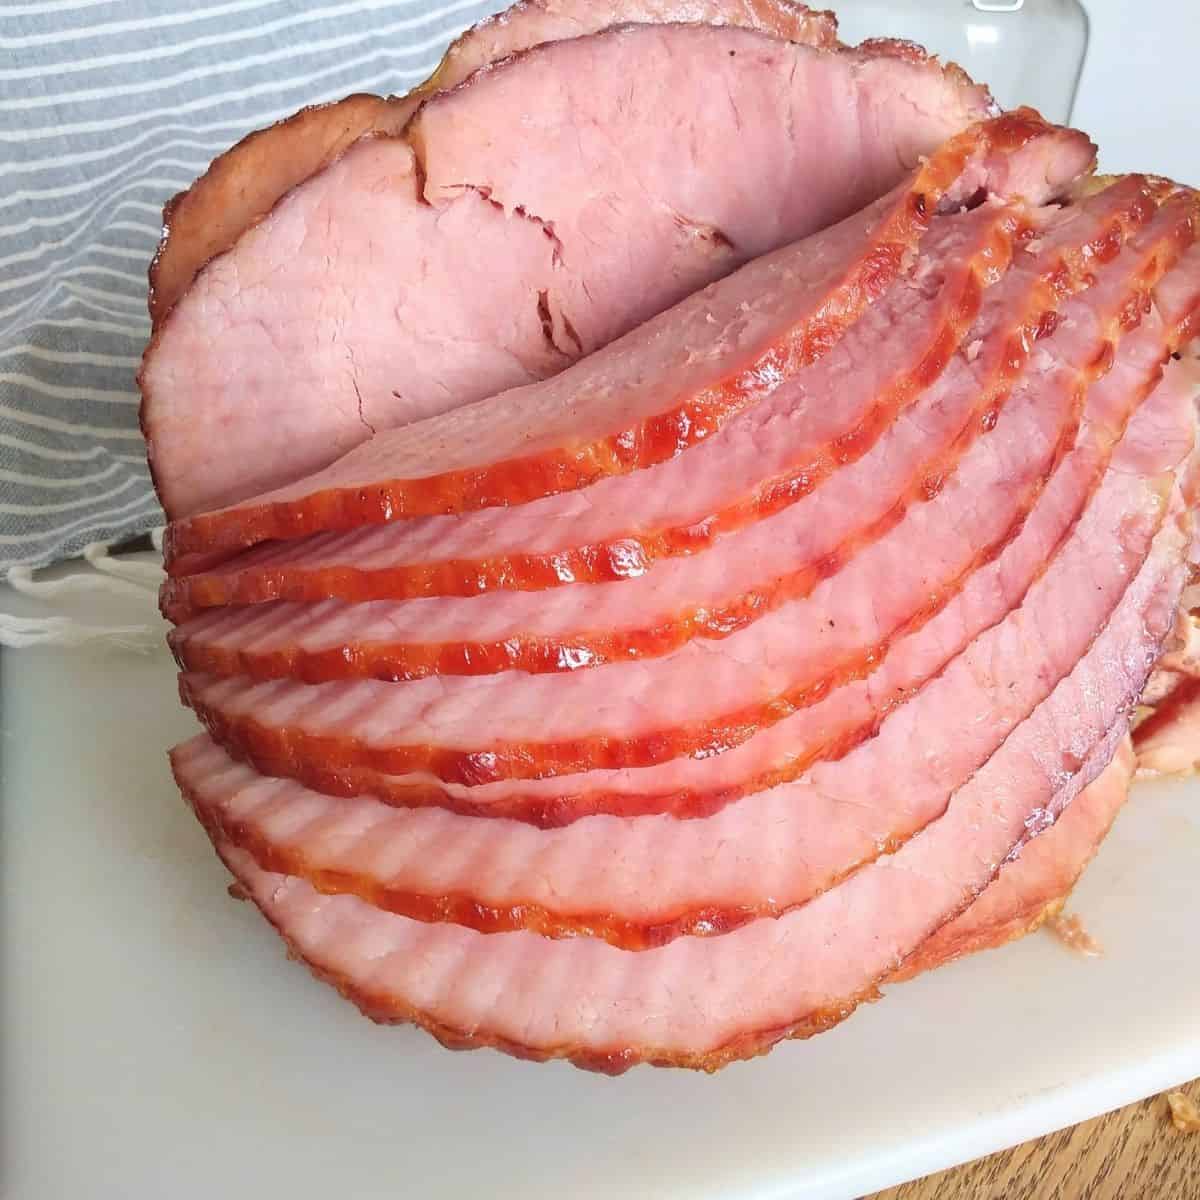
The Best Way to Keep Spiral Ham from Drying Out
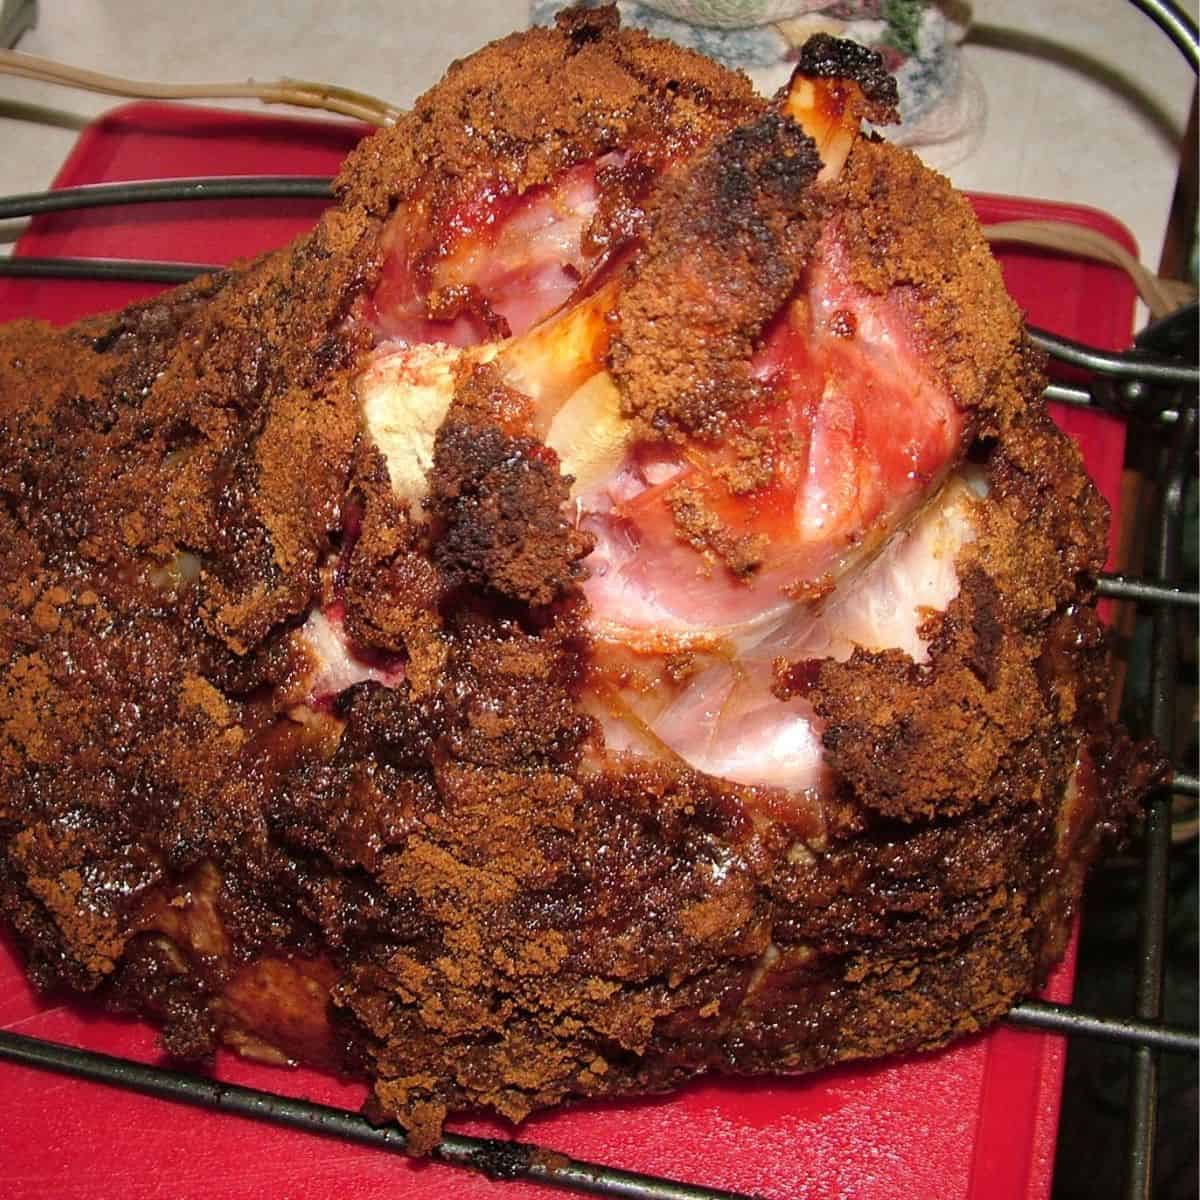
Alton Brown's City Ham with Ginger Snap Crust
How to Cook a Juicy Herb Crusted Pork Sirloin Roast with a Brine
What To Have In Your Kitchen on Thanksgiving