Steak
-
2 Methods for a Tender Chuck Eye Steak
-
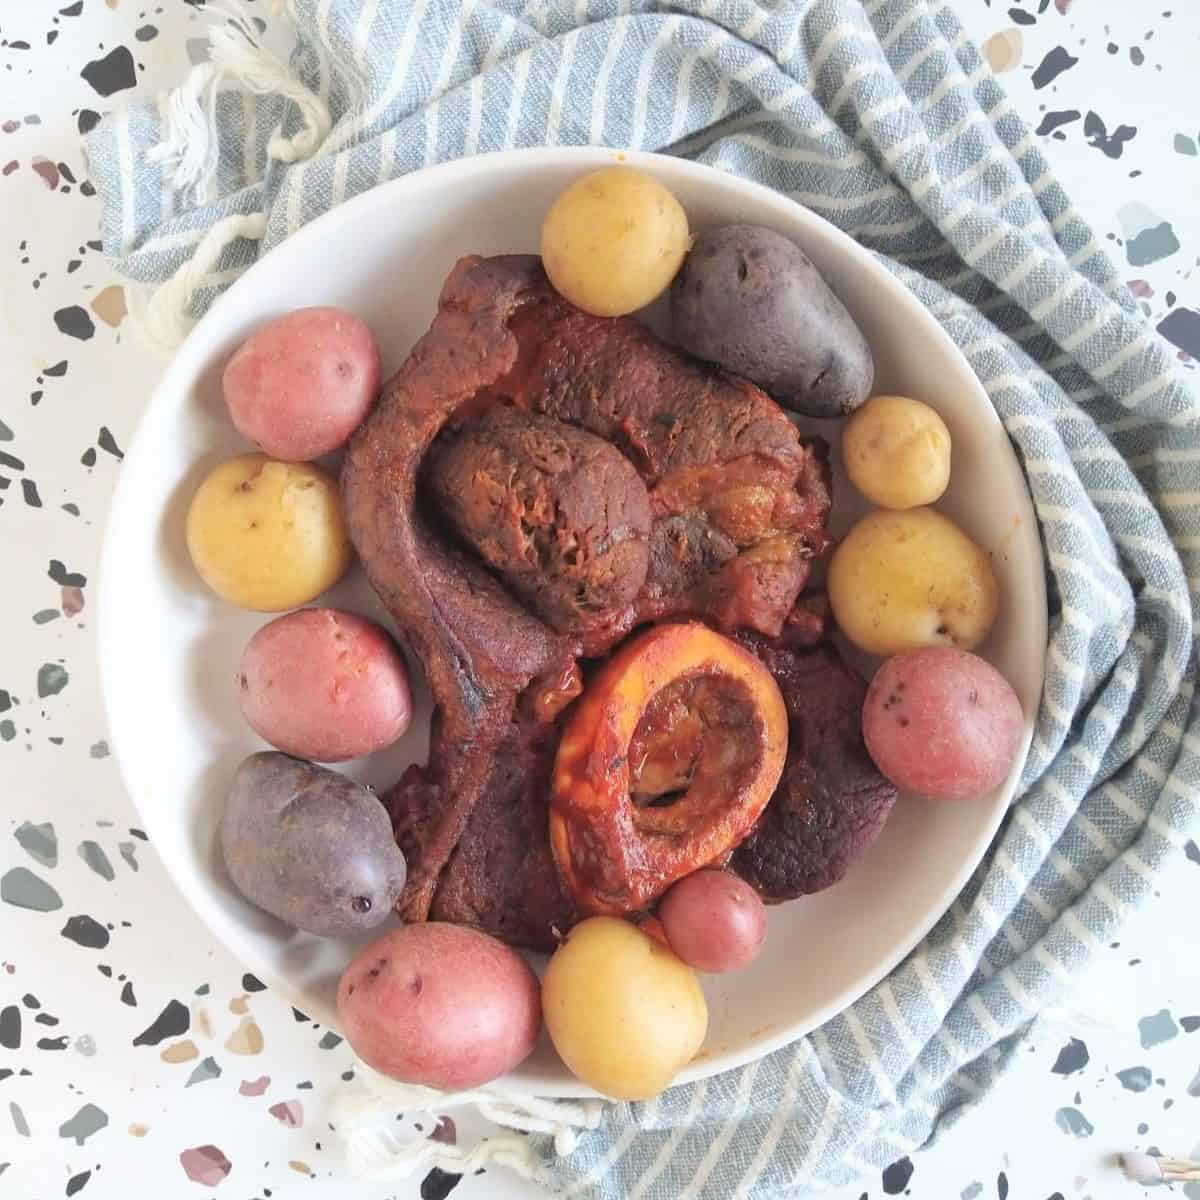
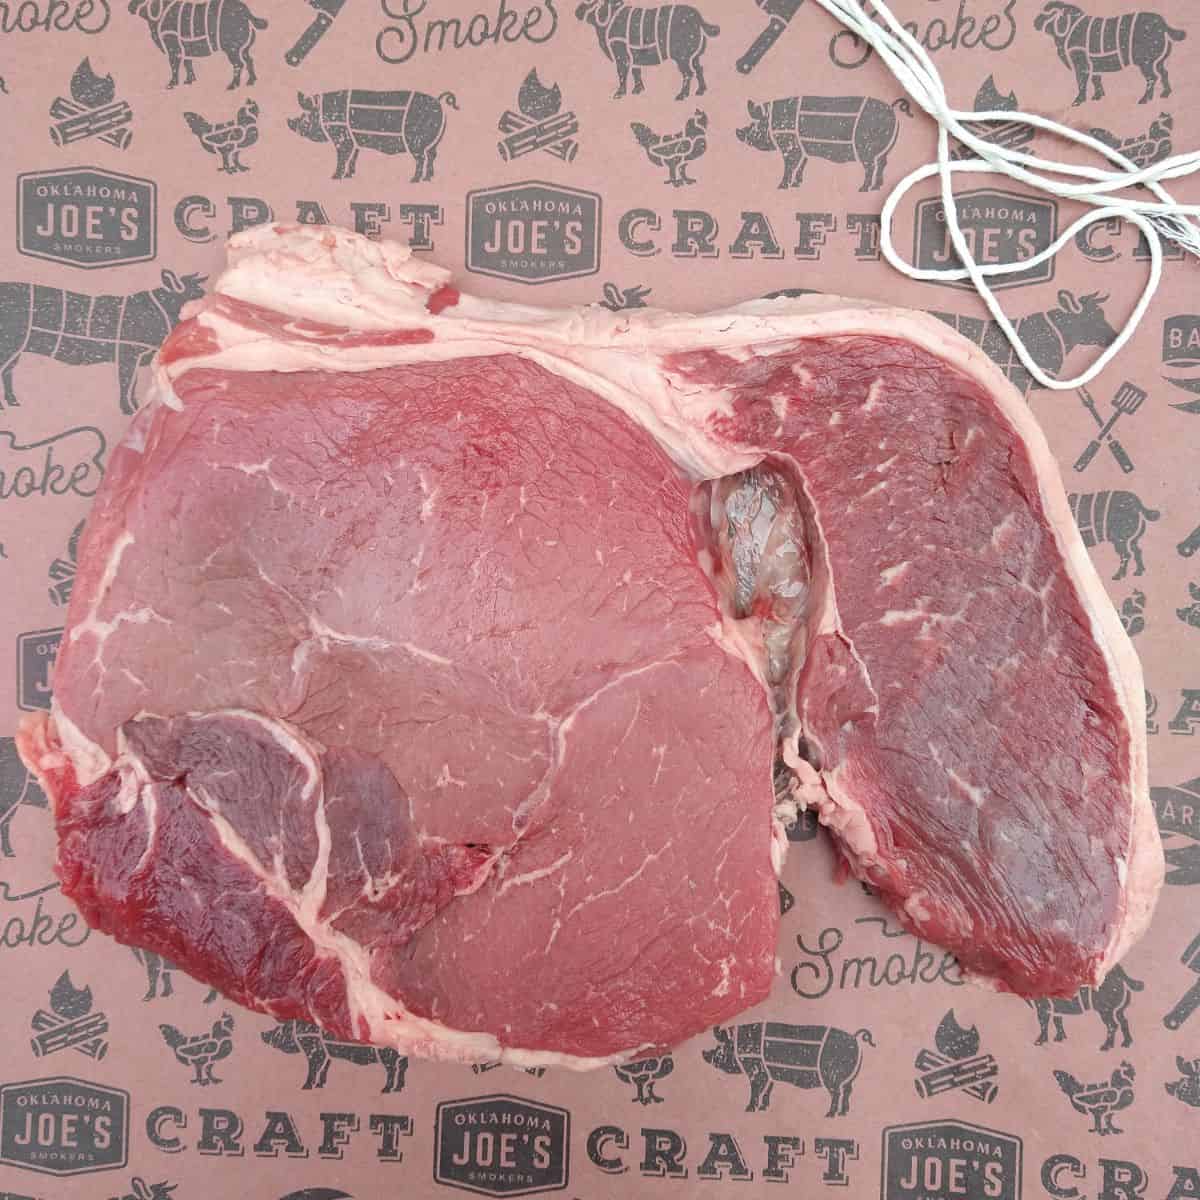
How to Cook a Chuck Arm Steak
-
What is a Good Price for Top Sirloin Steak?
-
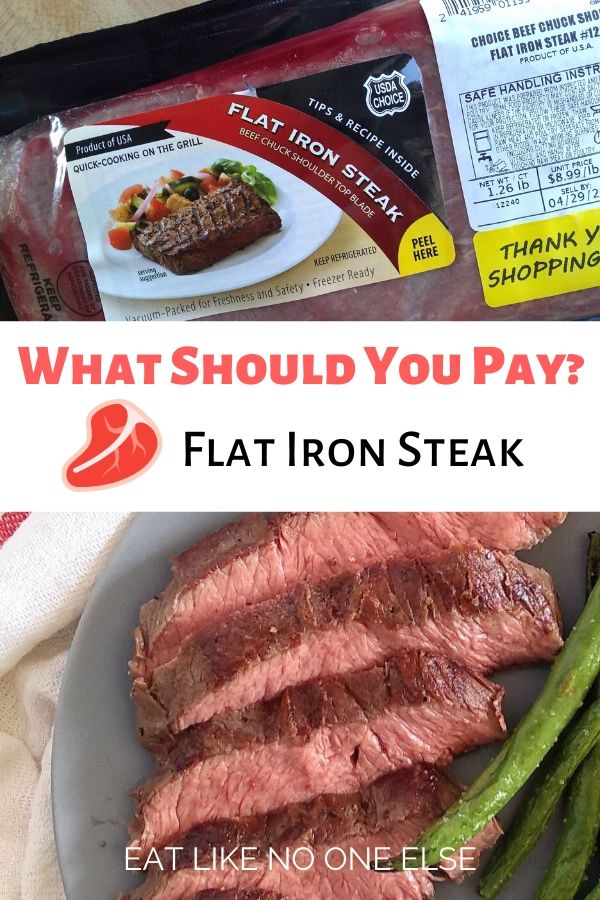
What is a Good Price for Flat Iron Steak?
-
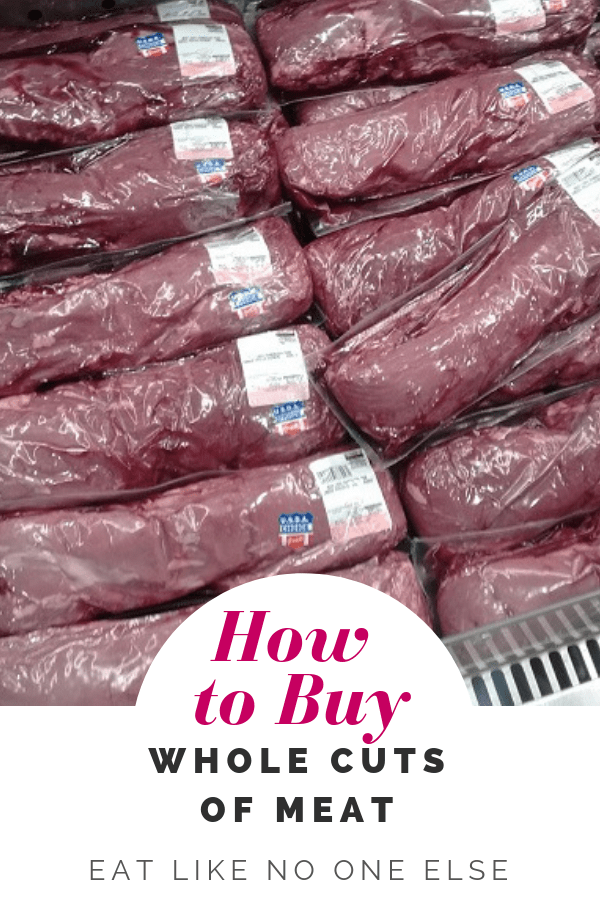
Buying Whole Cuts of Meat
-
Costco Food Finds for July 2017
-
How to Cook Top Sirloin Filet Steaks
-
How to Broil a Sirloin Steak The Alton Brown Way
-
What Cut Is a Ranch Steak? + How to Cook It
-
How to Cook a Charcoal Steak
-
What is a Petite Steak?
-
Cast Iron Cookware from Lodge
-
How to Cook a Eye of Round Steak