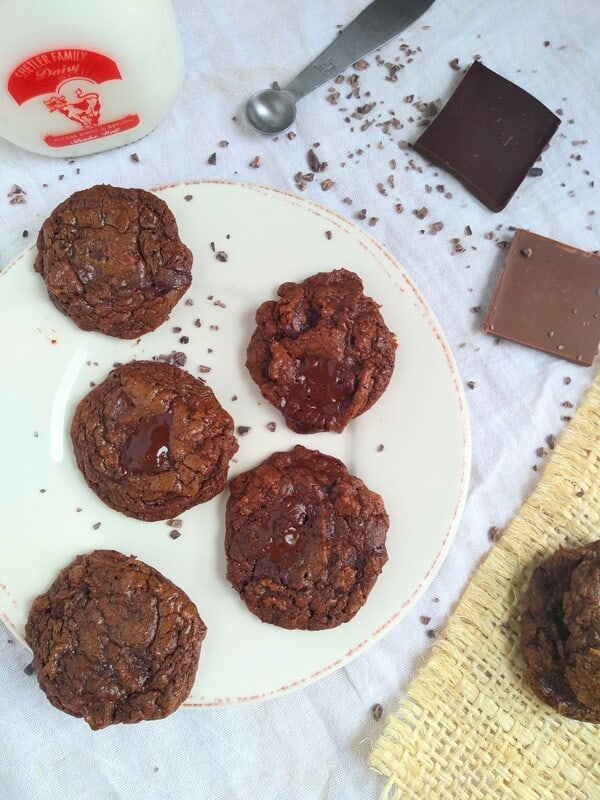
Chocolate chip cookies have nothing on the amaziness of Alton's Chocapocalypse cookies. Never before has so much chocolate been jammed into a cookie.

This post includes affiliate links. This means that, at no additional cost to you, I will earn a commission if you click through and make a purchase. These are products and services I recommend because I use or trust them. Cookies will be used to track the affiliate links you click.
Introduction originally written in 2012. We learned in 2018 that Good Eats was coming back in the form of Good Eats Reloaded and Return of the Eats.
Whenever Food Network airs a new episode of a cooking show, they almost always post recipes for the show a day or two before the show airs. On Thursday morning, I discovered what Alton Brown was making for the final episode of Good Eats, entitled "Turn on the Dark". The recipe that immediately jumped out at me was his Chocapocalypse Cookies.
Before the show aired, I set out to the grocery store to get all the supplies I needed. This cookie recipe includes several different types of chocolate: milk, 54%, 70%, 100%, and nib.
Below you will find my notes from this recipe.
**UPDATE** The full recipe use to be posted on Food Network's website, but has been pulled now. It is in Alton Brown's Everyday Cook (the book it worth your money) which I am guessing why it was pulled from the website. You can also buy the episode from Amazon and get the recipe that way. I wish I could just re-publish for ya!
Jump to:

? Shopping for the Chocolate
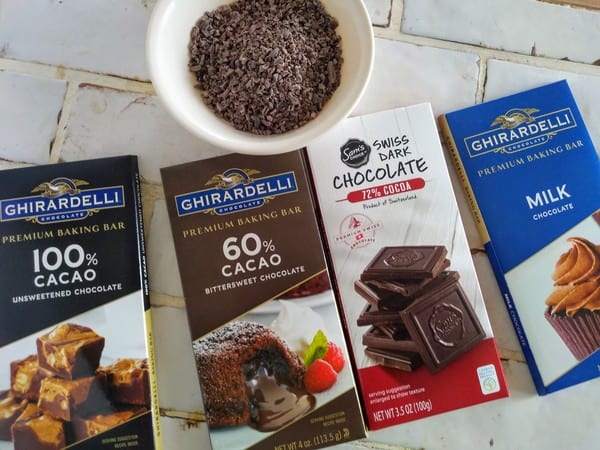
My goal when at the grocery store was the find the exact percentages of chocolate the recipe called for. I got as close as possible with these chocolate:
- Ghirardelli 100% Unsweetened Chocolate
- Ghirardelli 60% Bittersweet Chocolate,
- Sam's Choice Swiss 72% Chocolate
- Ghirardelli Milk Chocolate
The recipes also calls for cocoa nibs. The first time I made these cookies, I unfortunately at the 2 stores I visited that night, I only found chocolate covered cocoa nibs. That will work as well as you are just folding them into the batter. Later on I got a clearance deal on a huge bag of them at an Amish bulk store, so now I have plenty of cocoa nibs for a long time!
? Prep Tips
Here are some tips on prepping to make the cookies.
1. I prepped all my ingredients before I began, including chopping all the chocolate, so that later on it would be easy to put everything together.
2. The first step is to melt the unsweetened and 54% chocolate in the microwave in a glass bowl. Alton said it would take about two 30 second intervals and maybe an additional 10 seconds. My microwave isn't that powerful, so it took me several 10 second intervals after the initial minute to get to a smooth, melted chocolate.
3. I then let the chocolate cool for about 15 minutes or when it reached 90 degrees. I used my infrared thermometer to check the temperature. It really is a great tool to have when working with chocolate. So if you do a lot of work with chocolate, I would definitely recommend getting one.
4. Next it's time to beat the sugar and butter together until it resembles wet sand.
5. Then I added the eggs and vanilla extract until completely combined.
6. Then I added the melted chocolate, and mixed that until completely combined.
7. Then I added the flour mixture, slowing add it so I didn't have flour flying back up in my face.

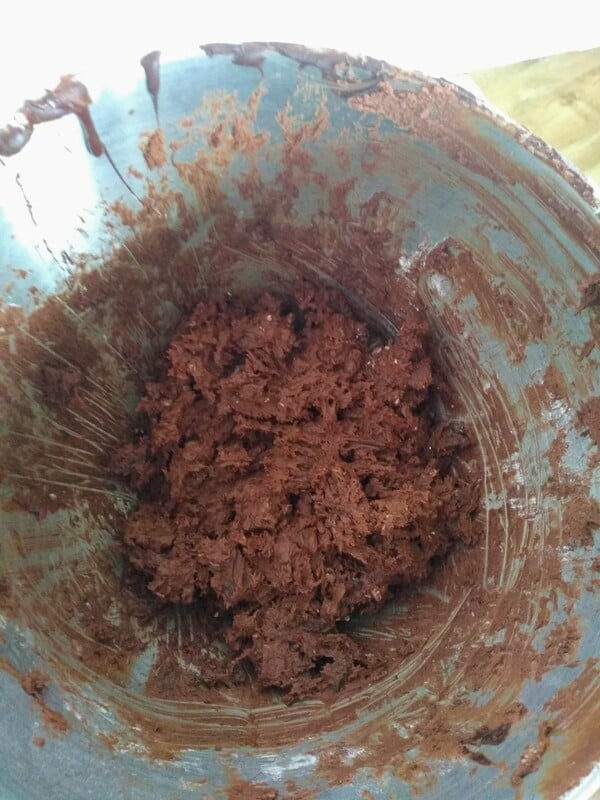
8. Finally, I added in the 70% chocolate, milk chocolate, and cocoa nibs. I just stirred them in with a spatula.
9. The dough has to go into the fridge for 45 minutes. Do not skip this step, otherwise your cookies will spread and form one big chocolate mass on your sheet pan. Be patient! I know it's hard.
? Baking Tips
Here are my tips for when it comes time to bake your cookies -
1. Alton used a 1 ¼-inch diameter disher to dispense his cookies. I did not own a disher when I first made these so I had just used an ice cream scoop that I filled about half way. But trust me it's so much easier with a disher.

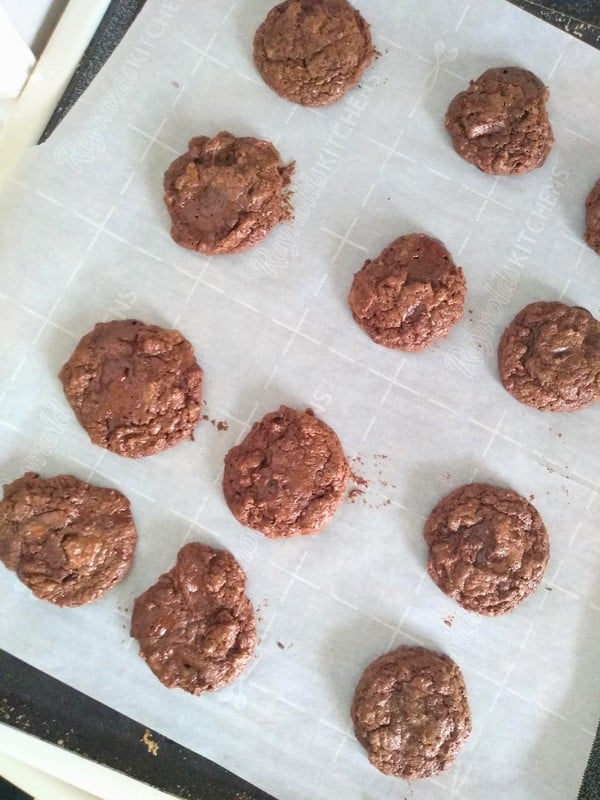
2. I baked mine for exactly 8 minutes, rotating the pan half way through. The cookies came out perfect the first time. The cookies will come out looking wet and doughy. Resist the urge to put them back in. I mean it, they are suppose to look that way. If your cookies look like mine do in the photo above, they are perfect. They will be set all around with some gooeyness in the middle. If you over bake them, they won't taste good.
♻️ Substitutions
As I said that top, try to best find the percentage of chocolate Alton calls for. But if you can't, it's no big deal. Use the variety you can find. I would really try to go with chocolate ears and NOT trying to use chocolate chips instead.
Want to make them gluten free? Pick out your favorite all purpose gluten free flour that says you can use it 1:1. Since you don't need gluten to make these cookies, you don't need to worry too much about subbing in gluten free flour.


Tara Hammer
Thank you so much for all your tips and help in making these cookies. I know this information will be invaluable to making these cookies a success for me. I also appreciate the percentages you have listed along with photograph. That was so kind and thoughtful. I am sure to bookmark your blog so I know where to go when I want helpful and thoughtful details of a recipe!!