Skip to primary navigation
Skip to main content
Skip to primary sidebar
🏠 Home
ℹ️ About
How to Eat Like No One Else
🎄 Christmas
Christmas Breakfast
Christmas Cookies
Shopping for Christmas Dinner
🎁 Shop for Gifts
✍️ Sign Up for Virtual Events
🚫 Reduce Food Waste
🔨 Work With Us
📝 Privacy Policy
Search
menu icon
ℹ️ About Us
🧂 Upgrade Your Salt
🍎 Apples Reviews
🔨 Work With Us
🚫 Reduce Food Waste
📝 Privacy Policy
Instagram
subscribe
search icon
Search
ℹ️ About Us
🧂 Upgrade Your Salt
🍎 Apples Reviews
🔨 Work With Us
🚫 Reduce Food Waste
📝 Privacy Policy
Instagram
×
Cabbage
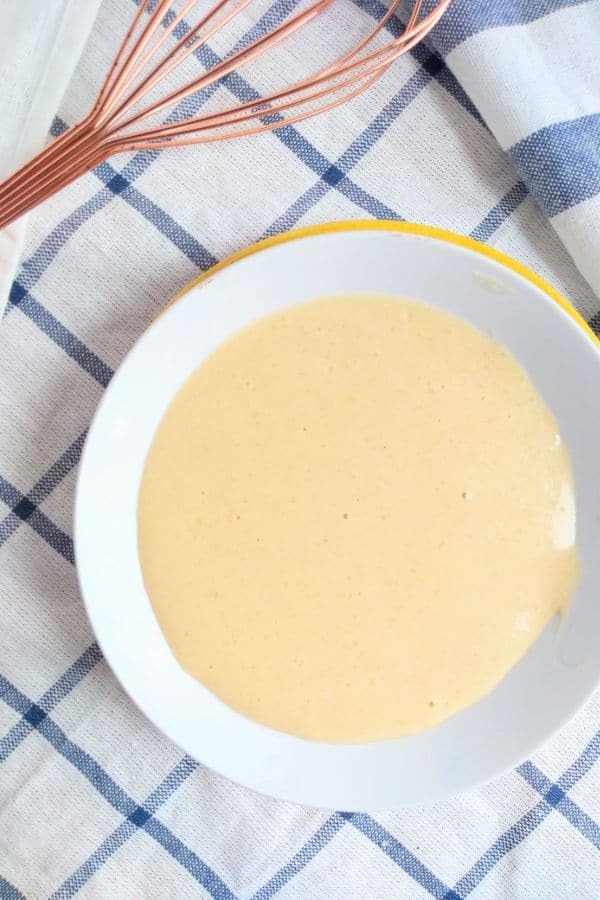
Mustard Sauce for Corned Beef & Cabbage [with Boxty Cakes]
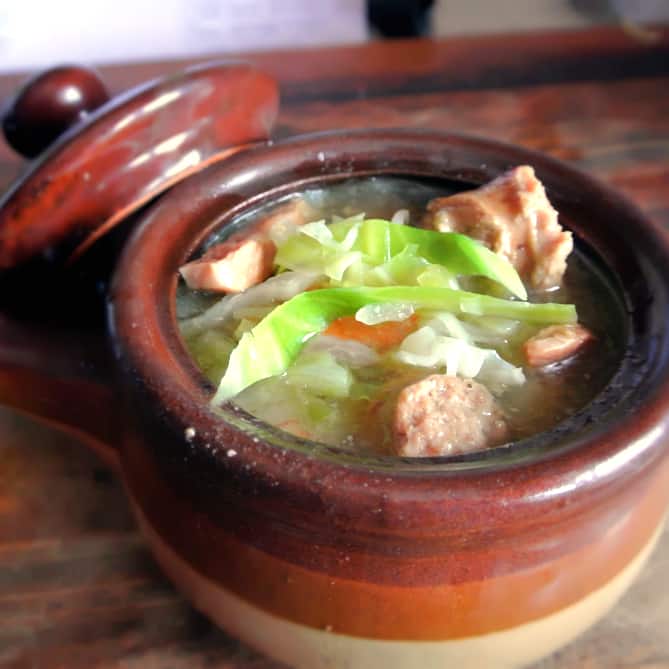
How to Make Dublin Coddle with Cabbage
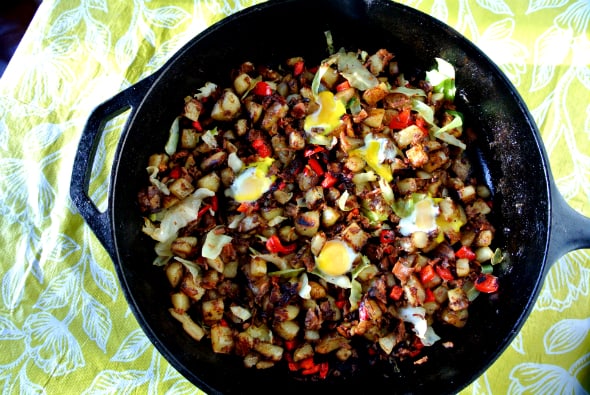
How to Make Leftover Corned Beef Hash
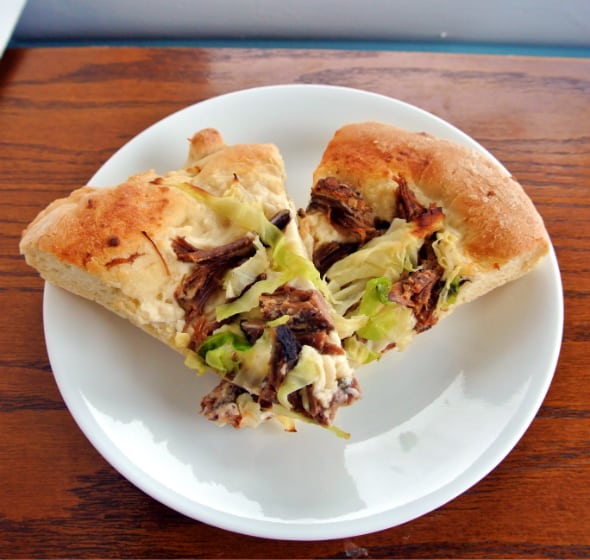
Corned Beef & Cabbage Pizza
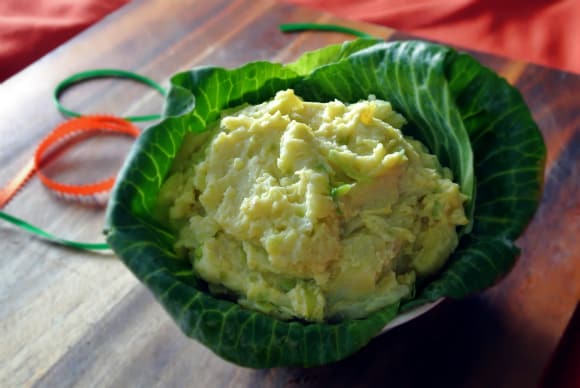
How to Make Irish Colcannon