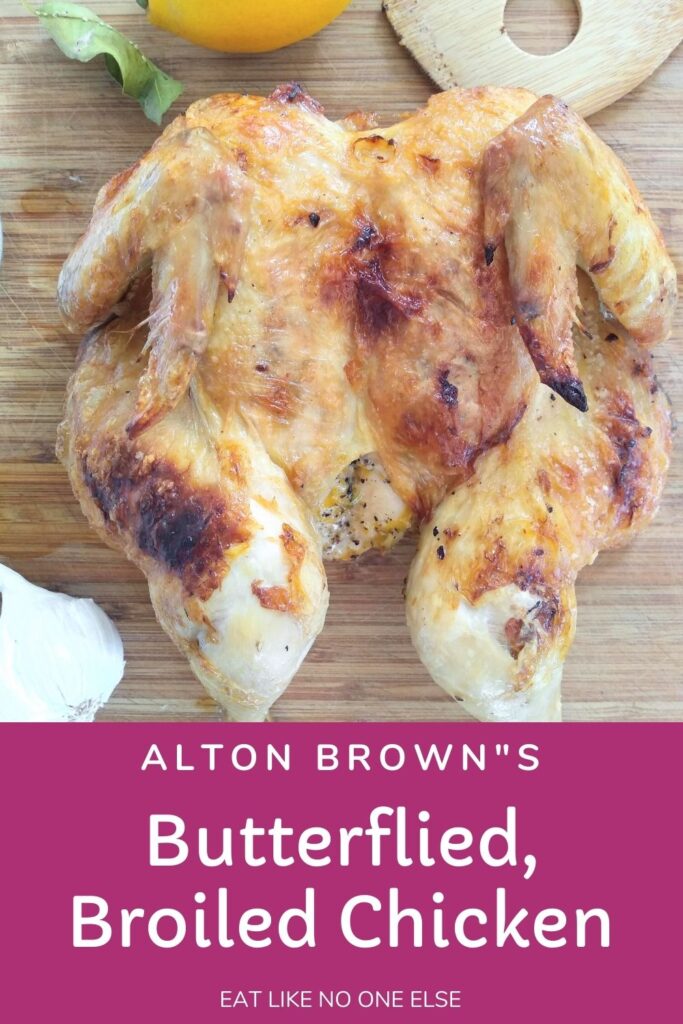
Tired of the same old roast chicken? Give Alton Brown's method for butterflying - also known as spatchcock - and broiling your chicken a try. Learn about the different methods and seasonings he has used. Get our version of his recipe below that is a variation of all his recipes.
This post includes affiliate links. This means that, at no additional cost to you, I will earn a commission if you click through and make a purchase. These are products and services I recommend because I use or trust them. Cookies will be used to track the affiliate links you click.
They say there is more than one way to skin a cat.
I am not interested in skinning cats.
But I do say there is more than one way to roast a chicken.
Alton Brown has shown there is even more than one way to butterfly and broil a chicken.
He delivered his original recipe back in the 1st season in 1999. His first Good Eats book had a recipe in it as well. And his new Good Eats Reloaded show had an updated version.
We are going to look at all the information, and show you how I butterflied and broiled a chicken most recently.
Choosing the Chicken
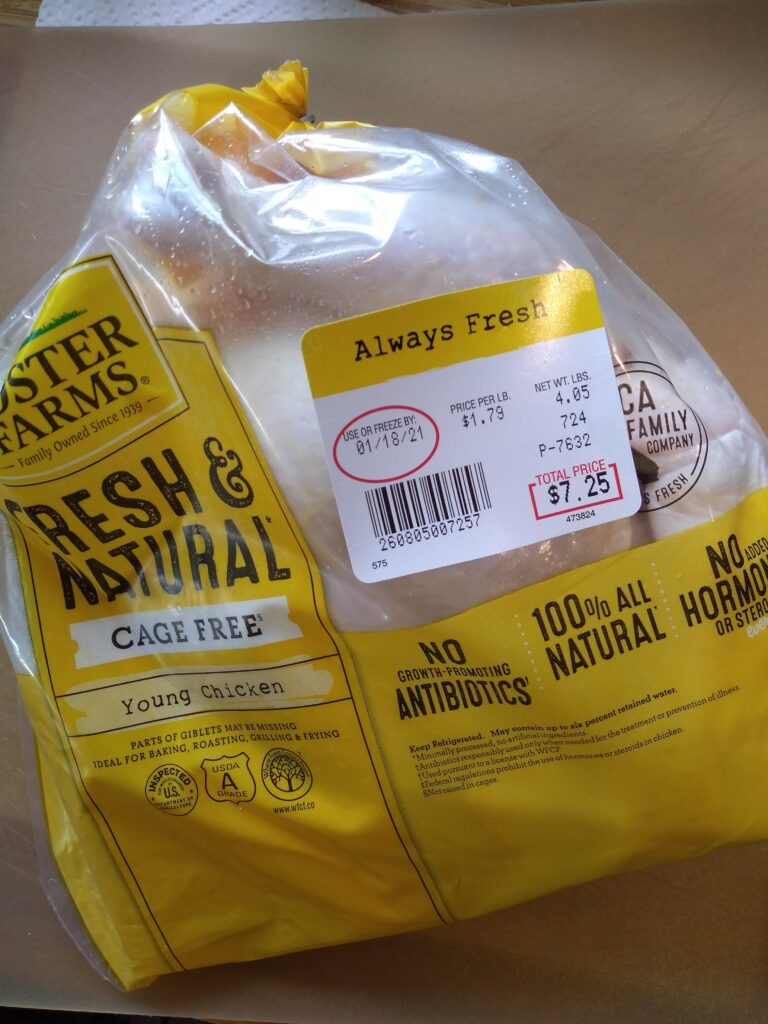
It all starts with buying the chicken.
For this it's best to go with a smaller chicken, what's called a broiler or fryer chicken. They weight around 3-4 pounds. Larger chickens will be hard to work with. If you want more meat, then just do 2 chickens. These chickens cook faster, so you could be able to do 2 chickens in close to same time it normally takes to do 1.
How to Butterfly
Butterflying the chicken was easier than I thought. Especially since I have butterflied a turkey.
A good pair of kitchen shears will help you remove the backbone. Just cut down one side of the bone completely and then the other.
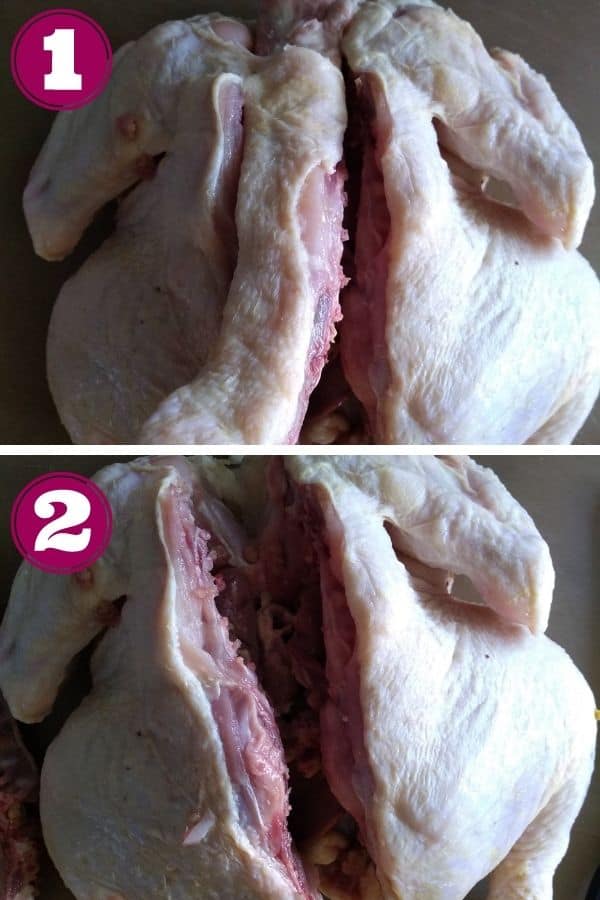
The harder part is removing the keel bone that connects the two breasts. Alton makes it look easy in the show. His butchering skills are definitely better than mine.
If you have trouble and can't remove the bone, the chicken will be mostly flatten still. You will still be better off then if you didn't butterfly at all.
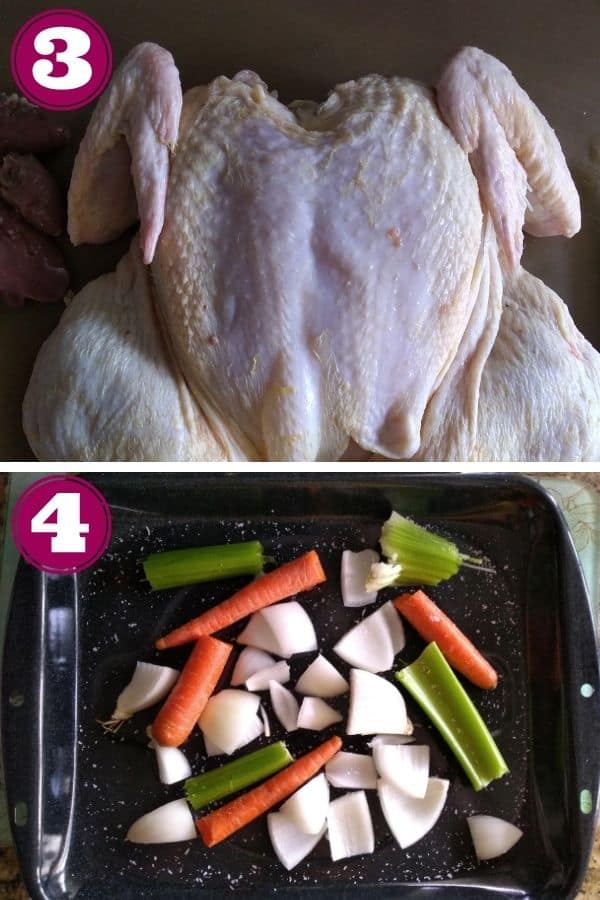
When the chicken is butterflied, you place it on top of veggies like onions, celery, and carrots. This is good opportunity to use up vegetables that look like they are past their prime.
Broiling the Chicken
The actual cooking process is where I ended up into trouble. It took some time to master it. I understand why he decided to re-work the original recipe on Good Eats Reloaded.
First Attempt
The first time I broiled the chicken, I did so with the rack at the lowest level. But it was still raw in the middle after the 30 minutes it says in the recipe outline.
I would use my probe thermometer to get the exact temperature but in this case the broiler is too hot a temperature. It goes above the recommended high temperature for my probe.
What I discovered when reading the first volume of Good Eats, the book tells you to broil it for 25 minutes, then flip and another 25, much longer than the online instructions say.
Second Attempt
The second time I broiled the chicken, I read the book halfway through after being frustrated the chicken still wasn't done even when I moved it to a higher position in the oven. Some of the skin was pretty black.
I ended up having to finish it by turning the broiler off and just roasting it at 425.
Third & Latest Attempt
Sometimes with recipes, you have to work with them a bit, figure out what works for you. Don't just give up with the first "failure". Both times my chicken still turned out moist and juicy but I had problems with times and getting the color of the skin just right.
Here are my notes from this latest attempt.
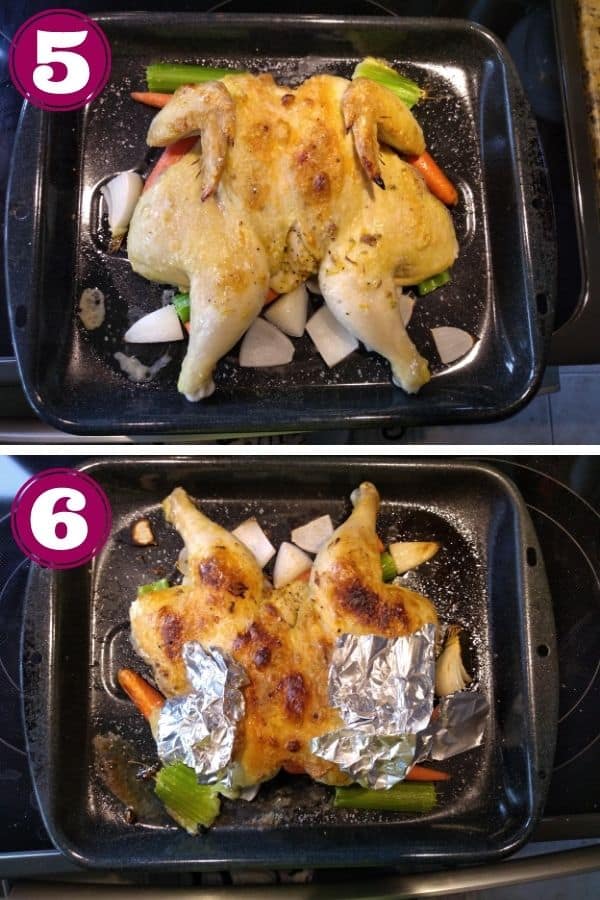
I put the chicken under the broiler for 10 minutes to start. After that time I noticed the wings were starting to burn on the tips. You should tuck them underneath so that doesn't happen. But if you forget like I did, I recommend covering them with some foil to prevent further burning.
I then cooked the chicken for another 5 minutes until it looked brown like in step 6.
Once the chicken is browned you can flip it over. Although if I did it again I would put the chicken breast side down first. The skin on top wasn't as crispy after I flipped it over. I had to put in back under the broiler for 2 minutes to dry it back out.
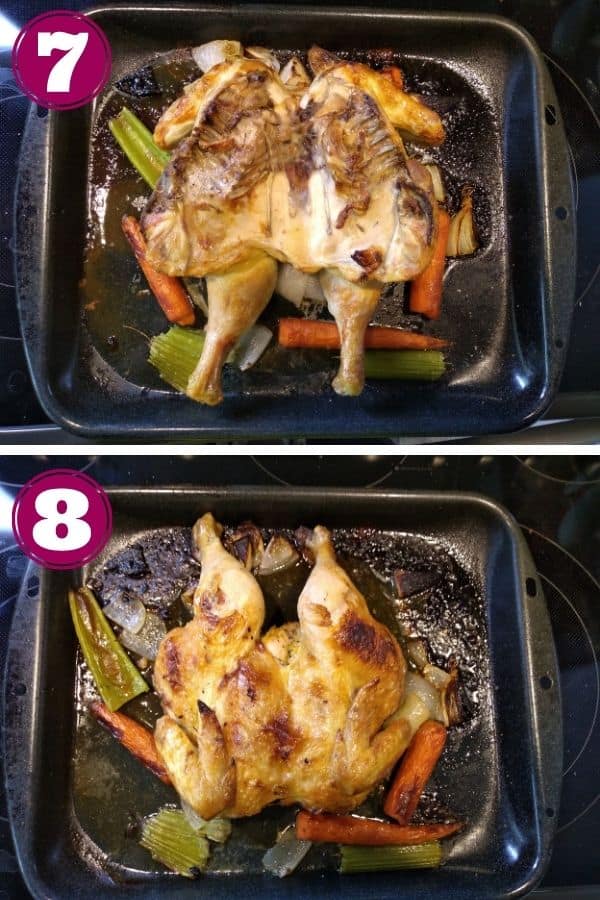
Those carrots were perfectly cooked by the way and oh so delicious. Certainly don't just toss them out. Depending on time and the size of your carrots, they may or may not be as prefect as these were.
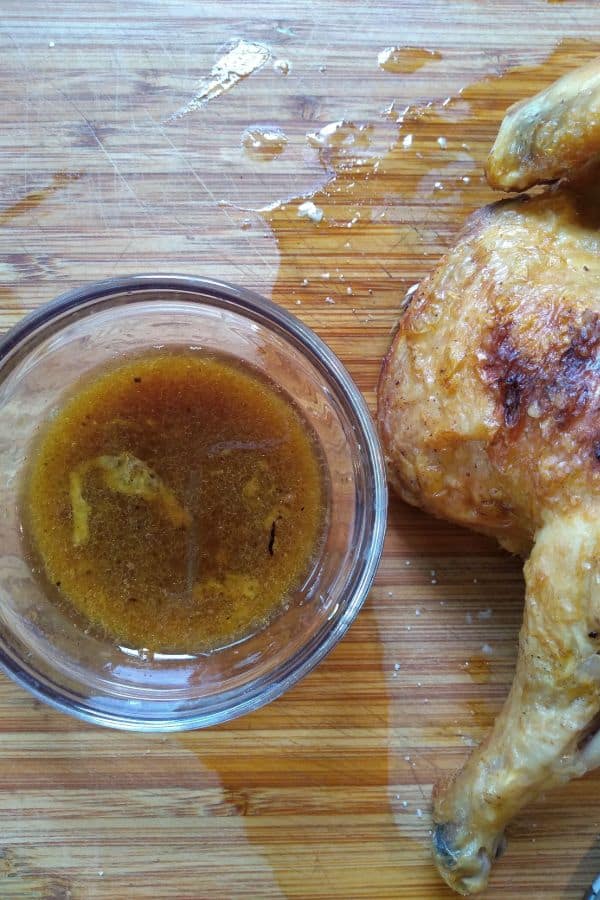
When I remove the chicken I carefully drained all the liquid and I was left with this delicious au jus that I used for dunking when eating the chicken. In the original recipe, Alton adds chicken stock and red wine to make more of a sauce. I like the drippings just on their own.
New Cooking Method
In Alton's new recipe from Good Eats Reloaded, he instead opts for roasting at 550 degrees with pizza stones in the oven. That is because broil temperatures can vary depending on the specific oven.
I can attest to that. I have done the recipe in multiple ovens. The latest was my mother in law's brand new double oven. I think my chicken turned out better because the top oven has a broiler that is small, thus easier to heat up, and to reheat when the door is opened.
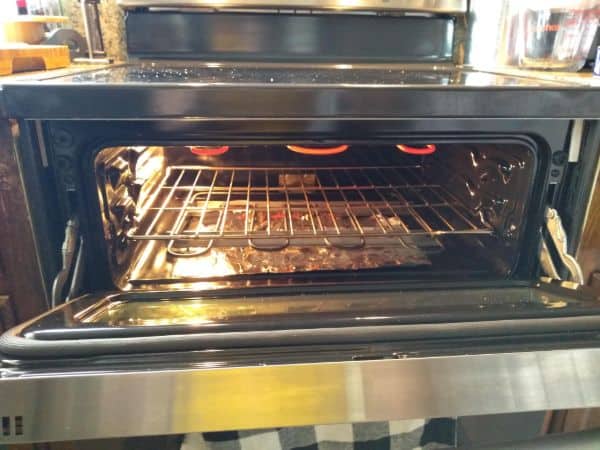
To really give a recipe that is going to work for everyone and that everyone will be able to repeat, Alton went to roasting at a high temperature instead of using the broiler. But through some trial and error you can figure out what will work in your broiler.
Seasoning the Chicken
You might think it's strange that we are talking about seasoning the chicken after we talked about cooking it alright, but I wanted to show how the difference in seasoning has changed.
Alton's original method was to put the seasoning right under the skin. In his new method he brines the chicken instead.
Each method has their own merits.
| Original Method | New Method |
| Season goes right under the skin | Chicken is brined |
| You can season and cook right away | You have to wait for 8 hours before cooking |
| Easy to find seasonings | More challenging to find seasonings |
| Veggies underneath the chicken | No veggies |
| Served with au jus | Not served with au jus |
Both methods are going to produce delicious chicken. No doubt. I think the original method would be more approachable for most home cooks since you can throw it together faster and it doesn't require ingredients like Za'tar and Aleppo pepper.
But if you are more adventurous, give the new recipe a shot. The recipe at the end of this post is based on the original method with some slight variation.
More Alton Brown Recipes
Here are some more Alton Brown recipes that we have reviewed:
✋ Have you tried Alton Brown's butterflied chicken before? Leave a comment below and share your experience.
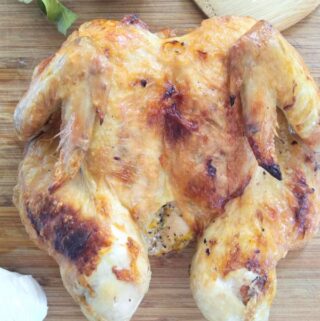
Broiled, Butterflied Chicken
Ingredients
- 3-4 lb whole chicken
- 1 tsp kosher salt
- 1 ½ tsp freshly cracked black pepper
- 4 cloves garlic minced
- 1 lemon zested
- extra virgin olive oil
- mixture of onions, celery, and carrots
Instructions
- Combine the minced garlic, lemon zest, ½ tsp of kosher salt, and black pepper in a small bowl. Add enough oil to make a paste. Set aside.
- Place the chicken on a board with the breast side down.
- Find the bone that runs down the middle. Cut it away from the meat on one side and then cut it on the other side to remove the bone.
- Find the bone that connects the two sides of the breast. Using a pairing knife, remove it. It's ok if you can't remove it, the chicken will still be flatten, just not as flat as possible.
- Turn the chicken over and flatten it down with your hands. Gently pull up the skin to place the seasoning mixture underneath the skin. Then wash those hands!
- Grab enough onions, celery, and/or carrots to place underneath the chicken. Quarter the onions and break the celery and carrots in half. Place on a roasting pan. Then put the chicken (breast side down) on top of the vegetables
- Turn the broiler on or set your oven to 500-550 degrees or as high as it will go. Place the pan into the oven. Drizzle with oil and sprinkle ½ tsp of salt on the skin (both sides).
- Broil for 10 minutes then flip over, so the breast side is on top.
- Broil for 20-25 minutes or until the chicken's internal temperature is 160 when stuck into a thigh. Check the chicken after 15 minutes, if it's getting too brown you can carefully cover it with foil and put it back in until the internal temperature is reached.
- Allow the chicken to rest for 10 minutes before carving.
- Once you remove the chicken from the pan, you can carefully drain any of the liquid. This can be use to dip the chicken in - it's delicious.
Notes
- Combine 4 tablespoons of melted butter with 2 teaspoons Aleppo pepper and 1 ½ teaspoon za'atar.
- Brush half of it onto one side of the chicken before you put it in the oven and when you flip the chicken brush on the other side.


Leave a Reply