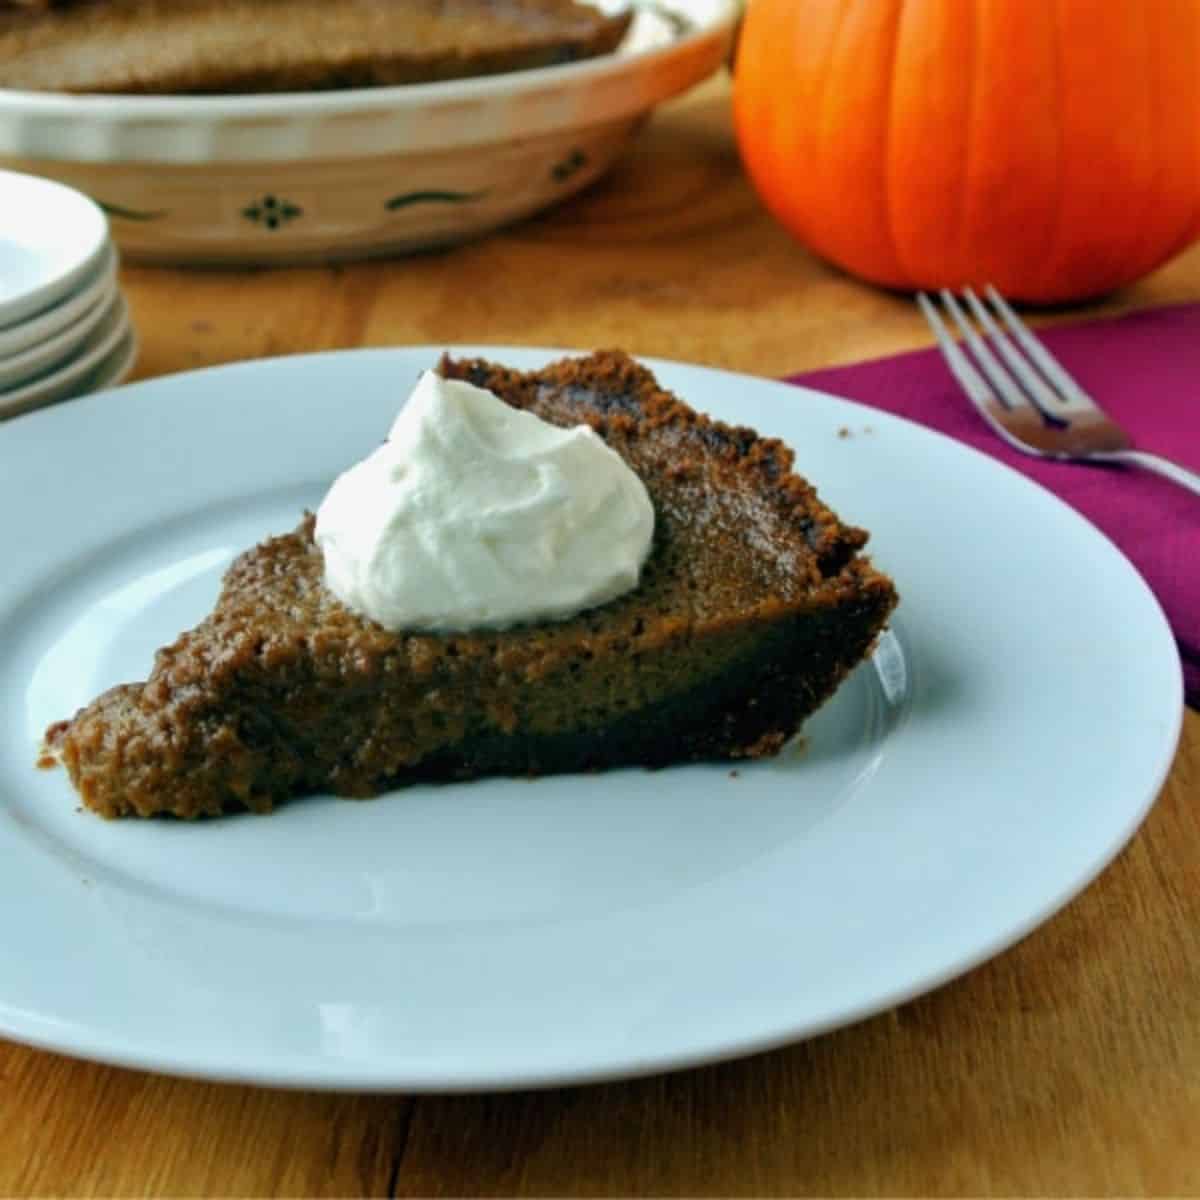
My all time favorite pumpkin pie is Alton Brown's. It has a delicious ginger snap crust.
Don't be shy with the spices!
This post includes affiliate links. This means that, at no additional cost to you, I will earn a commission if you click through and make a purchase. These are products and services I recommend because I use or trust them. Cookies will be used to track the affiliate links you click.
Growing up I wasn't a huge pumpkin pie fan.
I had spend years eating pumpkin pies that came directly from a grocery store and certainly tasted like it.
Or if they were homemade several ingredients came out of a can.
My world changed when Alton Brown came out with a new Good Eats episode "American Classic IX Pumpkin Pie" right around Thanksgiving time.
I have never made my own pumpkin pie before so I was looking forward to trying this recipe to see if it would be worthy of a spot on the Thanksgiving menu. I can tell you that it has been on my menu ever since!
📋 Ingredients
Here is what you will need to make Alton's pie.
Crust
- 6 ounces gingersnap cookies
- 1 tablespoon dark brown sugar
- 1 teaspoon ground ginger
- 1 ounce butter melted
Filling
- 16 ounces fresh pumpkin puree
- 1 cup half and half
- ½ teaspoon freshly grated nutmeg
- ½ teaspoon kosher salt
- ¾ cup dark brown sugar
- 2 large eggs
- 1 large egg yolk
As you will see in the ingredient list in the card below I have added ½ teaspoon cinnamon and ¼ teaspoon of ground cloves to the filling. I can't imagine a pumpkin pie without these. They are optional thought just not in my house.
Alton also calls for dark brown sugar. You can use light brown sugar in the same proportion. However I like richer molasses flavor of dark brown sugar.
Stauffer Ginger Snap cookies are my go-to. They are the best tasting ones with tons of ginger flavor and are perfectly crisp. They make for an excellent crust.
🥧 Crust
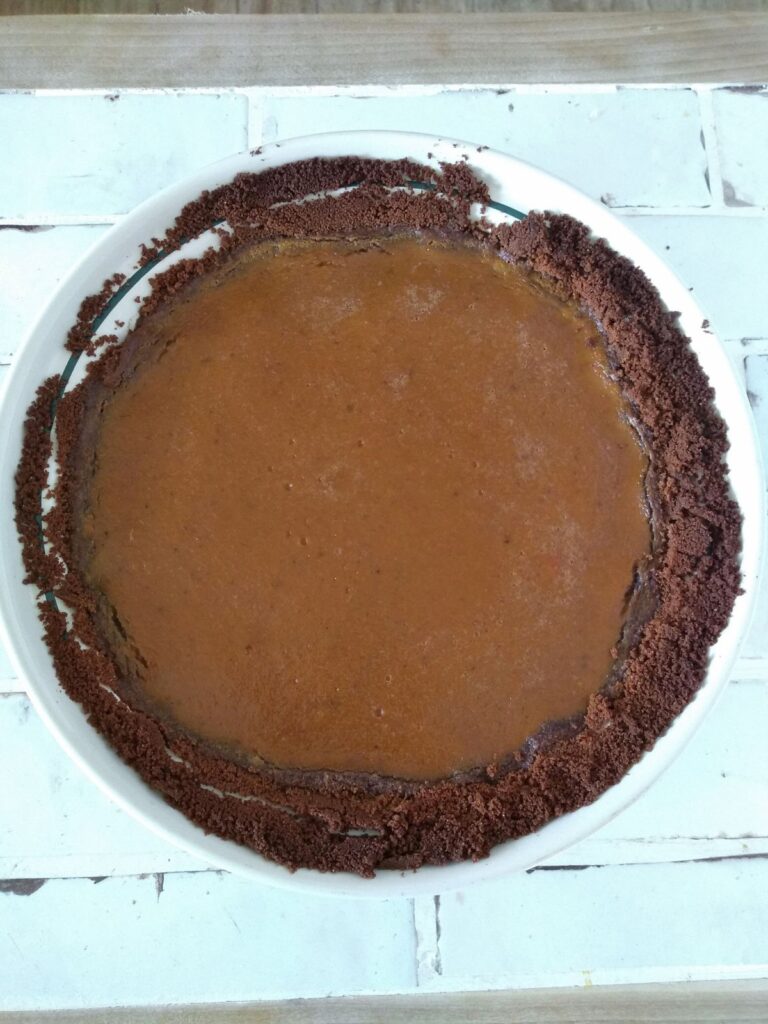
Alton forgoes the traditional crust in favor of one that combines crusted up ginger snaps with brown sugar, ginger, and butter. The crust was pretty easy to make. I love it. My wife prefer a traditional crust. Some years we will make two pies during the holiday season so that we are both happy.
The crust is easier to make than a traditional pie crust since you don't have to roll out dough. But that doesn't mean it isn't without it's pitfalls. In the above photo, you can see I tried to get the crust to climb up the pie pan but I had mixed results. The crust doesn't have the strength to hold it together like a dough pie crust. Fat is the only thing holding it together, you aren't creating any gluten. So don't worry if your crust is only adhering to the bottom.
💡 Tops Tips
Here are some of my top tips for making this pie.
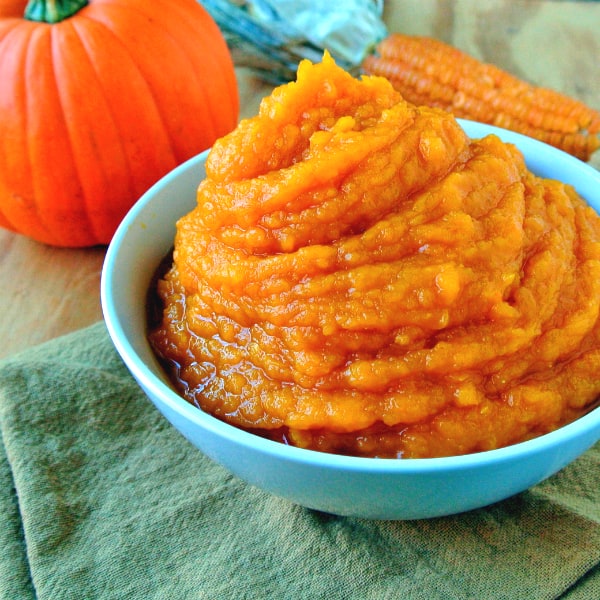
- This recipe calls for homemade pumpkin puree, not the stuff out of a can. Alton gave instructions on how to make the puree. For more details, read my post on the puree.
- The filling was also pretty easy to make. Be careful not to burn your pumpkin puree when you are heating it up. Mine was pretty thick already, so I just warmed it before adding the half and half. Speaking of which, I like that he used half and half instead of the condensed milk that most recipes call for. We don't need no can anything in our pumpkin pie recipe!
- My wife likes her pumpkin pie with a lot of cloves, so I added them even thought they weren't in the recipe.
My favorite cloves come from a single origin spice company called Burlap & Barrel. I also add a little bit of cinnamon (about ½ teaspoon).
- The cooking time is suppose to be between 45-50 minutes. The center of the pie should be jiggly while the outsides pretty set. For me at 40 minutes the center was pretty well set, not jiggly at all. But we like out pumpkin pie to be on the firm side in this household so I wasn't disappointed.
🍴 Alternative Recipes
You can make these into mini pies. Alton said that you could get 5 mini pies from this recipe. His pies were made in 5 inch pie tins. Bake time should be around 25 minutes. Again the pie should be jiggly in the center while set on the outside.
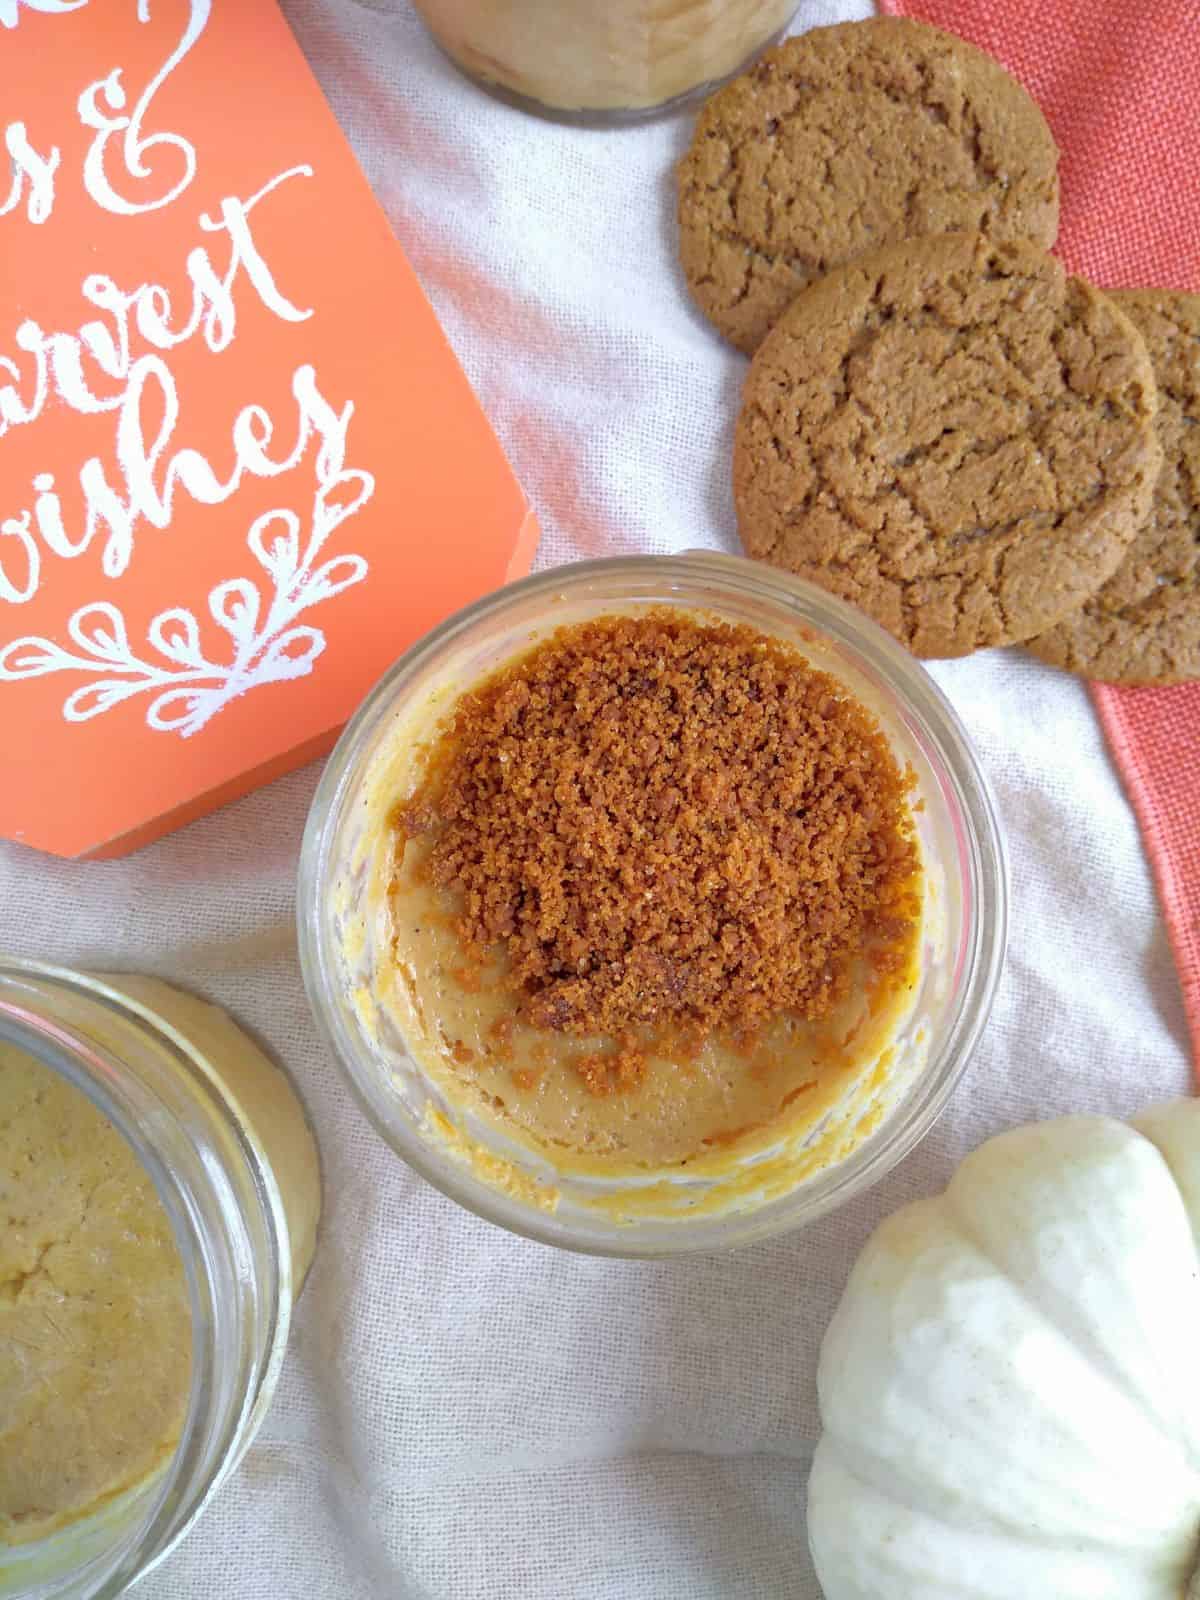
For a real modern twist on this recipe you try making individual sous vide pies in mason jars. I did and I absolutely loved it. It's more of an inverted pie as the topping goes on top after the filling is cooked.
Learn How to Make Sous Vide Pumpkin Pie - Based on Alton Brown's recipe.
Every year we make this pie and every year it gives rave reviews. Thanks Alton Brown for starting a tradition in our home.
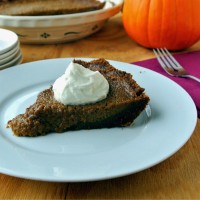
Alton Brown's Pumpkin Pie
Ingredients
Crust
- 6 ounces gingersnap cookies
- 1 tablespoon dark brown sugar
- 1 teaspoon ground ginger
- 1 ounce butter melted
Filling
- 16 ounces fresh pumpkin puree
- 1 cup half and half
- ½ teaspoon freshly grated nutmeg
- ½ teaspoon ground cinnamon
- ¼ teaspoon ground cloves
- ½ teaspoon kosher salt
- ¾ cup dark brown sugar
- 2 large eggs
- 1 large egg yolk
Instructions
- Preheat the oven to 350 degrees
To make the crust
- Combine the gingersnaps, brown sugar, and ginger in your food processor and process until you have fine crumbs. Pulse a few times if you have chunks of gingersnaps still.
- Drizzle in the butter.
- Pulse until combined
- Take the mixture and press it into the bottom of a 9-inch pie pan.
- Pre-bake the crust in the oven for 10-12 minutes. Set aside to cool.
To make the filling
- Add the pumpkin puree to a medium saucepan.
- Bring to a simmer. Cook the pumpkin until slightly thicken. Should only take a couple minutes.
- Add half and half, nutmeg, cinnamon, cloves, and salt. Stir to combine. Remove from heat and let cool for at least 10 minutes.
- In a mixing bowl, combine the egg, egg yolk, and brown sugar. Beat with a whisk until smooth.
- Add the pumpkin puree from the saucepan to the mixing bowl. Whisk until completely combined.
Cooking the pie
- Add the pumpkin filling to the pie crust, make sure to leave room at the top. You may have extra, I always do.
- Bake in the oven until the center is slightly jiggly. This should take about 45 to 50 mintues. I would check on progress at the 30 minute mark.
- Allow to cool before serving. 2-3 hours is best to allow pie filling to properly set up.


Leave a Reply