
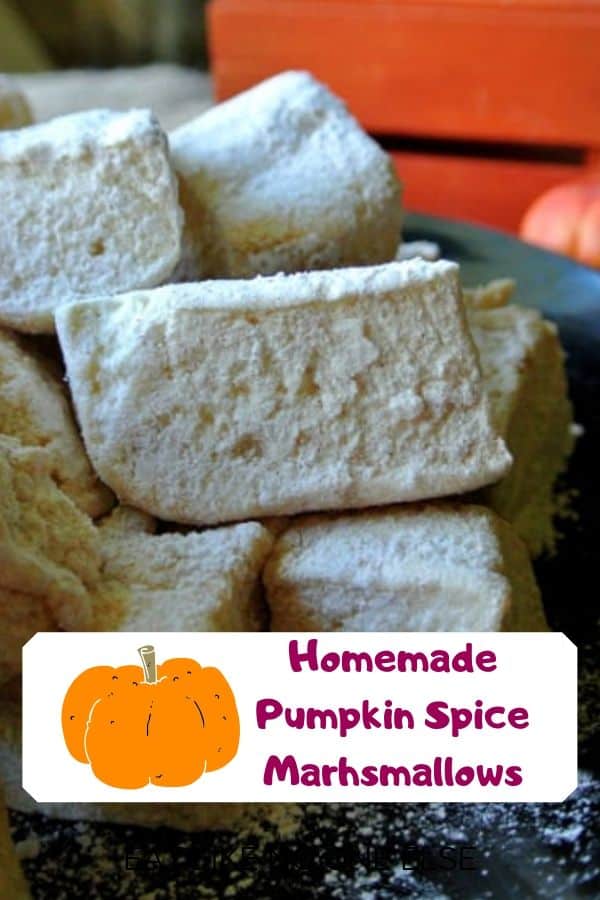
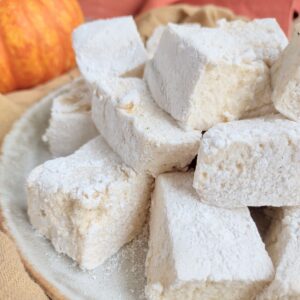
Pumpkin flavored marshmallows are a lot easier to make at home then you think and will beat any store-bought marshmallow you can find. These gourmet marshmallows will become a stable of your household every fall.
This post includes affiliate links. This means that, at no additional cost to you, I will earn a commission if you click through and make a purchase. These are products and services I recommend because I use or trust them. Cookies will be used to track the affiliate links you click.
A couple weeks ago, I was in the grocery store, and I saw some bags of marshmallows claiming to be pumpkin marshmallows.
They were pumpkin shaped marshmallows, but that was the only pumpkin thing about them, they were just the same old generic store bought marshmallow.
But it got me thinking, pumpkin flavored marshmallows sound like a good idea.
It's something else I can do with all the pie pumpkins I have my disposal.
I was inspired by the blog "Taste and Tell" to make my own pumpkin marshmallows. I took the knowledge I already had from making marshmallows before and combined it with the instruction list of that blog recipe and came up with these pumpkin flavored marshmallows.
Jump to:
📋 How to Make Marshmallows
I learned to make marshmallows from Alton Brown. On an episode of Good Eats, Alton showed how easy it was to make marshmallows by combining the mix of boiled water, corn syrup, and sugar with unflavored gelatin that you beat air into with a stand mixer.
Why This Works - The two types of sugar - white sugar and corn syrup, help prevent sugar crystals from forming. If you have ever had grainy fudge or ice cream that has melted and re-frozen, that's the kind of grainy I am talking about. We don't want that.
The magical ingredients of marshmallow making is really the air. You need a stand mixer to pump enough air to make the marshmallows light and fluffy. A hand mixer would probably wear you out before they were done.
I have had much success with Alton's method - there are others out there. I stand by this one and it's the one I use for these pumpkin marshmallows.
🎃 How to Make Pumpkin Flavored Marshmallows
To give marshmallows that pumpkin flavor, I use fresh pumpkin puree that I made myself. No pumpkin from a can here.
The pumpkin puree is added near the end of the process. I have been working on my own flavors of marshmallows such as raspberry that didn't come out as well. I think the mistake now was adding the fruit puree too early. You need to add your flavoring, in this case pumpkin, after you have whipped some air into your sugar/gelatin mixture.
When I first tried these I was concern at first that they weren't going to set up well. But hours later, the texture was perfect. So don't worry if it seems to soft, give it time and your patience will be rewarded.
🛒 Ingredients
Are these cheaper than buying store-bought marshmallows? Absolutely not! Those big bags of Jet Puffed marshmallows are super cheap. But are these a thousand times better? You bet your bottom dollar they are. It's like buying a cheap steak versus prime rib.
Here is what you will need to start making these marshmallows.
- 3 - ¼ ounce envelopes unflavored gelatin
- 2 cups pure cane sugar
- ⅔ cup corn syrup
- ½ cup pumpkin puree
- 2 teaspoons ground cinnamon
- 1 ½ teaspoon ground ginger
- ¾ teaspoon ground nutmeg
- ¼ teaspoon ground allspice
- 1 ½ cups powdered sugar
- ½ cup corn or potato starch
This is the whole shopping list. You will divide up some of these ingredients for the individual steps that will be broken down below and in the recipe card at the bottom of this post.
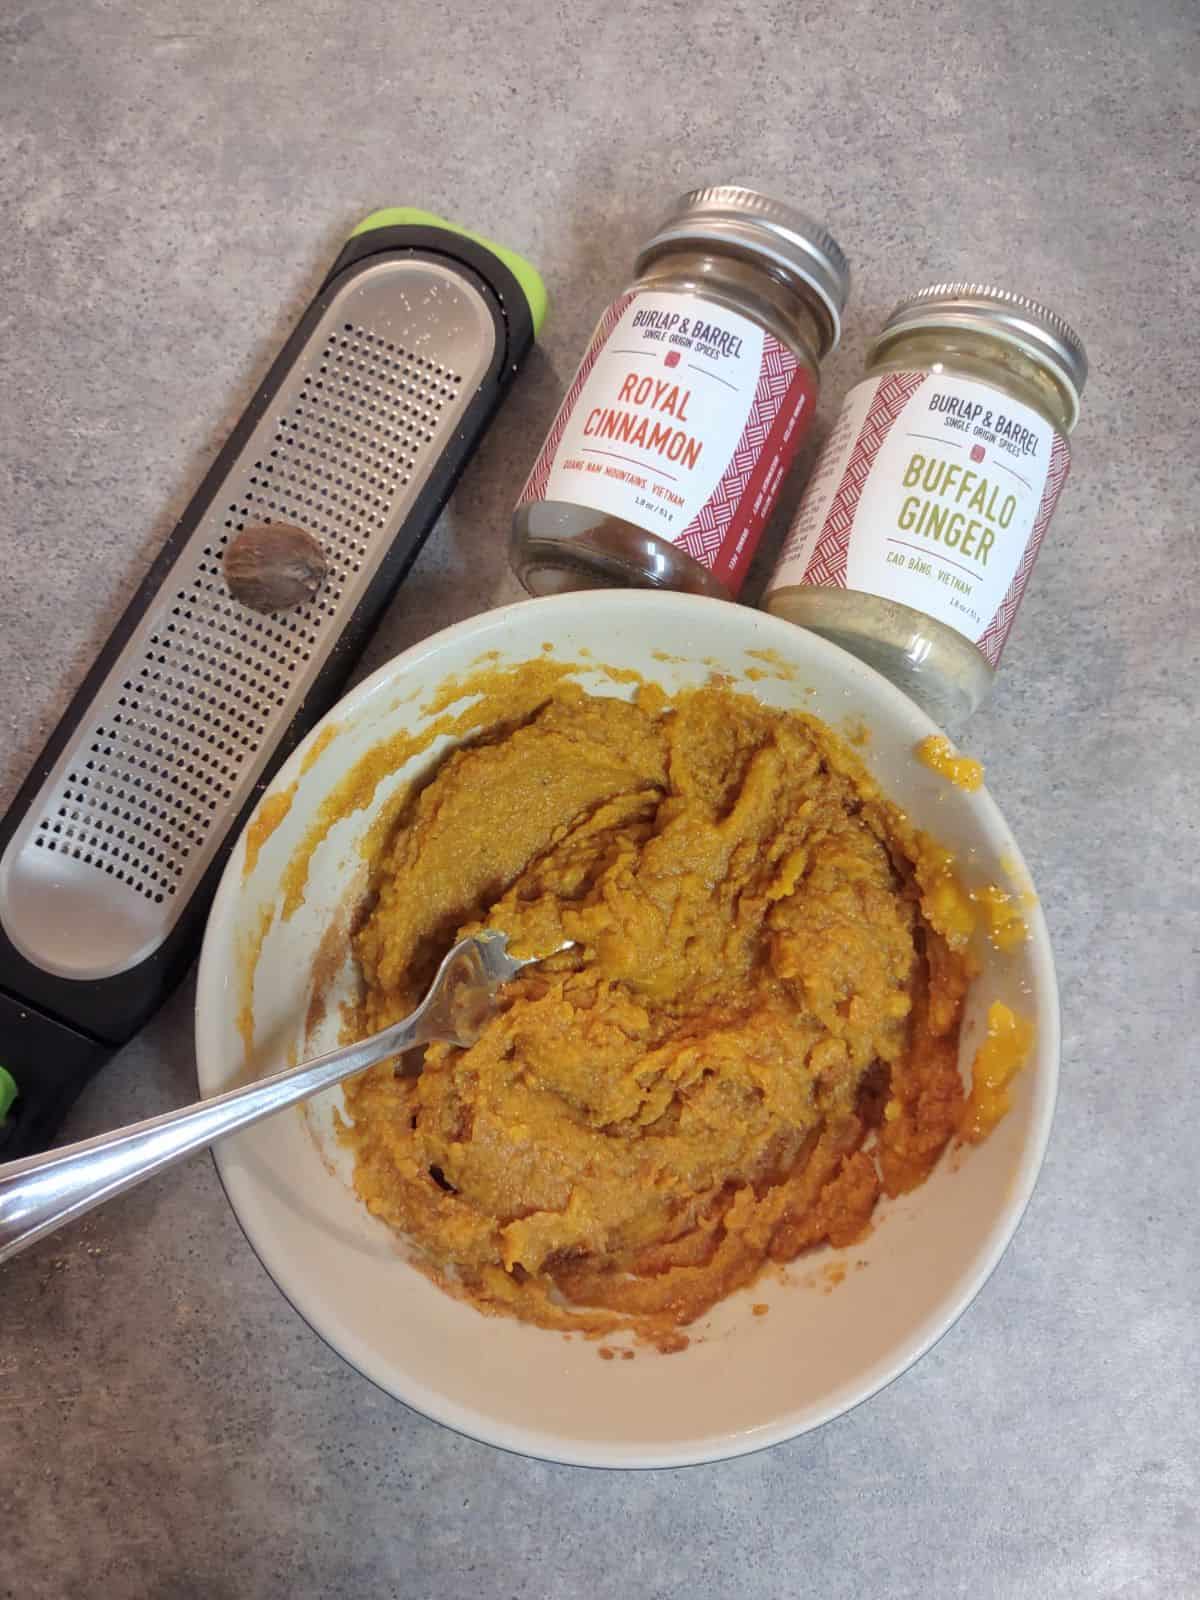
You could use pumpkin pie spice, however I prefer to use the individual spices. First, so I can pick out the highest quality spices. Second, you can tailor how much of each spice you use. Like only a little or no ginger, then you can. Any pumpkin spice blend I have found has not been as good combining the spices myself.
My favorite type of pumpkin to bake with is the Long Island Cheese Pumpkin. Also look for the Tiger Stipe pumpkin, which are commonly found at Trader Joe's.
🥄 Instructions
Before you get started - Attach the whisk attachment to your stand mixer. Also grease a 9 x 13 baking pan. I do this by using spray oil or brushing on some oil using a pastry brush. Make sure you get the sides and corners. You could use parchment paper but I found that oiling the pan did a good enough job there was no reason for the paper.
Also in a bowl mix together - 1 ½ cups powdered sugar, ½ cup corn or potato starch, 1 teaspoon cinnamon, ½ teaspoon ground ginger, and ½ teaspoon ground nutmeg. This will be used for dusty your marshmallows at various stages.
Let me share with you how to make the marshmallows. You want to put ½ cup of cold water and the gelatin into the bottom of the bowl of your stand mixer. Just let it hang out there. This is called blooming.
Get your pumpkin puree ready - which means add in your spices to it and set it aside until needed.
In a tall pot, add 2 cups of sugar, the corn syrup and ¼ cup of water. Stir to combine and then don't stir again, at all! Very important to just let it be. Bring to a boil.
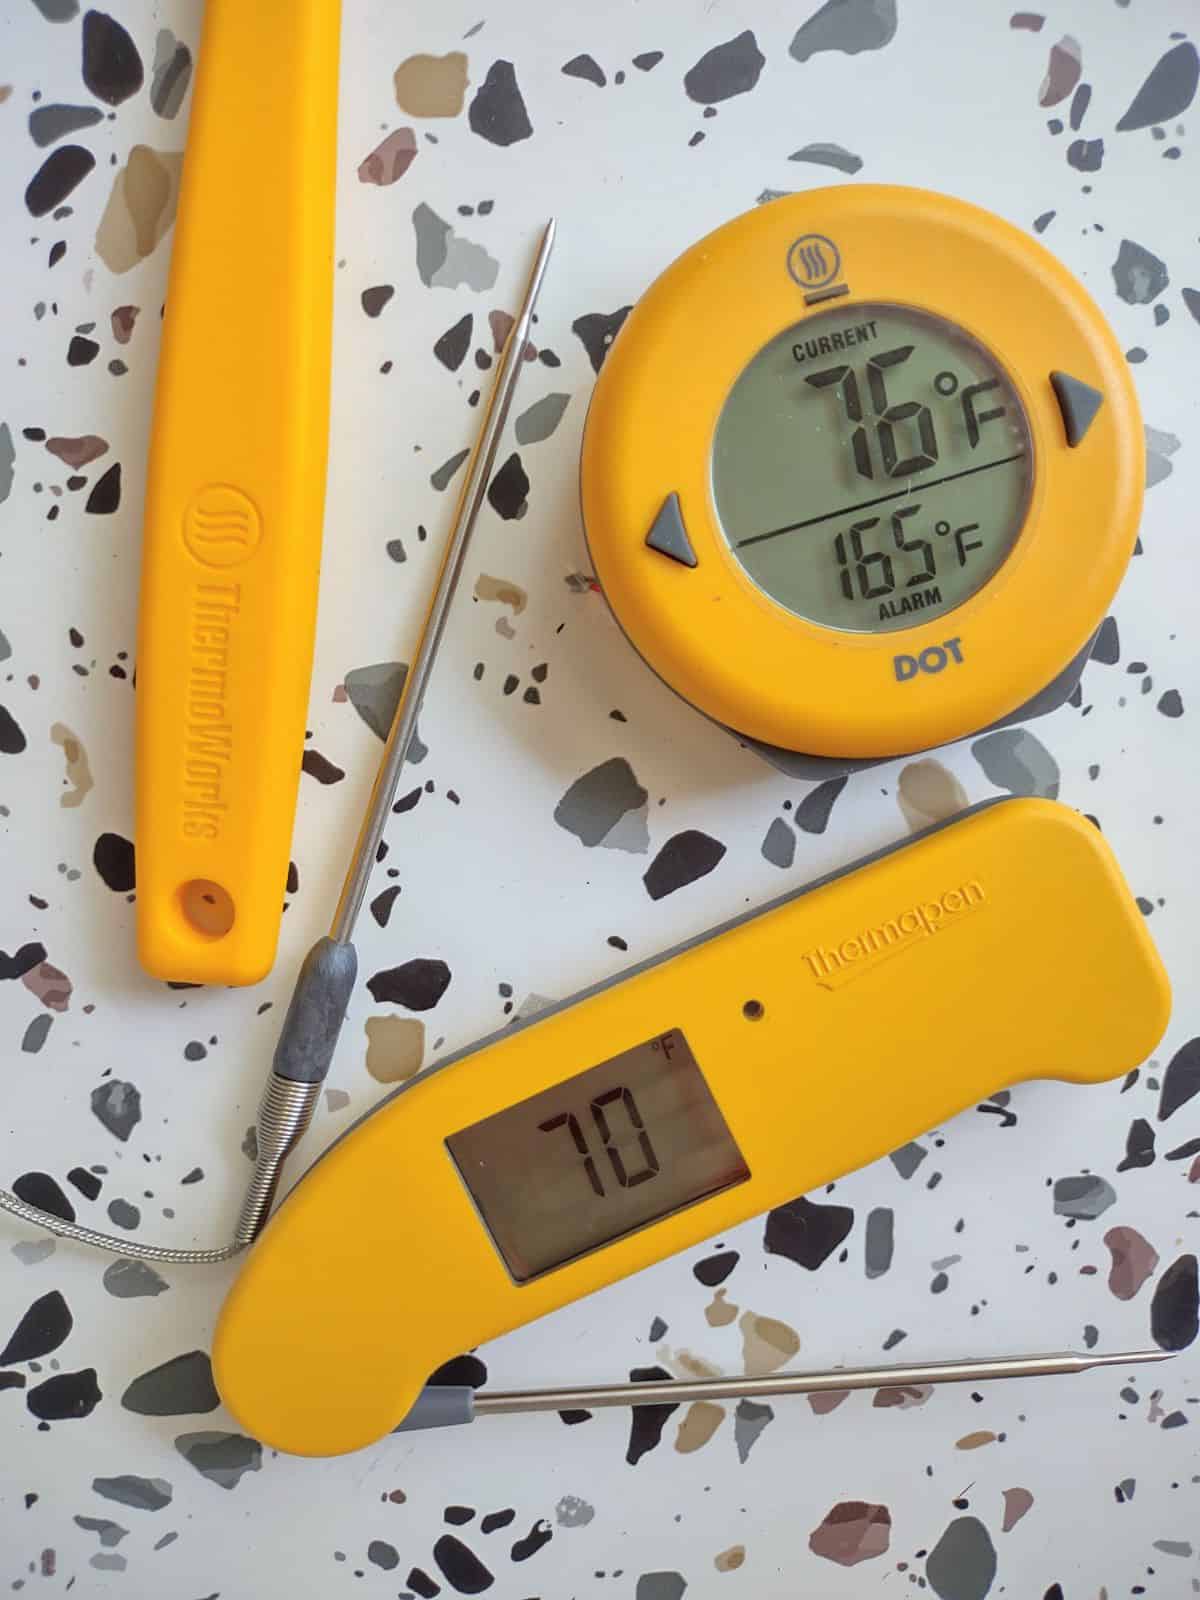
You can use a candy thermometer to track the temperature as it goes up. Problem is these are not easy to read when you got boiling liquid. Instead I have opted to check the pot with The Thermapen® ONE from ThermoWorks. This instant read is actually instant as it gives you the temperature in just a second.
It's really important for you to pull the mixture when it reaches the right temperature so having something quick is the way to go. Near the end when I am getting close to 250 degrees, I just stand by the pot with the probe sticking into the pot, while being careful not to burn myself.
Once you got your temperature immediately get it off the heat. Pour the sugar mixture into the bowl of your stand mixer with the mixer running at the lowest setting.
Now raise the speed to high and whip for 7 minutes.
Why high speed? It's all about getting air into the marshmallows. That is what is going to give the their texture. A higher speed will beat more air into them.
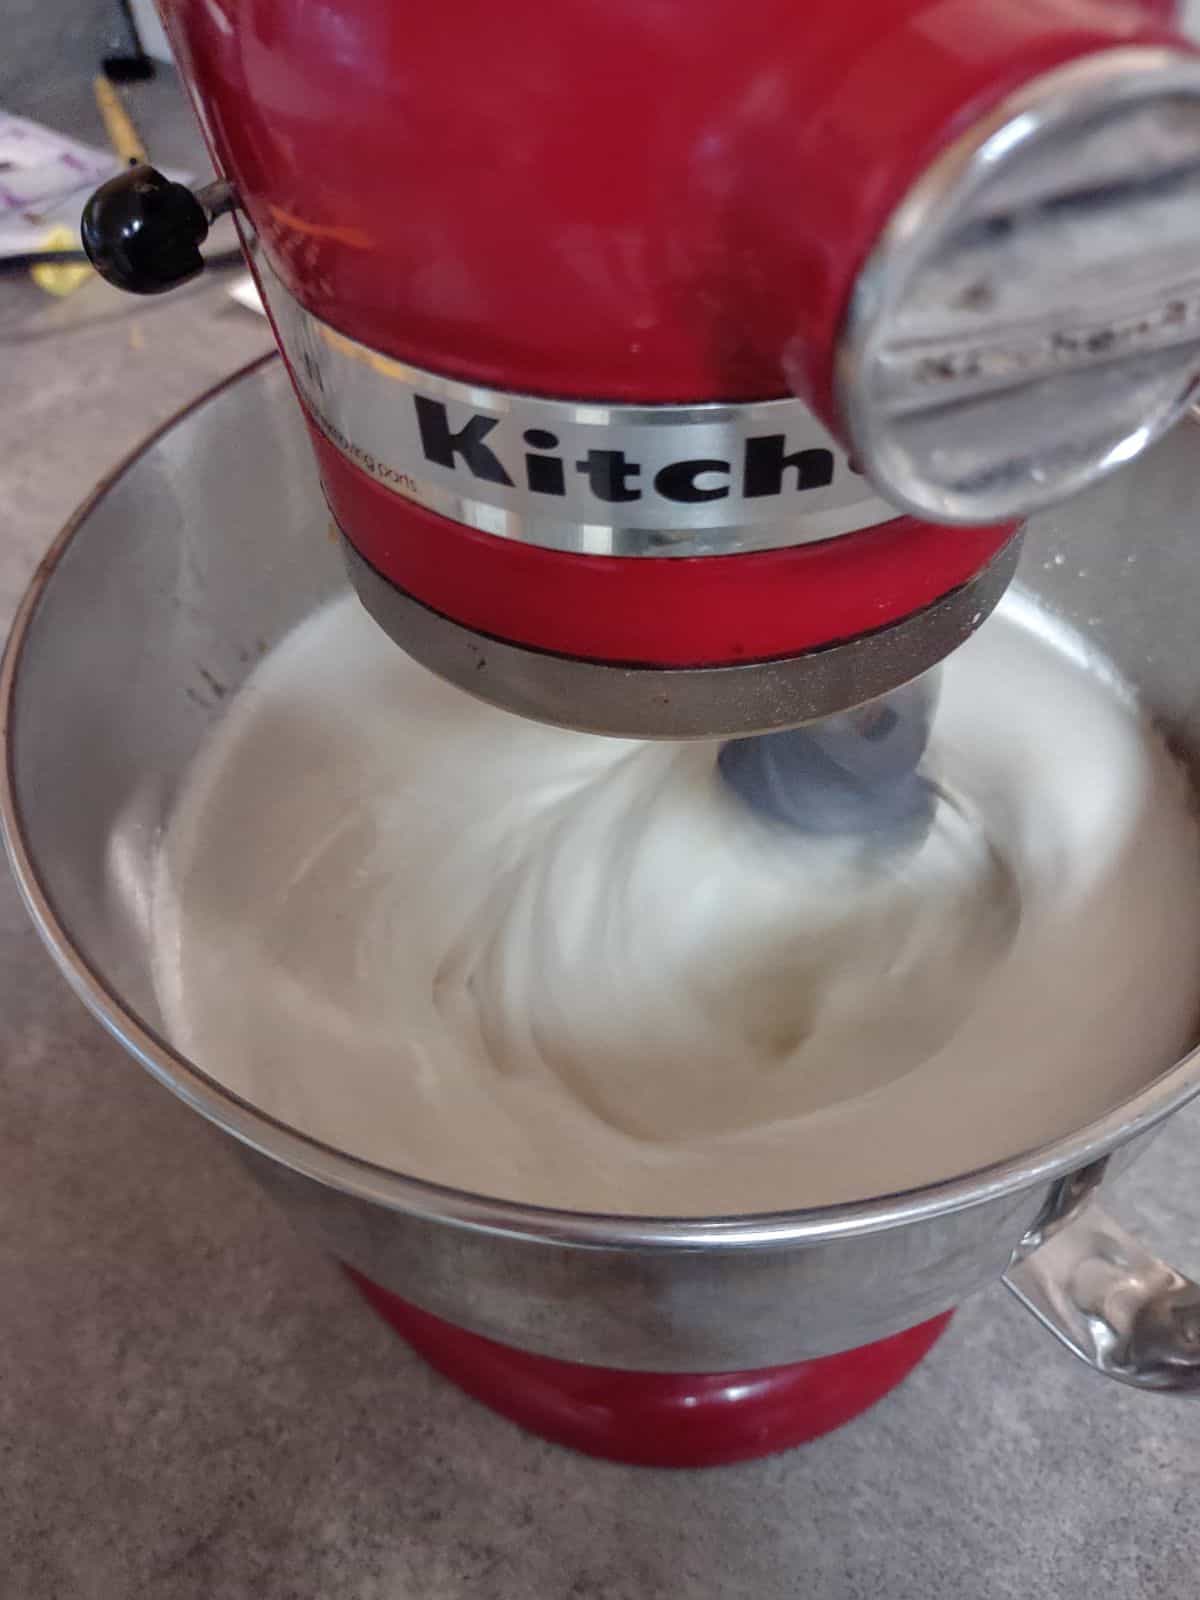
It will turn white and start to look fluffy. Stop the mixer to add in the pumpkin puree with spices. I like to do half the pumpkin at a time. Start the mixer to mix in the first half, then stop the mixer. Add the other half, then continue whipping.
Get back up to high speed and whip for another 4 minutes.
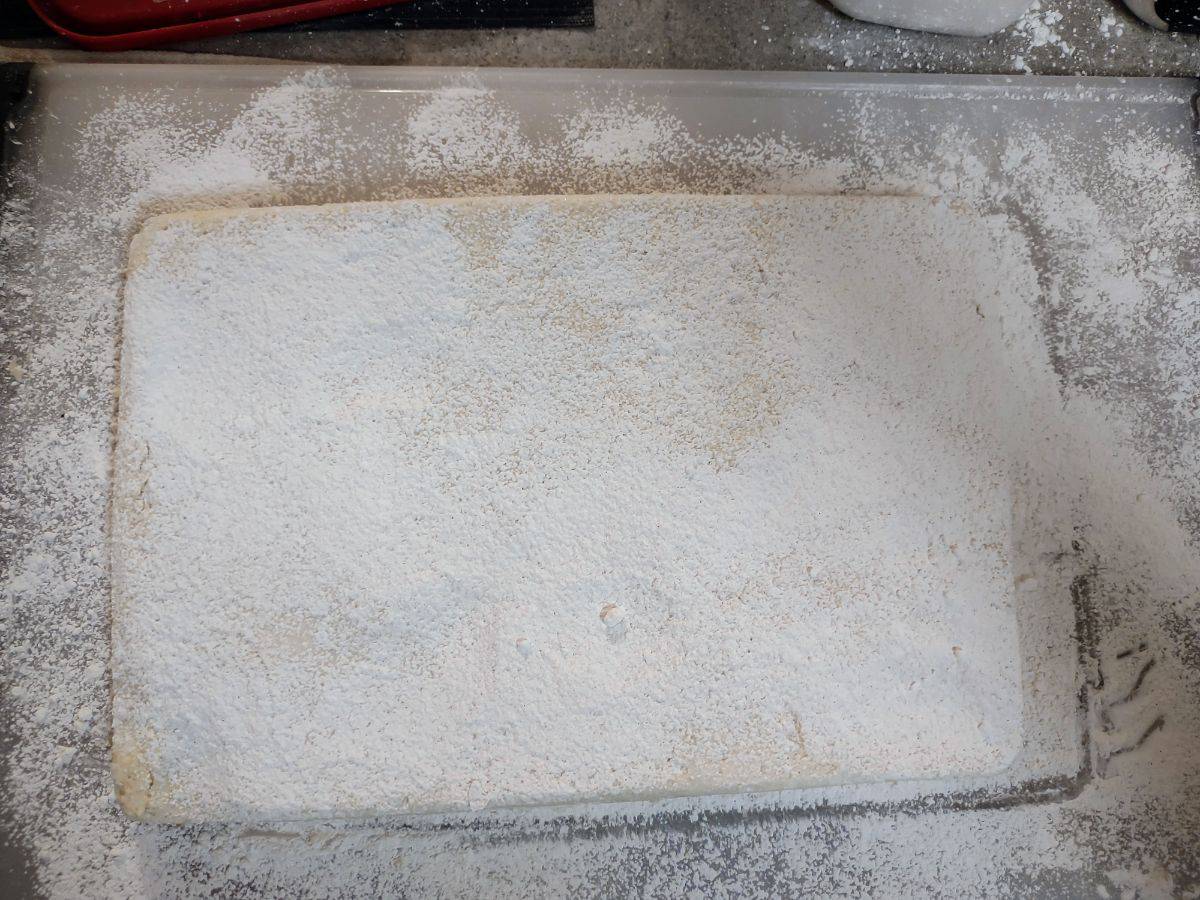
Now you need to work fast. Pour the marshmallows into your prepared pan. Smooth it out using a spatula. I like to oil the spatula so that nothing sticks to it.
Again the key thing is to work as fast as you can! Once you have all the marshmallow into the pan, dust the top of them with your powdered sugar/starch/spice blend I had you make before you started. Don't use all the blend.
Now it's time for patience. You need to allow the marshmallows to set for at least 4 hours, up to 8 hours before attempting to remove them and cut them. I cover the marshmallows with plastic wrap once they have completely cooled so they don't dry out.
When it's time to cut the marshmallows run a butter knife around the entire pan. Turn the pan onto to a cutting board. You may need to use your hand to loosen the marshmallow but the it should come out a single piece.

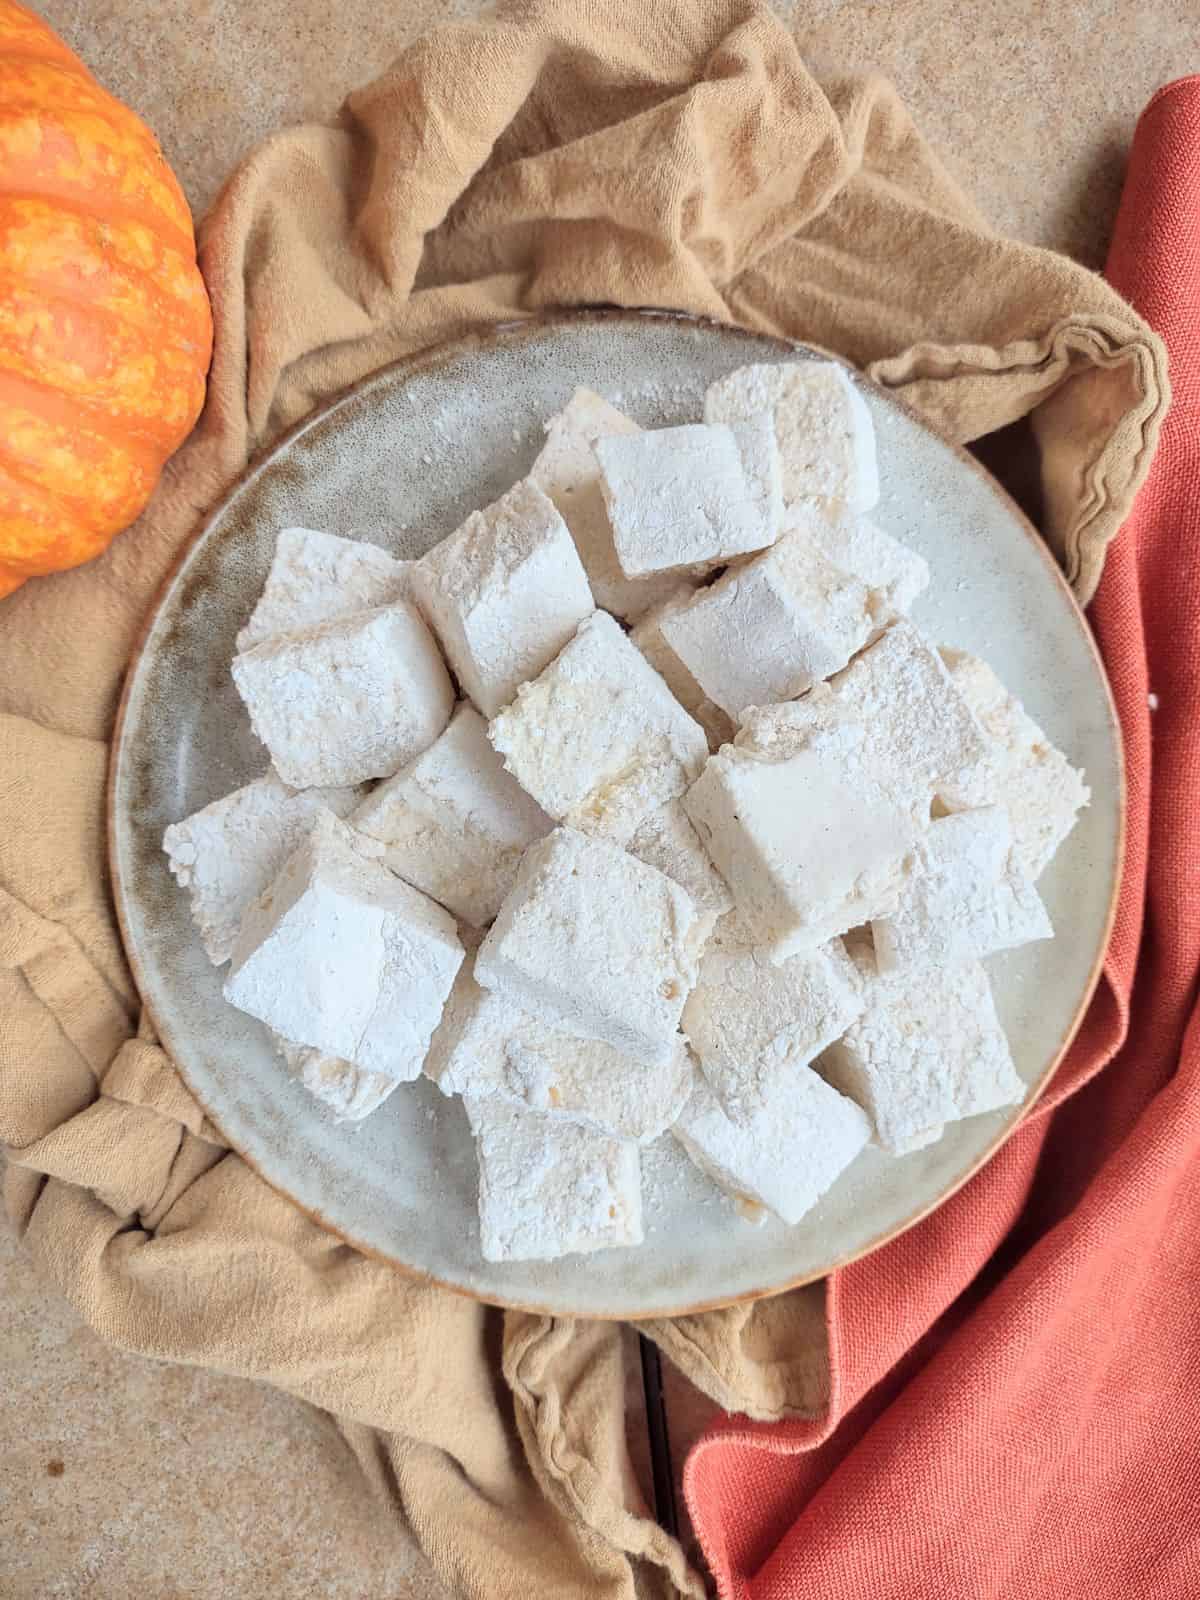
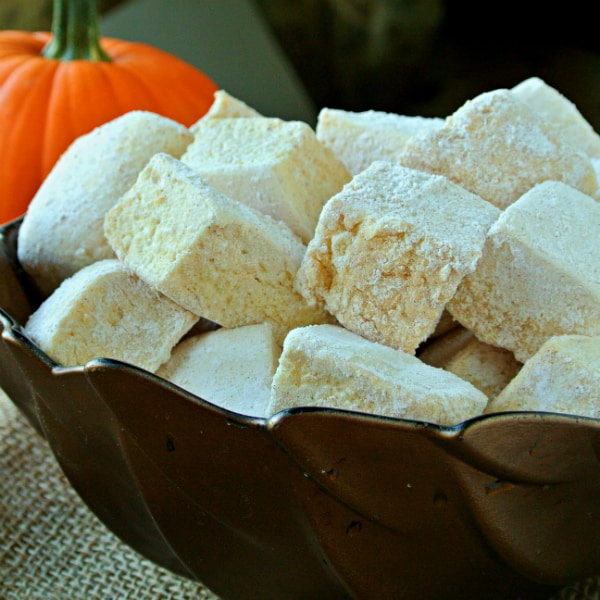
Sprinkle your powered sugar blend onto the marshmallows. Oil a pizza cutter and cut into pieces. You could use a sharp knife as well but I think the pizza cutter is quicker.
Make sure all of your pieces are coated before you store them. Pick in an air tight container for long term storage, that is if you don't eat them all at once (it makes a lot, so you would have a stomachache if you did!).
Cut the marshmallows up smaller if you want to use them in hot chocolate. They are great in coffee too I heard (I don't drink it myself).
💡 Alternative Ideas
Homemade marshmallows need some type of coating on them so they don't stick together and are easier to eat. The basic coating I use is powdered sugar and corn starch with spices as I said above.
What would be even more fun is coating them in graham cracker crumbs or finely smashed up ginger snap cookies. Now we are talking! It will taste like eating a pumpkin pie.
Speaking of pumpkin pie, you could use the marshmallows for the topping for your pumpkin pie. Instead of putting your marshmallows into a pan, spread some on top of an already cooked pie. Allow it cool before serving. If you want a more soft topping, then you don't have to wait the full 4 to 8 hours for it to set up, enjoy as soon as cool enough to bite into.
Got a torch? You could use it on top of the marshmallows to give it that campfire taste!
Pumpkin Shaped
Do you want to make them pumpkin shaped? Simply use a small pumpkin cookie cutter. I would oil the cookie cutter first before cutting out the marshmallows.
Orange Coloring
I don't like adding food coloring. I want to keep them a more natural color. But what you can try if you want them to look more orange, is to add a little bit of ground turmeric to the pumpkin puree. Just enough to give it a little more color, not enough to really add the flavor (unless you really like turmeric).
Start with ¼ teaspoon of ground turmeric and see how it affects the color of your pumpkin puree. It may end up looking more yellow than orange though.
🍴 Other Pumpkin Recipes You Might Like
Still got some leftover pumpkin to use up? Try out these recipes. Each one will tell you how much pumpkin you need.
- Ginger Cookies with Pumpkin Buttercream | ½ cup
- Alton Brown's Pumpkin Pie | 2 cups
- Pumpkin Mini Donuts | 1 ½ cups
- Overnight Pumpkin Yeast Waffles | 1 cup
- Pumpkin Marinara Sauce | 1 cup
Pumpkin Pie Spice Marshmallows
Equipment
- Stand mixer
- Thermometer
Ingredients
For the bloom
- 3 ¼ ounce envelopes unflavored gelatin
- ½ cup cold water
For the pot
- 2 cups sugar
- ⅔ cup corn syrup
- ¼ cup water
To add the flavor
- ½ cup pumpkin puree
- 1 teaspoon ground cinnamon
- 1 teaspoon ground ginger
- ¼ teaspoon ground nutmeg
- ¼ teaspoon ground allspice
For the coating
- 1 ½ cups powdered sugar
- ½ cup corn or potato starch
- 1 teaspoon cinnamon
- ½ teaspoon ginger
- ½ teaspoon ground nutmeg
Instructions
- Start by blooming the gelatin in the cold water. Pour ½ cup of cold water into the bowl of your stand mixer. Add in the 3 packs of gelatin. Set aside.
- Mix the spices into the pumpkin puree and set that aside
- Bring 2 cups sugar, ⅔ cup corn syrup, and ¼ water to a boil in a saucepan. Clip on your a candy thermometer
- Do not stir in once it has begun boiling.
- Cook until the temperature reaches 250 degrees.
- Slowly pour into the stand mixer with your whisk attachment on the lowest setting. Once you have it all in raise the speed to high. Whip for 7 to 8 minutes until white and fluffy. Stop the mixer. Add in the spiced pumpkin.puree.
- Turn your mixer back up to high and whip for another 3 to 4 minutes.
- Pour the marshmallows into a greased 9 x 13 baking dish. Smooth out with a spatula. Work fast.
- Allow to set in the pan for 4 to 8 hours before attempting to remove and cut.
- In a bowl, combine the coating ingredients. Sprinkle on top of the marshamallows. Then remove from them the pan. Sprinkle the other side of the marshmallows. Then cut into pieces. Roll each piece in the coating.
- Store them in a cool, dry place.
Deborah
I'm so glad that you liked these!! Now I feel like making another batch!
admin
You definitely should!